Occasional stories, food and travel inspiration

Occasional stories, food and travel inspiration

  • Everyday Pavlova

    Hello, dear readers! Apologies for my lengthy absence but I’ve been working on a few writing projects lately.

    I’ve been trying my hand at writing different types of fiction and I’m loving the new challenge and the creative freedom this has given me. However, working on longer writing projects requires a different kind of focus and I haven’t wanted to risk losing my momentum. But I’m back now and I’ll be popping up more regularly in the future.

    This easy pavlova recipe was inspired by a conversation I enjoyed last week at a popup dinner in Sydney to celebrate 20 years of Foxtel’s Lifestyle Channel.

    At the dinner, which coincided with World Gratitude Day, I was seated at a table hosted by Paul West, the affable host of the excellent series, River Cottage Australia. Inspired by the dishes we enjoyed by Paul, Nigella Lawson, Maggie BeerDonna HayJamie Oliver and Matt Moran, the conversation naturally turned to food: our table discussed everything from food trends, rural life vs city living, shopping for food, healthy and unhealthy approaches to food, home baking, baby food and growing your own food.

    Everyone has a different approach to food so it was an interesting and stimulating conversation. It got me thinking about why food is so important to me and why I’m such a passionate advocate of home cooking.

    Pavlova_Christina_Soong-1


    Home cooking is important because it’s an opportunity to bond with those you care about and to create treasured memories.

    The food my parents dished up night after night when I was growing up wasn’t fancy. Sure, sometimes they’d push the boat out but most of the time they cooked simply and efficiently. What made their cooking special, however, was their appreciation of flavour, their knowledge of ingredients and their willingness to experiment and try new things.

    A simple roast chicken. Braised pork and green beans. Spaghetti with local prawns and Goolwa cockles.  Dumplings. My beloved tuna mornay.  Prawn and pork noodle soup (Har Mee). Rosemary lamb roast with potato bake. A fuss-free beef stir fry. A pavlova topped with berries.

    Pavlova_Christina_Soong-6


    I adore pavlova so I’ve made lots of different kinds of kinds over the years. I’ve made a triple layered pavlova with raspberries, pomegranate and rose petals for Christmas Day lunch and a deconstructed pavlova when my daughter accidentally destroyed a pavlova I’d just taken out of the oven. I’ve even made a Messy Pavlova, or, as I called it, Eton Mess Down Under style, where I replaced the usual meringues with pavlova pieces.

    But this pavlova is your simple, everyday kind of pavlova. This is the pav you can enjoy after a weekend BBQ with the family. Or the pav you can take to a friend’s house when asked to ‘bring a plate.’ It’s the pav you can make when you have too many eggs in the house and the pav you can make to surprise someone on their birthday.

    I hope you like it. Enjoy!

    This post has been sponsored by Foxtel’s Lifestyle.

    Pavlova_Christina_Soong-4


    Everyday Pavlova
     
    Author: 
    Recipe type: Dessert
    Cuisine: Australian
    Prep time: 
    Cook time: 
    Total time: 
    An easy, everyday pavlova
    Ingredients
    • 4 egg whites at room temperature
    • Pinch of salt
    • ¾ cup caster sugar (or 1 for 1 sugar substitute such as stevia)
    • 2 teaspoons cornflour
    • 1 teaspoon red wine vinegar (you can substitute white vinegar)
    • 1 teaspoon vanilla bean essence
    • 300 mls thickened cream
    • 1 teaspoon vanilla bean essence
    • ½ punnet strawberries
    • ½ punnet blueberries
    • ½ punnet raspberries
    Instructions
    1. Preheat oven to 180 degrees Celsius
    2. Check that all your mixing equipment is clean to ensure that the meringue rises properly. Use a paper towel dipped in white vinegar to wipe out your mixing bowl.
    3. Line one baking trays with baking paper and draw a 20cm circle on it (you can trace around a plate).
    4. Beat egg whites and salt on high with a stand or hand mixer for a few minutes until peaks begin to form.
    5. Add sugar in four batches, beating well after each addition, until the meringue is thick and shiny.
    6. Sprinkle over the corn flour, red wine vinegar and vanilla essence and fold in gently with a spatula. Try to keep as much volume in the meringue as possible.
    7. Using a spatula, dollop spoonfuls of meringue onto your circle, smoothing the top out with the back of the spoon or an offset spatula. Indent slightly in the centre if you wish.
    8. Put baking trays into the oven and immediately turn the oven down to 150 degrees Celsius. Bake for 30 minutes and then reduce heat to 120 degrees Celsius and bake for another 45 minutes. Turn oven off and leave pavlova to cool completely before taking out of the oven.
    9. Whip cream with one teaspoon of vanilla essence for a few minutes until firm.
    10. Carefully peel the baking paper off the base of the pavlova and place the pavlova on a serving plate. You may invert the pavlova if you wish but I like it either way. Spread the whipped cream on top and decorate your pavlova with mixed berries.
    Substitutions
    1. Dairy free - you can replace the cream with coconut yoghurt for a fresher, tangier taste.
    2. Mascarpone - you can replace half the cream with mascarpone cheese for a velvety rich topping
    3. Berry free – you can replace the berries with sliced mango, kiwifruit, passionfruit, nectarines, plums, peaches or apricots.
    4. Chocolate – you can add chocolate shavings
    5. Coconut - you can add dried coconut shavings


  • Being a parent and Strawberry and Basil Granita

    Strawberry_Basil_Granita_Christina_Soong-2

    Strawberry_Basil_Granita_Christina_Soong-5

    When I was younger I thought of life mostly in terms of goals. Everything was about achievements and new experiences.

    “Live overseas.” Tick.

    “Get a great job.” Tick.

    “Be a published writer.” Tick.

    Life was all about ticking goals off a list as quickly as I could. I wasn’t going to wait until I was old and then start working my way through a hastily compiled bucket list – I wanted to start each year with a new list and methodically work my way through it. Life was about reaching the end of one’s life with a completed list of goals. Only then would I relax.

    Then I fell in love, got married, and had kids.

    Kids don’t care about goal setting and achievement. Kids don’t care that you have won awards or that you have had all these amazing experiences. Kids don’t care that you’re planning 5, 10 and 15 years ahead.

    Kids just want to you be there, in the moment, with them.

    They want you to read with them. They want you to kick a ball with them. They want you to look at their drawings, their craft and their paintings. They want to show you things they are proud of. They want to share their innermost hopes and dreams with you.
    Kids want to sneakily climb into bed with you in the middle of the night and sleep right next to you. They don’t care if you have a busy day tomorrow and need your sleep – they just want to snuggle with you because they’re scared of the dark.

    Becoming a parent has been the greatest and hardest thing I’ve ever done. It’s the thing I’ve most proud of and the thing I’m most humbled by.

    So I continue making up my new list of goals each year but I work my way through them much slower than I’d like.  It’s frustrating and demoralising at times, especially for a Type A personality like myself. But I know that all the accolades in the world won’t matter a damn if I get this wrong.

    That’s not to say that family life is always idyllic: on the contrary, family life will always have its challenges. We’re imperfect creatures and we teach our children imperfectly, too. At times, we are tired, we are stressed, we are impatient, we are tactless, we are selfish, we are thoughtless, we are arrogant and we are misguided.

    We get it wrong. Every day, sometimes.

    We will never be able to fully relax either. Parenting never ends, nor would we want it to. It’s a bittersweet reality that we must face, even as we joke about not being able to wait until the kids are out of the house.

    So we do the best we can with the knowledge and resources that we have at our disposal at the time. Accordingly, I take comfort in those brief moments when there is a momentarily lull in the conversation and life is as it should be. When briefly, even if just for a moment, all is right in the world.


    Strawberry_Basil_Granita_Christina_Soong-6

    Strawberry_Basil_Granita_Christina_Soong-4 Strawberry_Basil_Granita_Christina_Soong-7


    Strawberry and Basil Granita

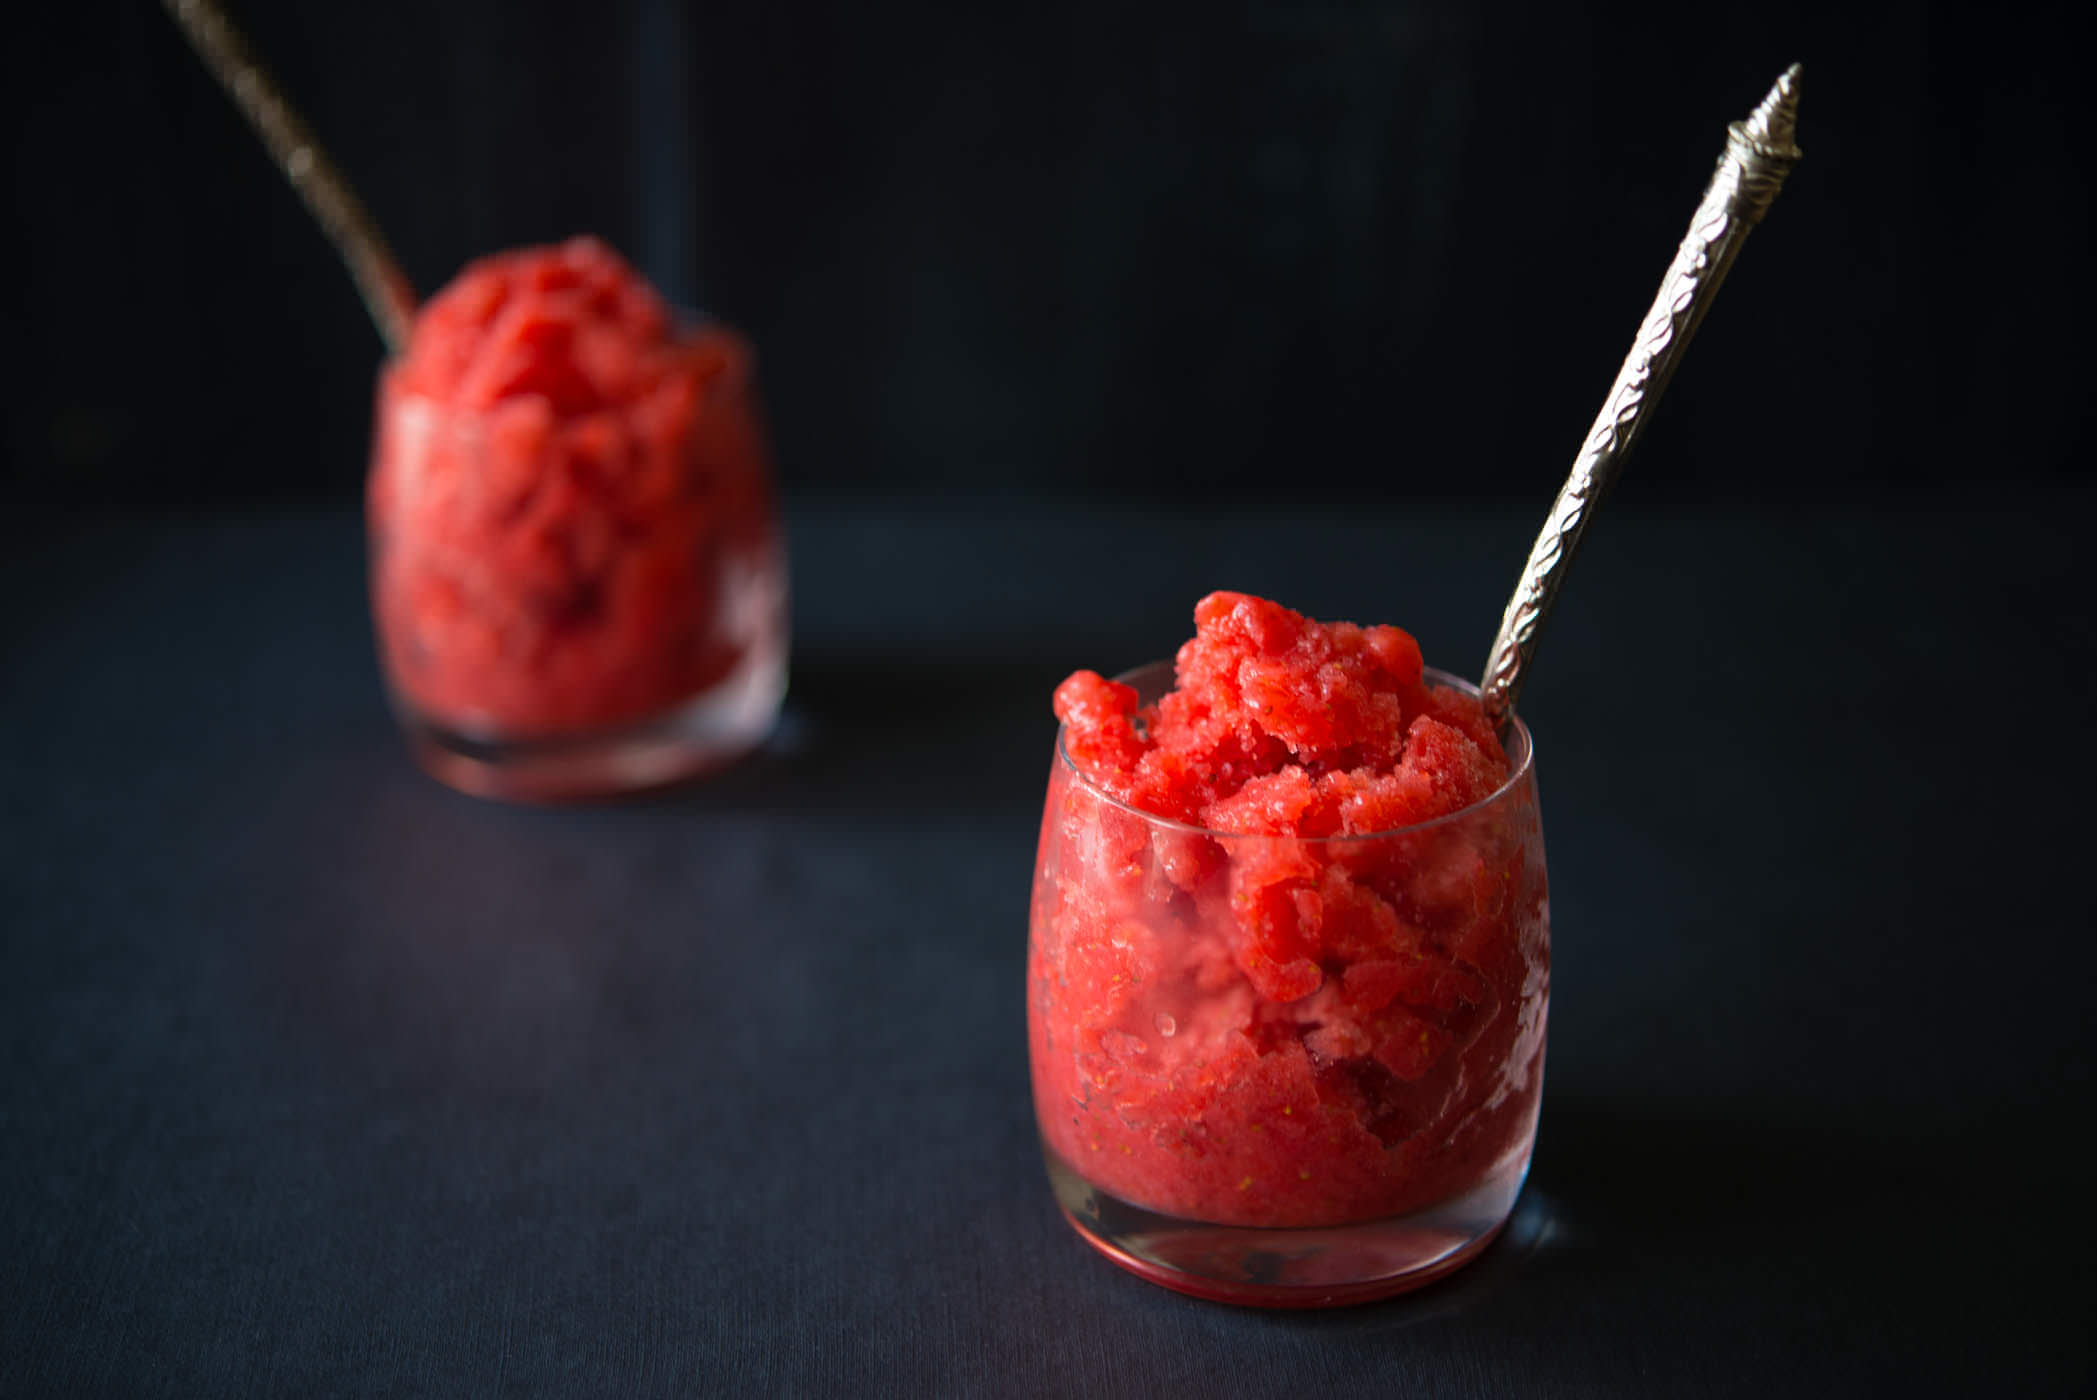
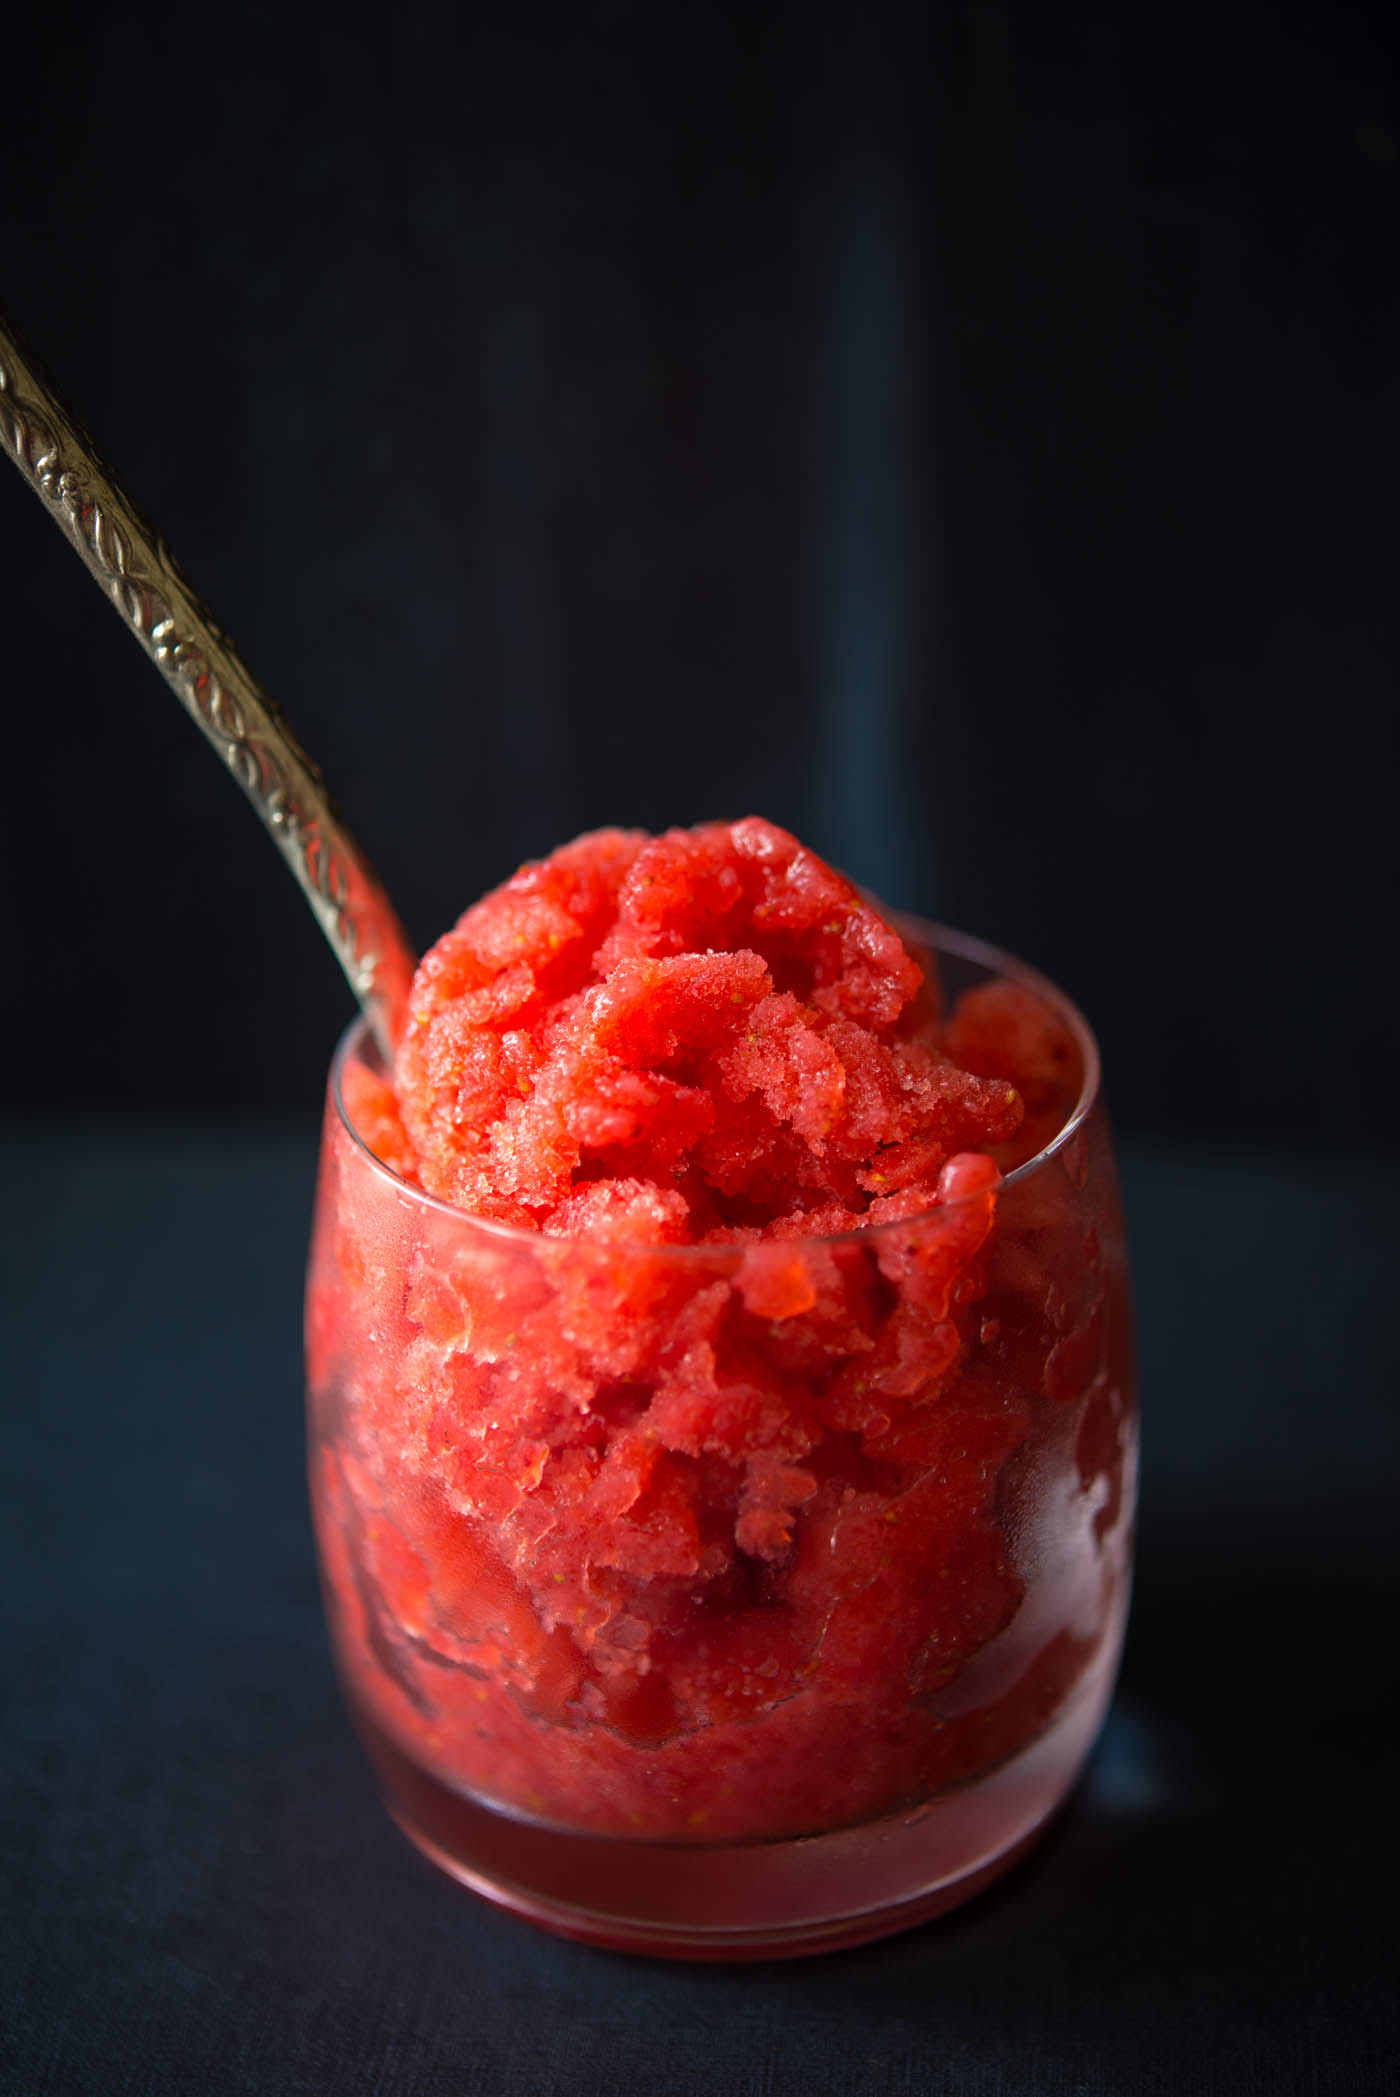
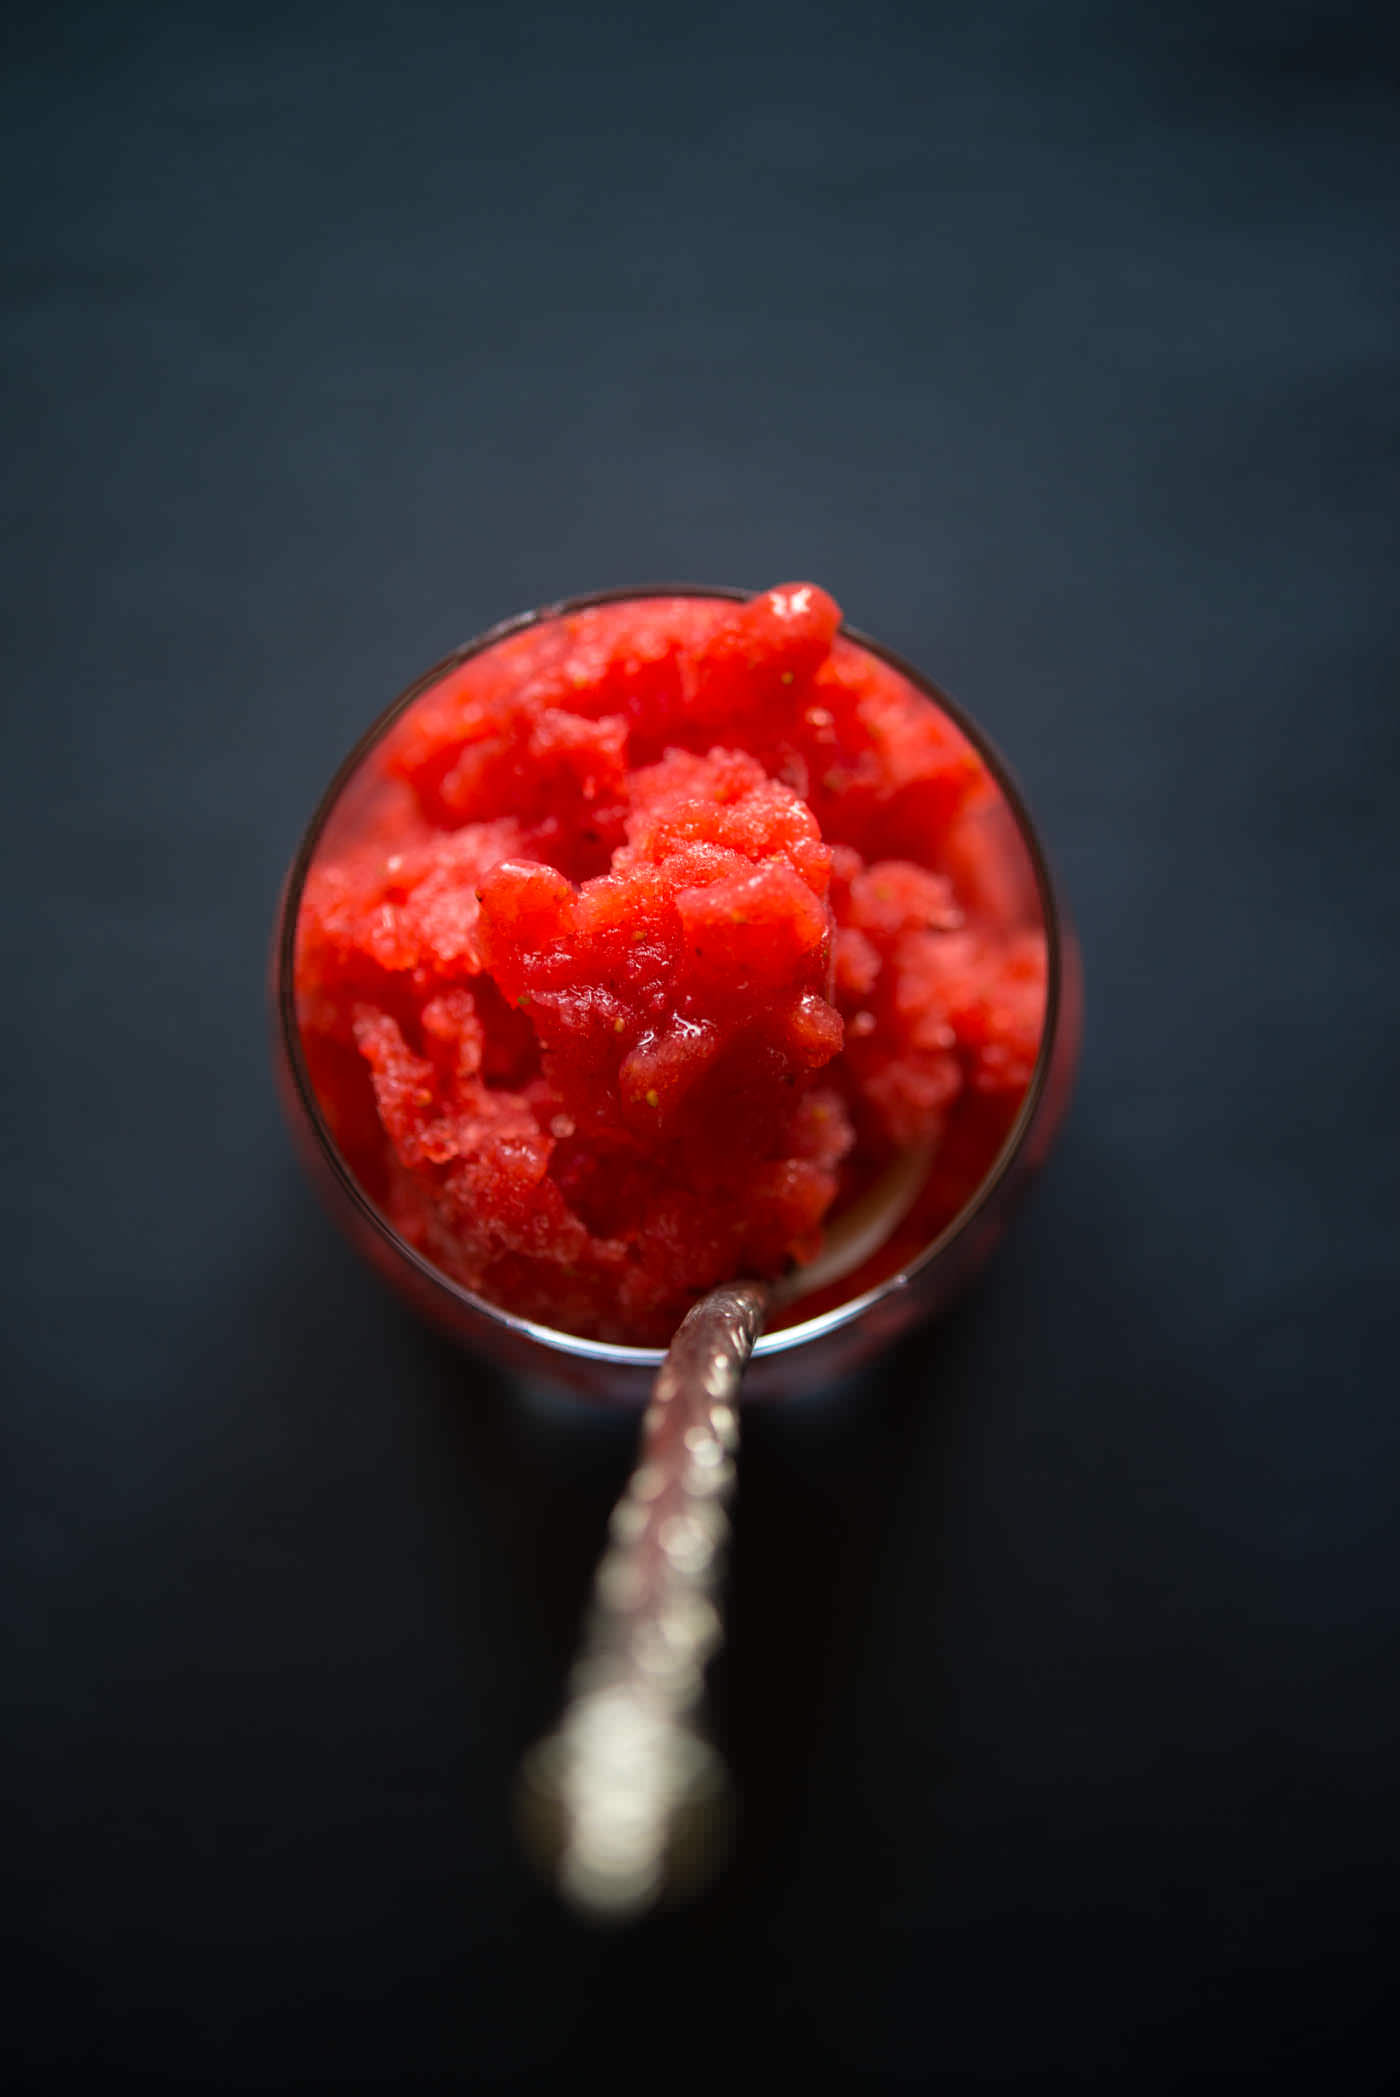
    Inspired by a gorgeous watermelon and lime granita I made recently from Stephanie Alexander’s The Cooks’ Companion, I decided to make a strawberry granita with fresh basil leaves and balsamic vinegar.

    It was fantastic. You have to try this.


    Strawberry and Basil Granita
     
    Author: 
    Recipe type: Dessert
    Cuisine: Australian
    Prep time: 
    Total time: 
    Gorgeous strawberry and basil granita
    Ingredients
    • 60 mls (4 tablespoons) honey
    • ⅓ cup water
    • 3 punnets strawberries, washed and hulled
    • 8-12 fresh basil leaves
    • 1 teaspoon best quality balsamic vinegar
    Instructions
    1. Make the sugar syrup by combining honey and water in a small saucepan and heating until the honey is dissolved.
    2. Blend strawberries in a food processor or blender until liquified.
    3. Add basil leaves, balsamic vinegar and honey syrup and blend again to combine.
    4. Pour into an ice cream maker and follow manufacturer's instructions (I let mine run for approximately 15 minutes).
    5. Scrape mixture into a freezer proof container and put in the freezer for at least 6 hours or overnight.
    6. If you don't have an ice cream maker skip step 4 and do step 5. After 20 minutes, scrape the edges into the centre to break it up. Repeat this twice more, after 20-minute intervals and then freeze for another 5-6 hours or overnight.
    7. To serve, use a fork to scrape the granita. Scoop it up with a chilled spoon and serve in glasses or cups. You can chill the glasses and utensils in the fridge to keep everything as cold as possible if you like.


  • Chocolate Fantasy Cake and Cupcakes

    My baby recently turned six so to celebrate we had some family and friends over for a relaxed lunch.

    Deciding what kind of birthday cake to make J was easy as he is mad about chocolate. So I came up with a chocolate fantasy comprising chocolate and raspberry cake, chocolate Swiss meringue buttercream, Tim Tams, Maltesers, Toblerone and salted popcorn.

    Yes, it was completely indulgent but I figure that it’s OK to ignore our usual healthy diet and let him have the chocolate cake of his dreams once a year.

    Chocolate_Birthday_Cake_Christina_Soong-5

    Now while I love the tall and proud look of multi-layered cakes, they’re often challenging to cut and you end up with very thin, tall pieces of cake if you’re trying to serve a lot of people from one cake. So rather than do a four layer cake, I decided to bake one two-layered, 20cm cake and 12 cupcakes using a muffin tin. This gave me 24 portions of cake that were simple to serve.

    Chocolate_Birthday_Cake_Christina_Soong-2

    Chocolate_Birthday_Cake_Christina_Soong-6

    The look on my son’s face when he saw the cakes was priceless. Momentarily, my chatty 6YO was speechless.

    “Oh, wow. That’s amazing. I love it!” he finally exclaimed.

    What’s your fantasy birthday cake?

    Chocolate_Birthday_Cake_Christina_Soong-3

    Chocolate_Birthday_Cake_Christina_Soong-4


    Chocolate Fantasy Cake and Cupcakes

    This cake is an adaption of my Chocolate and Raspberry Cupcakes combined with an adaption of Sweetopolita’s Swiss meringue buttercream and my own decoration.

    If you’ve never made Swiss meringue buttercream before do check out Sweetapolita’s helpful Swiss meringue buttercream post for tips and suggestions. Yes, it’s a little more time consuming than regular icing but it’s totally worth because Swiss meringue buttercream tastes so much better. Seriously. I would never suggest you make something that took this long unless it was insanely good.

    In terms of equipment you do need a meat thermometer or similar and ideally, a stand mixer with both whisk and paddle attachments. You can use a hand mixer with a regular whisk attachment but I’ve found best results using both attachments and a stand mixer.


    Chocolate Fantasy Cake and Cupcakes
     
    Author: 
    Recipe type: Dessert
    Cuisine: Australian
    Prep time: 
    Cook time: 
    Total time: 
    A chocolate lover's fantasy cake + 12 cupcakes
    Ingredients
    Cake
    • 250 grams unsalted butter
    • 200 grams dark chocolate (70% cocoa minimum), broken into pieces
    • 600 grams raspberry conserve or jam (I go for the brand with the most fruit and least amount of sugar)
    • 4 large eggs at room temperature, beaten
    • 40 grams sugar
    • Pinch salt
    • 300 grams self-raising flour
    Swiss Meringue Buttercream
    • Vinegar or lemon juice
    • Water
    • 5 large egg whites
    • 250 grams caster sugar
    • 340 grams unsalted butter, cut into cubes and at room temperature
    • 2 teaspoons (10 ml) vanilla bean extract
    • Pinch of salt
    • 100 grams dark chocolate, melted
    Decorations
    • ½ packet of Tim Tams, cut into triangles
    • 1 small bag Maltesers, some whole and some cut into half
    • 1-2 small bars Toblerone
    • 1 small bag salted popcorn
    • 4 tablespoons chocolate flakes
    Instructions
    Cake
    1. Preheat oven to 180 degrees Celsius
    2. Line a 12-serve muffin tray with muffin wrappers and a 20cm round cake tin with baking spray and baking paper
    3. Melt butter in a small saucepan and then add chocolate. Take off the heat and stir with a wooden spoon until chocolate has completely melted.
    4. Add jam, sugar, salt and eggs and mix until combined.
    5. Add flour and then mix until fully combined.
    6. Divide mixture into two. Spoon half of the mixture evenly into 12 muffin containers and the remaining half into the cake tin.
    7. Bake muffins for 22-25 minutes until cooked (insert a skewer to check - it should come out dry) and then remove muffin tray and continue cooking cake for another 20-25 minutes until cooked (use skewer again to check).
    8. Leave in tin for ten minutes and then remove to a wire rack to cool completely.
    Swiss Meringue Buttercream
    1. Use vinegar or lemon juice on kitchen paper to clean your mixing bowl to ensure that it is completely grease-free.
    2. Put a few cups of water into a small saucepan and heat up to a gentle simmer on the stove.
    3. Add egg whites and sugar to mixing bowl, and then place bowl over the saucepan so the bowl is sitting in the water.
    4. Insert meat thermometer into mixture and hold it with one hand. With the other, whisk the meringue mixture gently until the temperature reaches 60 degrees Celsius. If you don't have a candy thermometer, whisk until the sugar has completely dissolved and the egg whites are hot.
    5. Remove mixing bowl from pot and, with the whisk attachment of mixer, whip the mixture until the meringue is thick and glossy, and the bottom of the bowl feels at room temperature to the touch (this will take around 10 minutes).
    6. Once the bottom of the bowl feels neutral and not warm, switch the mixer attachment from the whisk attachment to the paddle attachment, turn onto the lowest setting and begin adding butter butter cubes, one at a time, until fully combine.
    7. Continue to mix on the lowest setting until it has reached a silky smooth texture.
    8. Add vanilla, salt and melted chocolate, continuing to beat on low speed until well combined.
    9. Divide the buttercream into two unequal portions -- one third for the cupcakes and two thirds for the cake -- in preparation for icing.
    Decorating cake
    1. Once cake is cold, cut it into half so you have two even cakes.
    2. Put one cake on a plate or revolving cake stand and ice the middle using an offset spatula, or, if you prefer, an icing bag.
    3. Sandwich the remaining cake on top and ice the top and sides. Use a scraper and the offset spatula to get the top and sides as even as possible.
    4. Decorate with Tim Tams, Toblerone, Maltesers, popcorn and chocolate flakes as desired.
    Decorating cupcakes
    1. Use a spoon and offset spatula or icing bag to ice the cupcakes.
    2. Decorate with Tim Tams, Toblerone, Maltesers, popcorn and chocolate flakes as desired.

  • Mini Festive Trifles (Baileys remix)

    Christmas day lunch in my family is not a small affair: each year around 24 people sit down at one long table at my parents’ house to celebrate Christmas together.

    The Christmas day table is made up of three separate tables pushed together and covered with festive linen, fresh flowers, seasonal decorations and my parent’s best silverware and dinner ware. My dad and I set the table at least two days before Christmas — my mum likes being super organised — and it runs down almost the full length of their living room.

    At least half the guests at Christmas lunch are family friends — we don’t have that many relatives in Adelaide — and each year there are always a couple of extras, too.  Quite a number of the guests are children and babies and their unbridled excitement is always infectious.

    FestiveMiniBaileysTriflesChristinaSoong-1

    Everyone brings a dish to share so lunch is always a beloved mish-mash of cultures – last year my mum’s soya sauce duck with Chinese mushrooms fought for space on the overloaded table with my Auntie R’s traditional roast turkey, my sister in law’s clove-studded ham, our friend’s Malaysian lamb curry, king prawns, oysters, my ex’s German coleslaw and potato salad, noodles, smoked fish and quinoa salad brought by friends and my dad’s famous lobster noodles.
    After such a sumptuous feast fitting in dessert seems impossible and yet we always seem to manage trying “just a bite” of the six different desserts we typically enjoy. Because if there is one day you can indulge yourself, surely that’s Christmas, right?

    FestiveMiniBaileysTriflesChristinaSoong-5

    This year, I’ve been toying with the idea of making a trifle. I’ve blogged previously about my love for mini trifles and their superior aesthetic appeal as opposed to spoonfuls of large trifles that ooze unappetisingly on the plate.

    So when Baileys asked me to create a recipe using their new, limited edition Baileys flavoured custard and cream products*, I decided it was time to give a festive version of mini trifles a go.

    This was the result.

    FestiveMiniBaileysTriflesChristinaSoong-2

    What I really like about this recipe is that there’s barely any cooking or preparation. To make this dessert I simple stew the berries in advance and let them cool. Then I either make the pots up in advance and refrigerate them until needed or I prepare them on the spot just before serving.

    Either way, you simply add a few spoonfuls of the cooked berry mixture into a suitable glass, followed by layers of the Baileys custard and shortbread crumbs. Add a generous dollop of Baileys cream on top and then decorate with fresh berries.

    Too easy, right? You can totally make this. Have fun!

    * Baileys Original Custard (500mls) and Bailey’s Original Cream (200mls) is available exclusively only until 25th December from national supermarkets. 

    Disclosure: this post was sponsored by #Baileys. 

    FestiveMiniBaileysTriflesChristinaSoong-4


    Mini Festive Trifles (Baileys remix)
     
    Author: 
    Recipe type: Dessert
    Cuisine: Australian
    Prep time: 
    Cook time: 
    Total time: 
    Gorgeous Baileys mini trifles
    Ingredients
    • 3 punnets strawberries
    • 2 punnets blueberries, washed
    • 1 teaspoons vanilla bean paste
    • 1 tablespoon honey
    • 3 tablespoons water
    • 1 x 175 gram packet real butter shortbread (regular or gluten free)
    • 1 x 500ml tub Baileys Original Custard
    • 1 x 200ml tub Baileys Original Cream
    • ⅓ punnet raspberries, washed
    • ⅓ punnet red currants, washed
    Instructions
    1. Wash and hull strawberries and then quarter.
    2. Place strawberries and 1 of the punnets of blueberries in a small saucepan along with the vanilla, honey and water.
    3. Bring to the boil and cook over medium heat for 5-6 minutes. Stir once gently to combine but do not over-stir as fruit will collapse. Leave to cool.
    4. Crumble shortbread between your fingers into a small bowl.
    5. To assemble, add a few spoonfuls of fruit into a glass and then top with custard, shortbread crumbs and cream.
    6. Decorate with reserved blueberries, raspberries and red currants.
    Notes
    For best results prepare just before serving however these can be prepared a few hours in advance, covered with cling wrap and stored in the fridge until required.

    Best eaten on the day they are assembled but they will last up to 3 days, covered, in the fridge.


  • Summer pudding and a new look

    DSC_7524

    Redesigning a blog is like renovating a house. Or getting elective plastic surgery.

    You start off thinking that you’re just going to make a few minor cosmetic changes and you end up with a house (or body) that is almost unrecognisable. The thing is, once you’ve made one part look good everything around it starts to look a little tired.

    The Hungry Australian redesign you are now looking at has been a long time in the making. While I really liked my old blog design, over time I began wishing that I could add some new elements and functionality to it. The trouble is, once I started I realised that making a few minor changes would be unsatisfying and that nothing less than a complete redesign would serve.

    Because my blog is such a personal thing and I’m a bit of a control freak, finding a designer to work with me on the redesign was quite tricky. So I’m thrilled with the design that Joseph and I came up with. Thanks for all your (late-night) work getting the new site up and running, Joseph.

    This new design includes a visual recipe index, which is something I’ve been wanting ever since I started blogging and my photos actually started resembling food. You can search by type of dish or dietary requirement: if you want to search by ingredient simply enter the ingredient into the search box on the top right of the screen.

    A few things to note.

    Firstly, the new post column is significantly wider than the old one so photos in old posts won’t be completely sharp when viewed on a computer screen. I may get around to replacing all of these images with new ones at the current width one day.

    Secondly, I’m still re-categorising my recipes so there are actually more recipes in most of the sections. For example, the sugar-free category currently only contains a few recipes but there are actually a lot more sugar-free recipes in the archives. I’ll finish this off by the end of the month.

    Thirdly, old comments haven’t been imported yet. This will hopefully happen in the next day or so but you can still comment in the meantime.

    Lastly, we’re still working on it so you may find the occasional glitch. Thanks for your patience and understanding.

    Now regular readers will know that I’ve been blogging a lot less than usual lately due to firstly a killer flu and then work and family commitments. When you get out of practise with something it can become harder and harder to get back into it. But working on this blog makeover has made me fall in love with blogging all over again.

    So with this redesign almost complete, I’m feeling re-inspired and re-invigorated as I set off on a much awaited trip with Trafalgar: tonight I’m off to Abu Dhabi where I’ll be staying for a day or so before I fly to Turkey for a week’s famil/media trip followed by a two-day extension to central Turkey by myself.

    The week in Turkey was one of the prizes I received as overall winner of the Australian Writers’ Centre’s Best Australian Blogs 2014 competition. Many thanks to the team at the AWC for their support, and to Trafalgar for this amazing prize and for also hosting my add-ons to Abu Dhabi (partnering with Creative Holidays) and Cappadocia.

    I will be blogging a number of current and recent food and travel stories while I’m on the road. If you want to see what I’m up to in real-time you can follow me at Instagram, Twitter or Facebook.

    Christina xx

    Summer Pudding

    I’ve always been intrigued by the idea of Summer Pudding, a simple pudding made with stewed berries and bread. So when I had a glut of berries in the house yesterday I decided to give it a go.

    This is not a hard dessert to make and it’s a very light and pleasant one to eat, too. My daughter is notoriously picky when it comes to cakes and she ate four slices last night. How many can you eat?

    DSC_7480

    DSC_7523

    5.0 from 3 reviews
    Summer pudding
     
    Author: 
    Recipe type: Dessert
    Cuisine: Australian
    Prep time: 
    Cook time: 
    Total time: 
    A light, Summery dessert
    Ingredients
    • 1kg grams mixed berries, fresh or frozen
    • ½ cup sugar
    • 45 mls water (3 tablespoons)
    • Fresh bread (crusts removed) to cover the inside of a 1 kilogram pudding basin, about 8 regular slices or 500 grams gluten free bread (gluten free bread is generally baked in smaller loaves so you have to use more as you lose more of it when you cut off the crusts).
    Instructions
    1. Place 800 grams berries, sugar and water in a medium saucepan and cook until juices run (about 3-4 minutes for fresh and 8-10 minutes if frozen).
    2. Meanwhile, line pudding basin with bread ensuring that there are no gaps (cut to fit).
    3. Remove approximately ⅓ cup juice from saucepan and then spoon remaining berries and juice into bread-line pudding basin.
    4. Cover berries with remaining bread and then gently spoon over a few tablespoons of the reserve juice so that the bread is all red in colour. Cover the remaining juice and store in the fridge.
    5. Cover pudding with a clean saucer that fits just inside the pudding basin and then put a heavy weight on top (e.g. a can or heavy plate).
    6. Refrigerate the pudding overnight or for at least four hours.
    7. To serve, remove pudding from fridge and discard saucer.
    8. Place a serving plate over the pudding base and carefully invert the pudding onto the plate.
    9. If there are any white spots on the bread, cover these up with the reserved juice.
    10. Decorate with reserved fresh berries and serve with cream or custard.
    Notes
    SUBSTITUTIONS
    Gluten-free: gluten-free bread can be used.
    Refined sugar-free: stevia, honey, rice malt vinegar or agave syrup can be used instead of sugar.
    Dairy-free: serve with dairy-free ice cream or whipped coconut cream instead of whipped cream.


  • Recipe: Anne of Green Gables + Upside Down Plum Cake

    I’ve been a bookworm as long as I could read. When I was a young girl we would visit the library every Saturday and I would borrow another bag of books to read over the next week.

    Amongst all the books I read spunky literary heroines were thin on the ground. Enid Blyton’s Faraway Tree lot were nice but insipid, Katie from What Katie Did was admirable but unexciting and three of the four March girls  in Louisa M Alcott’s Little Women were largely forgettable.

    The girls I loved reading about were the trailblazers, the ones who broke the mould because they didn’t really fit in anywhere. I adored the impulsive and hot tempered writer Jo March in Little Women, the delightfully original Penny Pollard series by Australian author Robyn Klein and Mulan, the real-life Chinese girl who dressed as a man to take her father’s place in the Chinese army. These girls were brave, strong, smart and wholly original. They stepped off the usual paths to make their own and millions of girls like me cheered their every step.

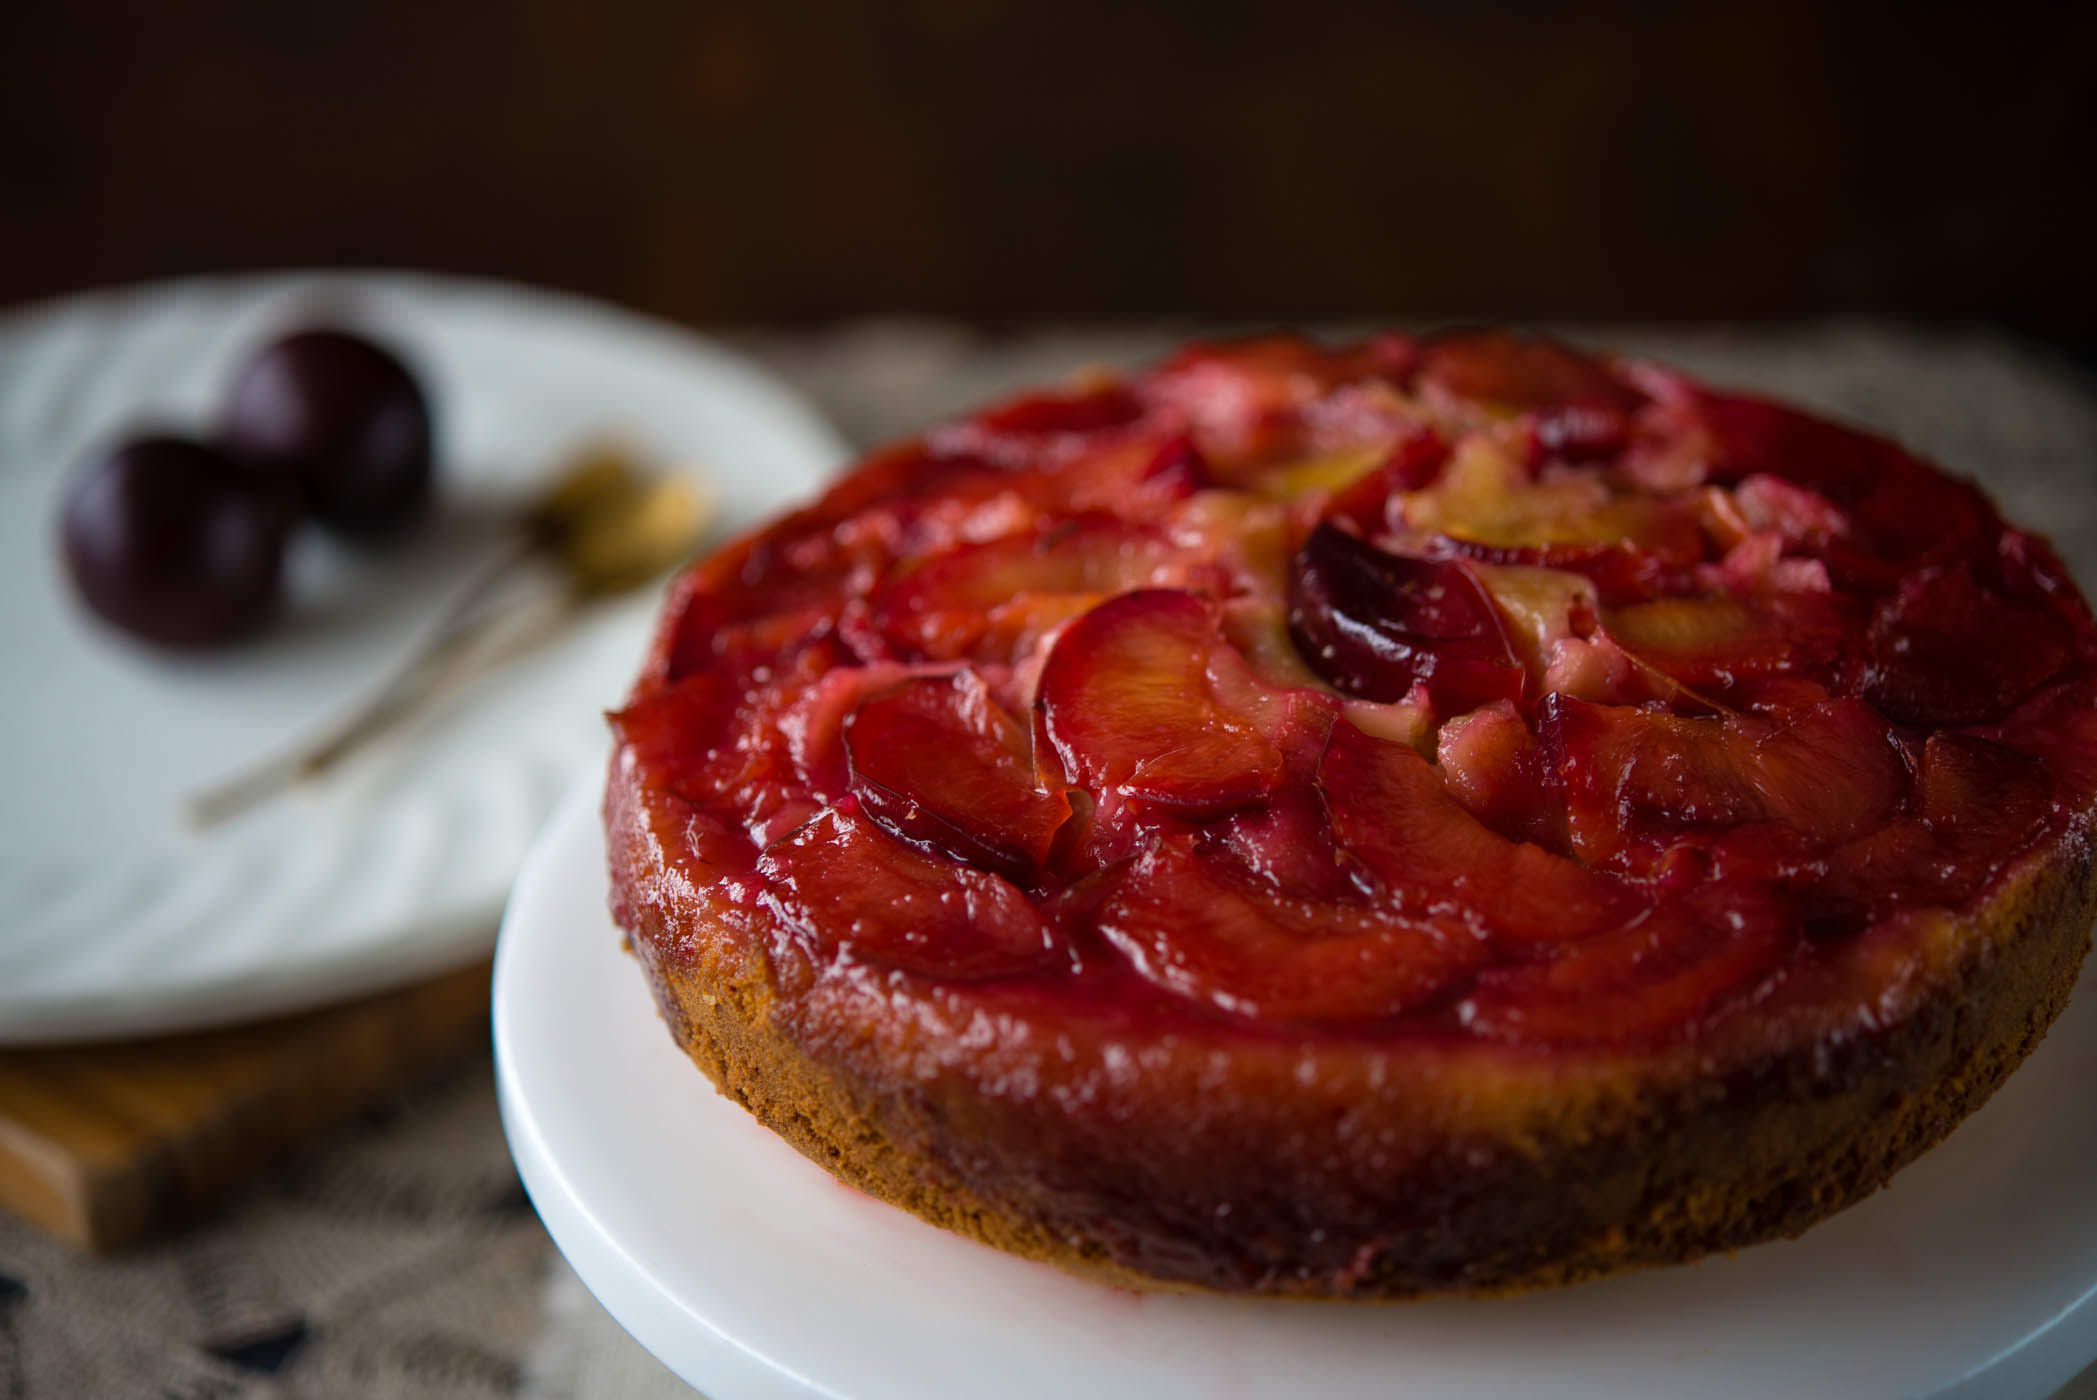
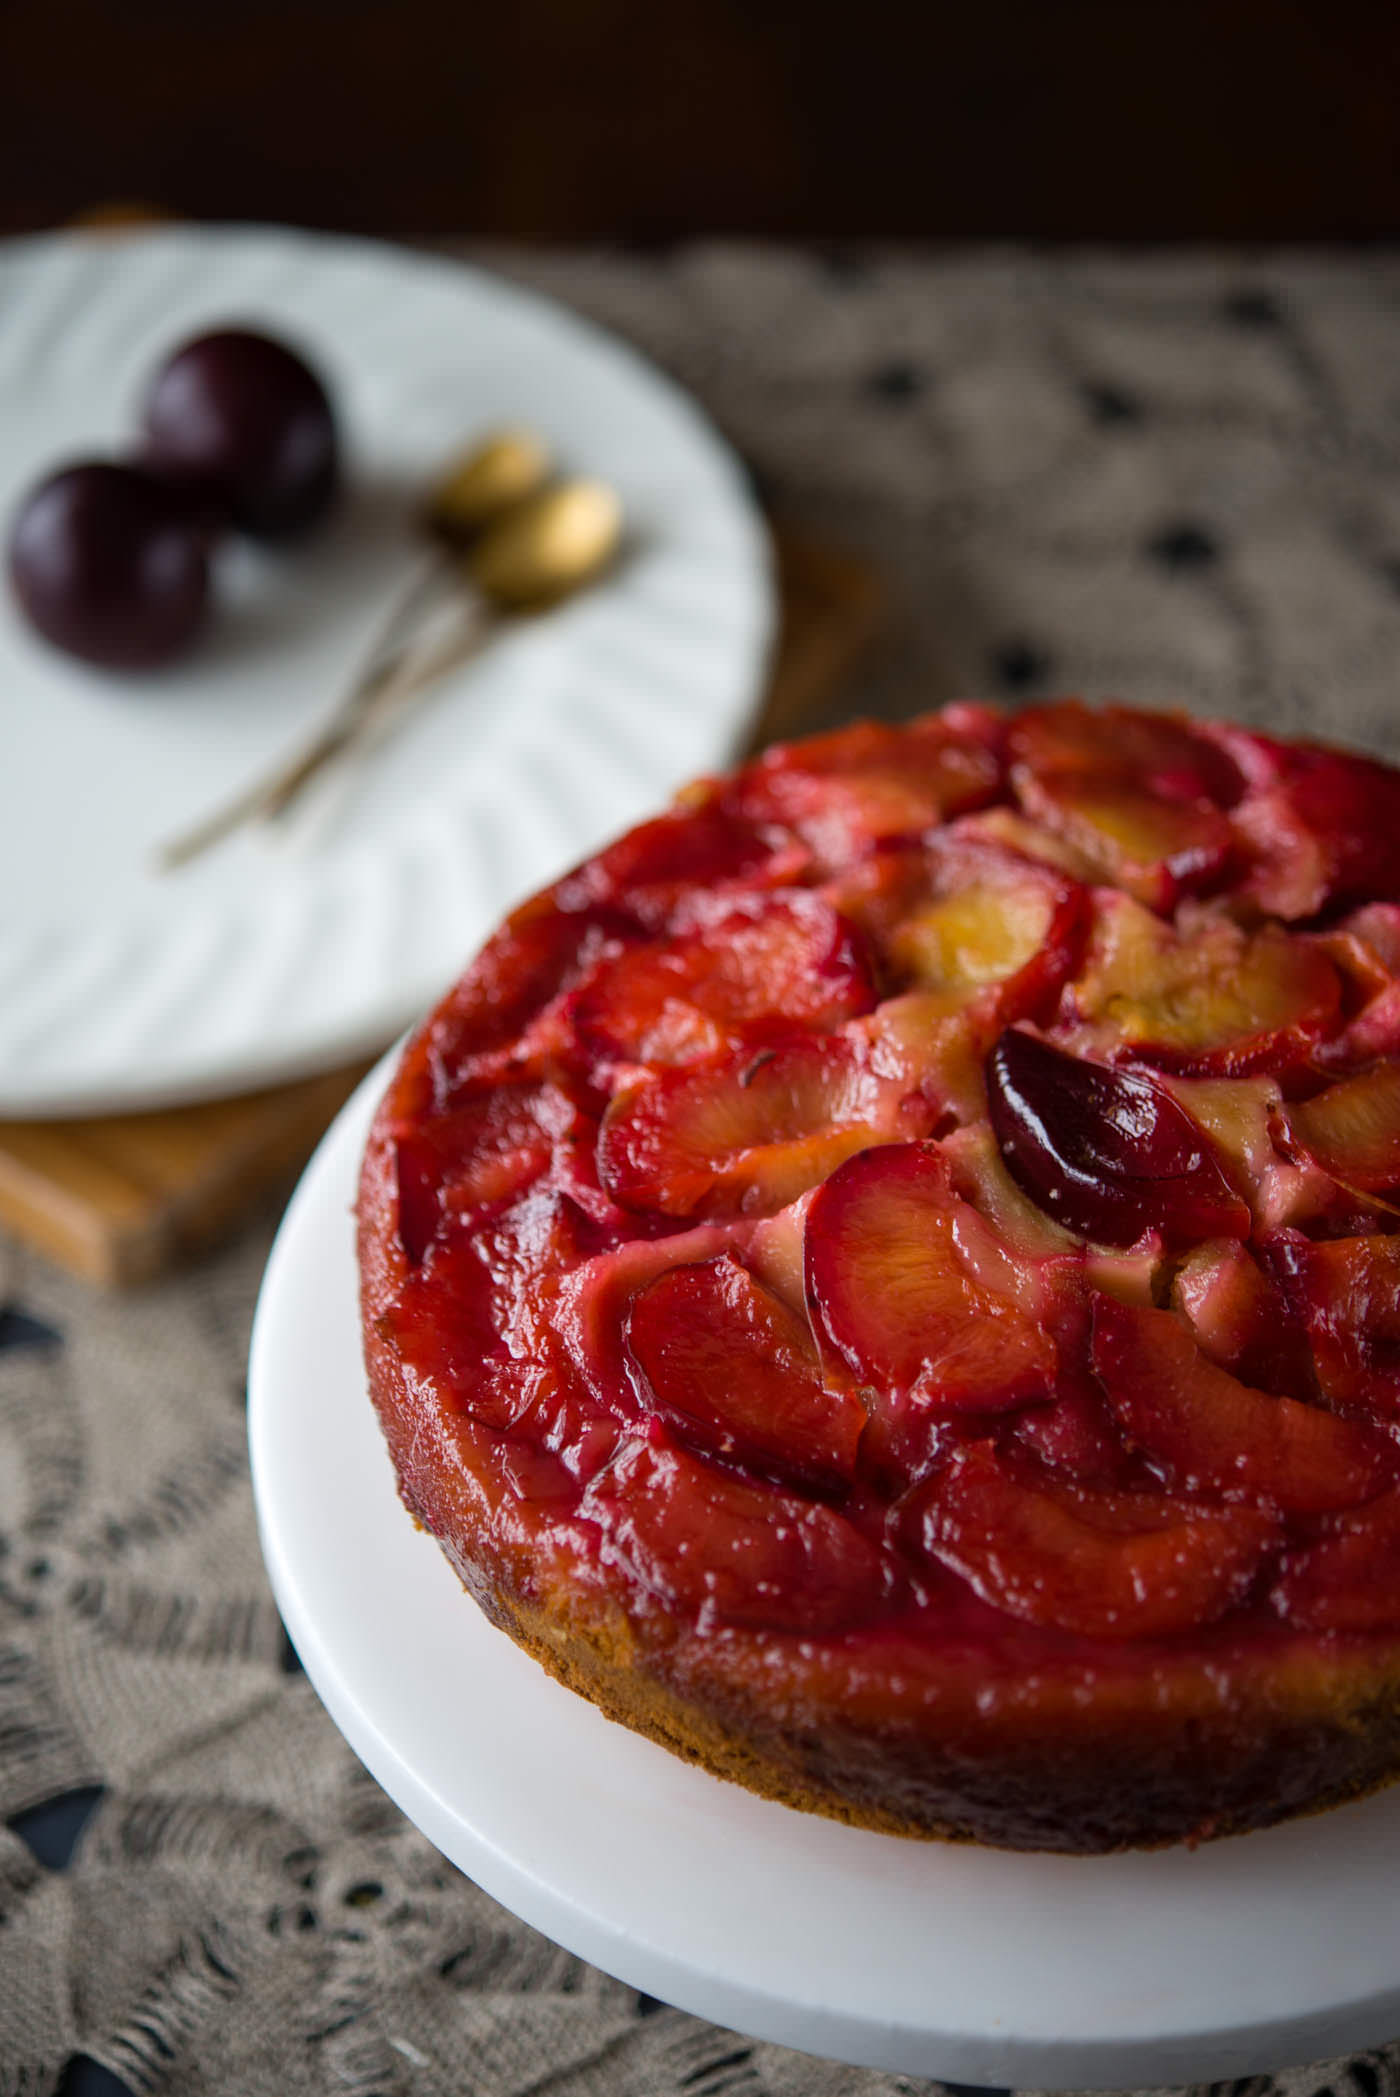
    upside down plum cake

    My most beloved literary heroine was Anne of Anne of Green Gables, that red-headed, freckled orphan created by Lucy Maud Montgomery. The plot: Anne goes to live with Marilla and Matthew Cuthbert on Prince Edward Island because of a mixup and winds up changing the lives of everyone she meets. When we first meet Anne she is skinny, awkward and plain. Later, she blossoms into a beautiful, confident woman but throughout it all she remains the same  – a spunky, creative and impulsive person who can always see the positive in every situation.

    Here’s the movie trailer.

    Two words: Gilbert. Blythe. *swoon*

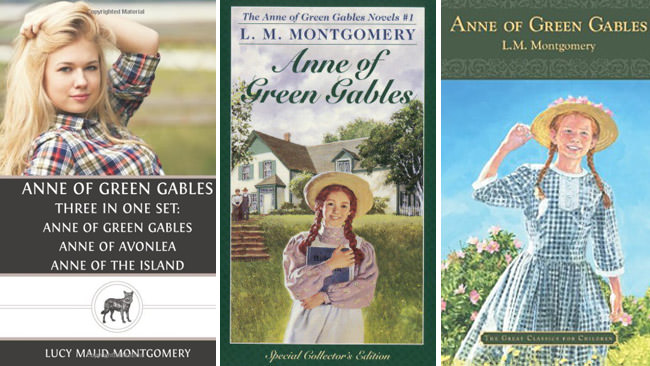
    Anne was the person I aspired to be when I grew up. So you can imagine my horror when I saw that an unauthorised publisher had recently created this new cover (on the left) for their edition of Anne of Green Gables.

    411092-anne (1)

    (Image courtesy Courier Mail)

    GAH!!! WHAT HAVE YOU DONE TO OUR ANNE?

    Anne is not blonde. She is not curvy. She does not pull her hair seductively off her face. She does not stare at the reader with a come-hither gaze.

    Hoik her shirt a little higher and undo a few buttons and she could be an FHM cover girl. This is an appalling lapse of judgement by a new, unsanctioned publisher. Clearly whoever was in charge didn’t even bother reading the book. Heck, he or she didn’t even bother googling ‘Anne of Green Gables’.

    FAIL.FAIL.FAIL.

    upside down plum cake

    Continue reading

  • Grilled Figs with Vanilla Ice Cream and Strawberry Sauce

    Is it still hot here or is it just me?

    Nope, it is still hot in sunny Australia. Yesterday we took full advantage of this warm weather by spending the late afternoon down at the beach. The kids played under the jetty and built sandcastles while I drew in the sand and watched the world walk by. It was relaxing and fun, and I decided we have to visit the beach at least once a week while the weather is warm, no matter how busy we are.

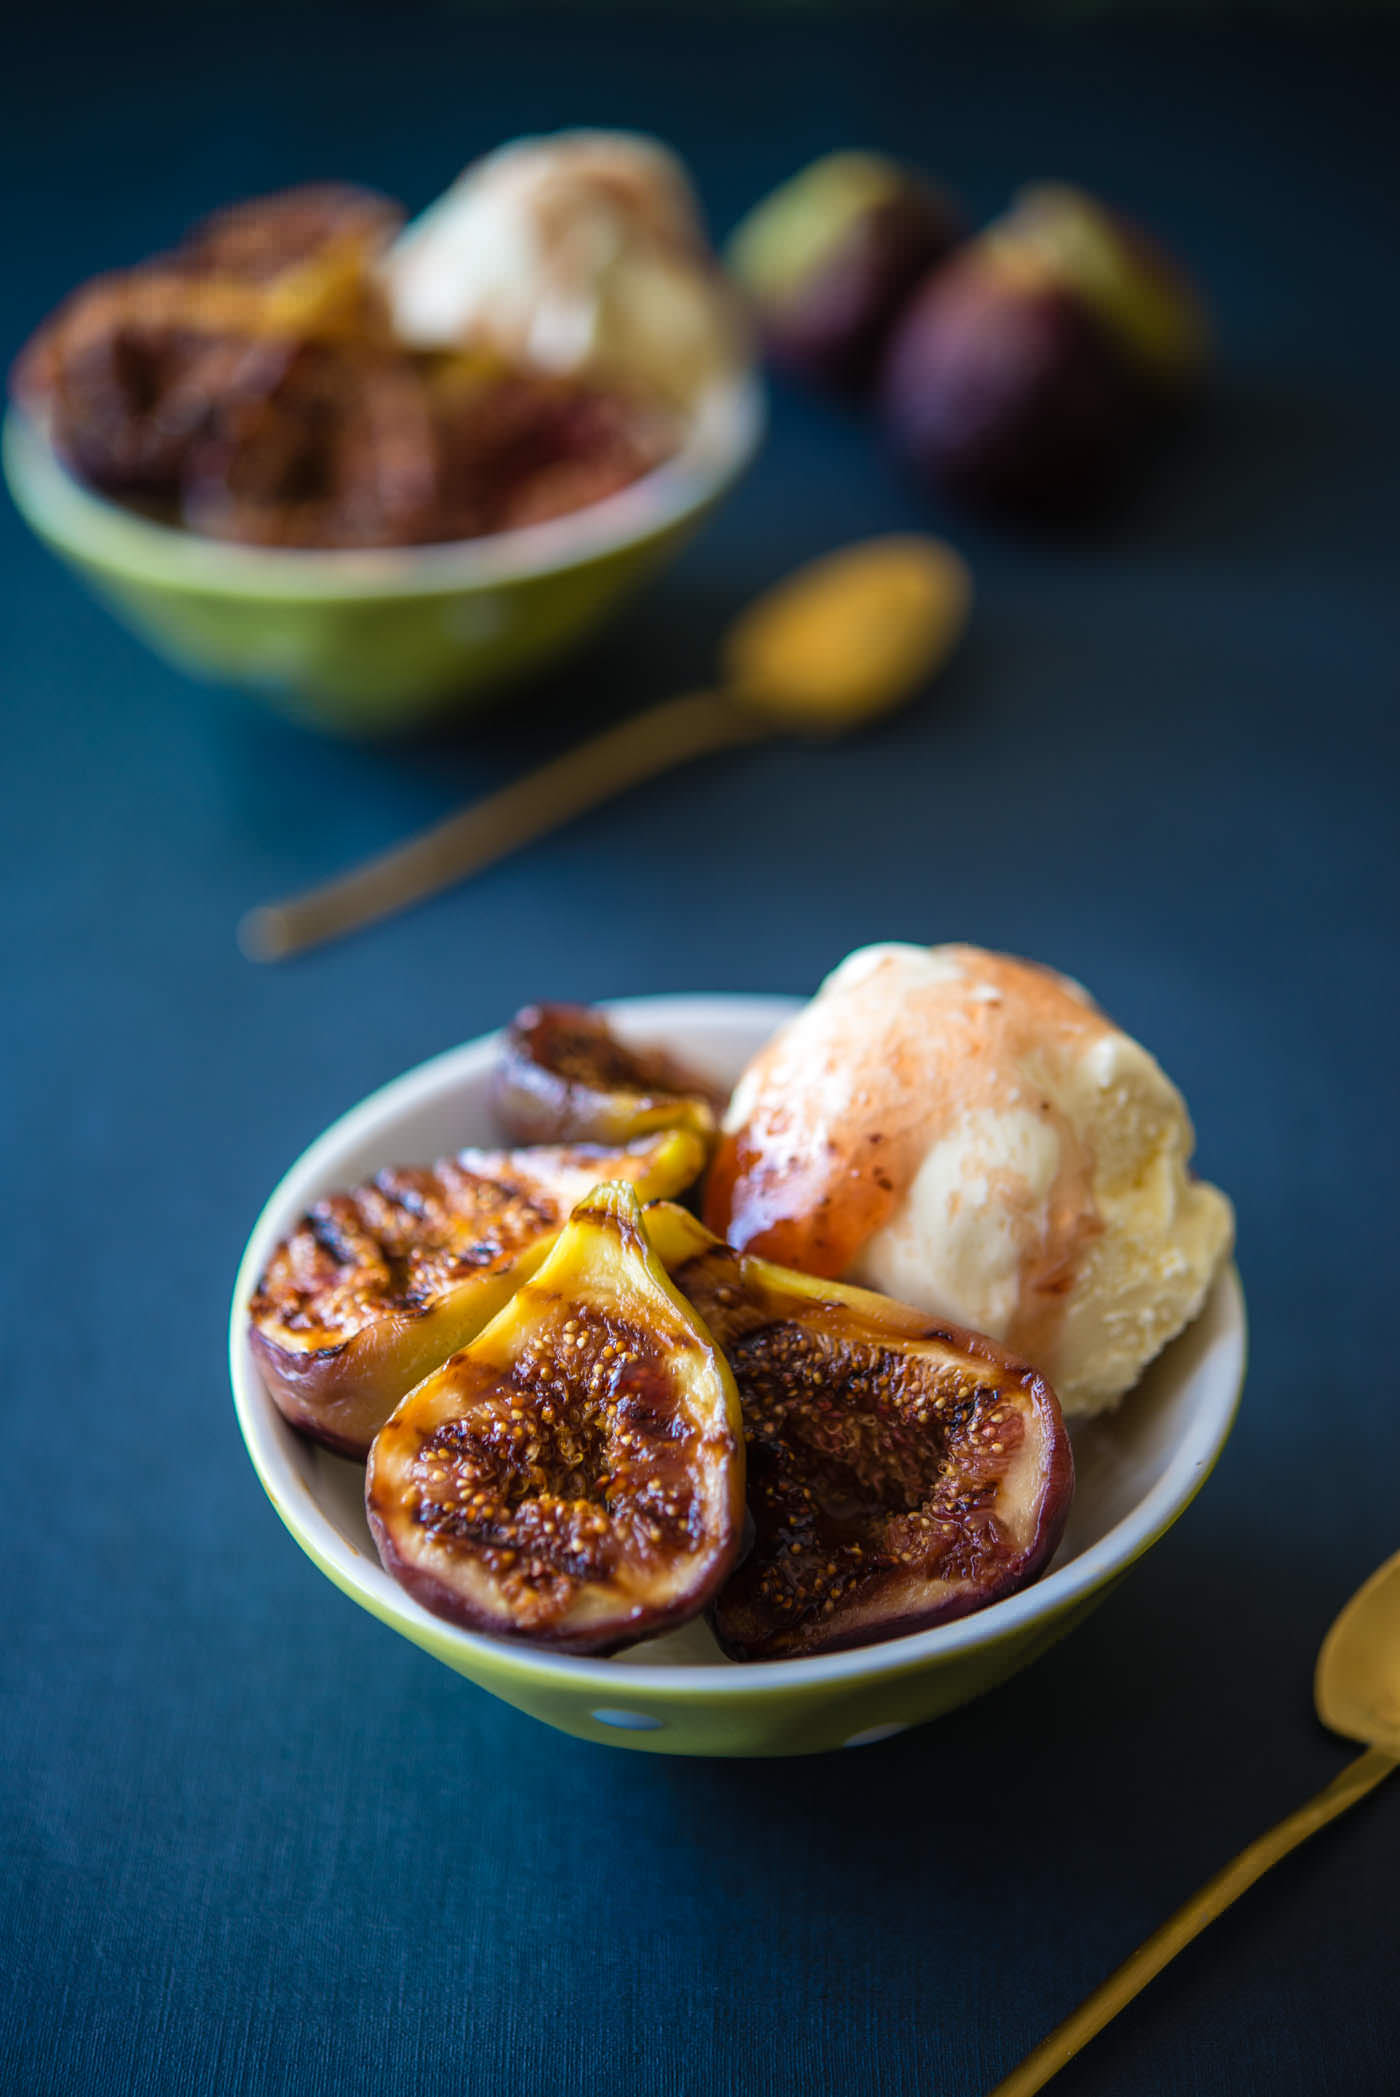
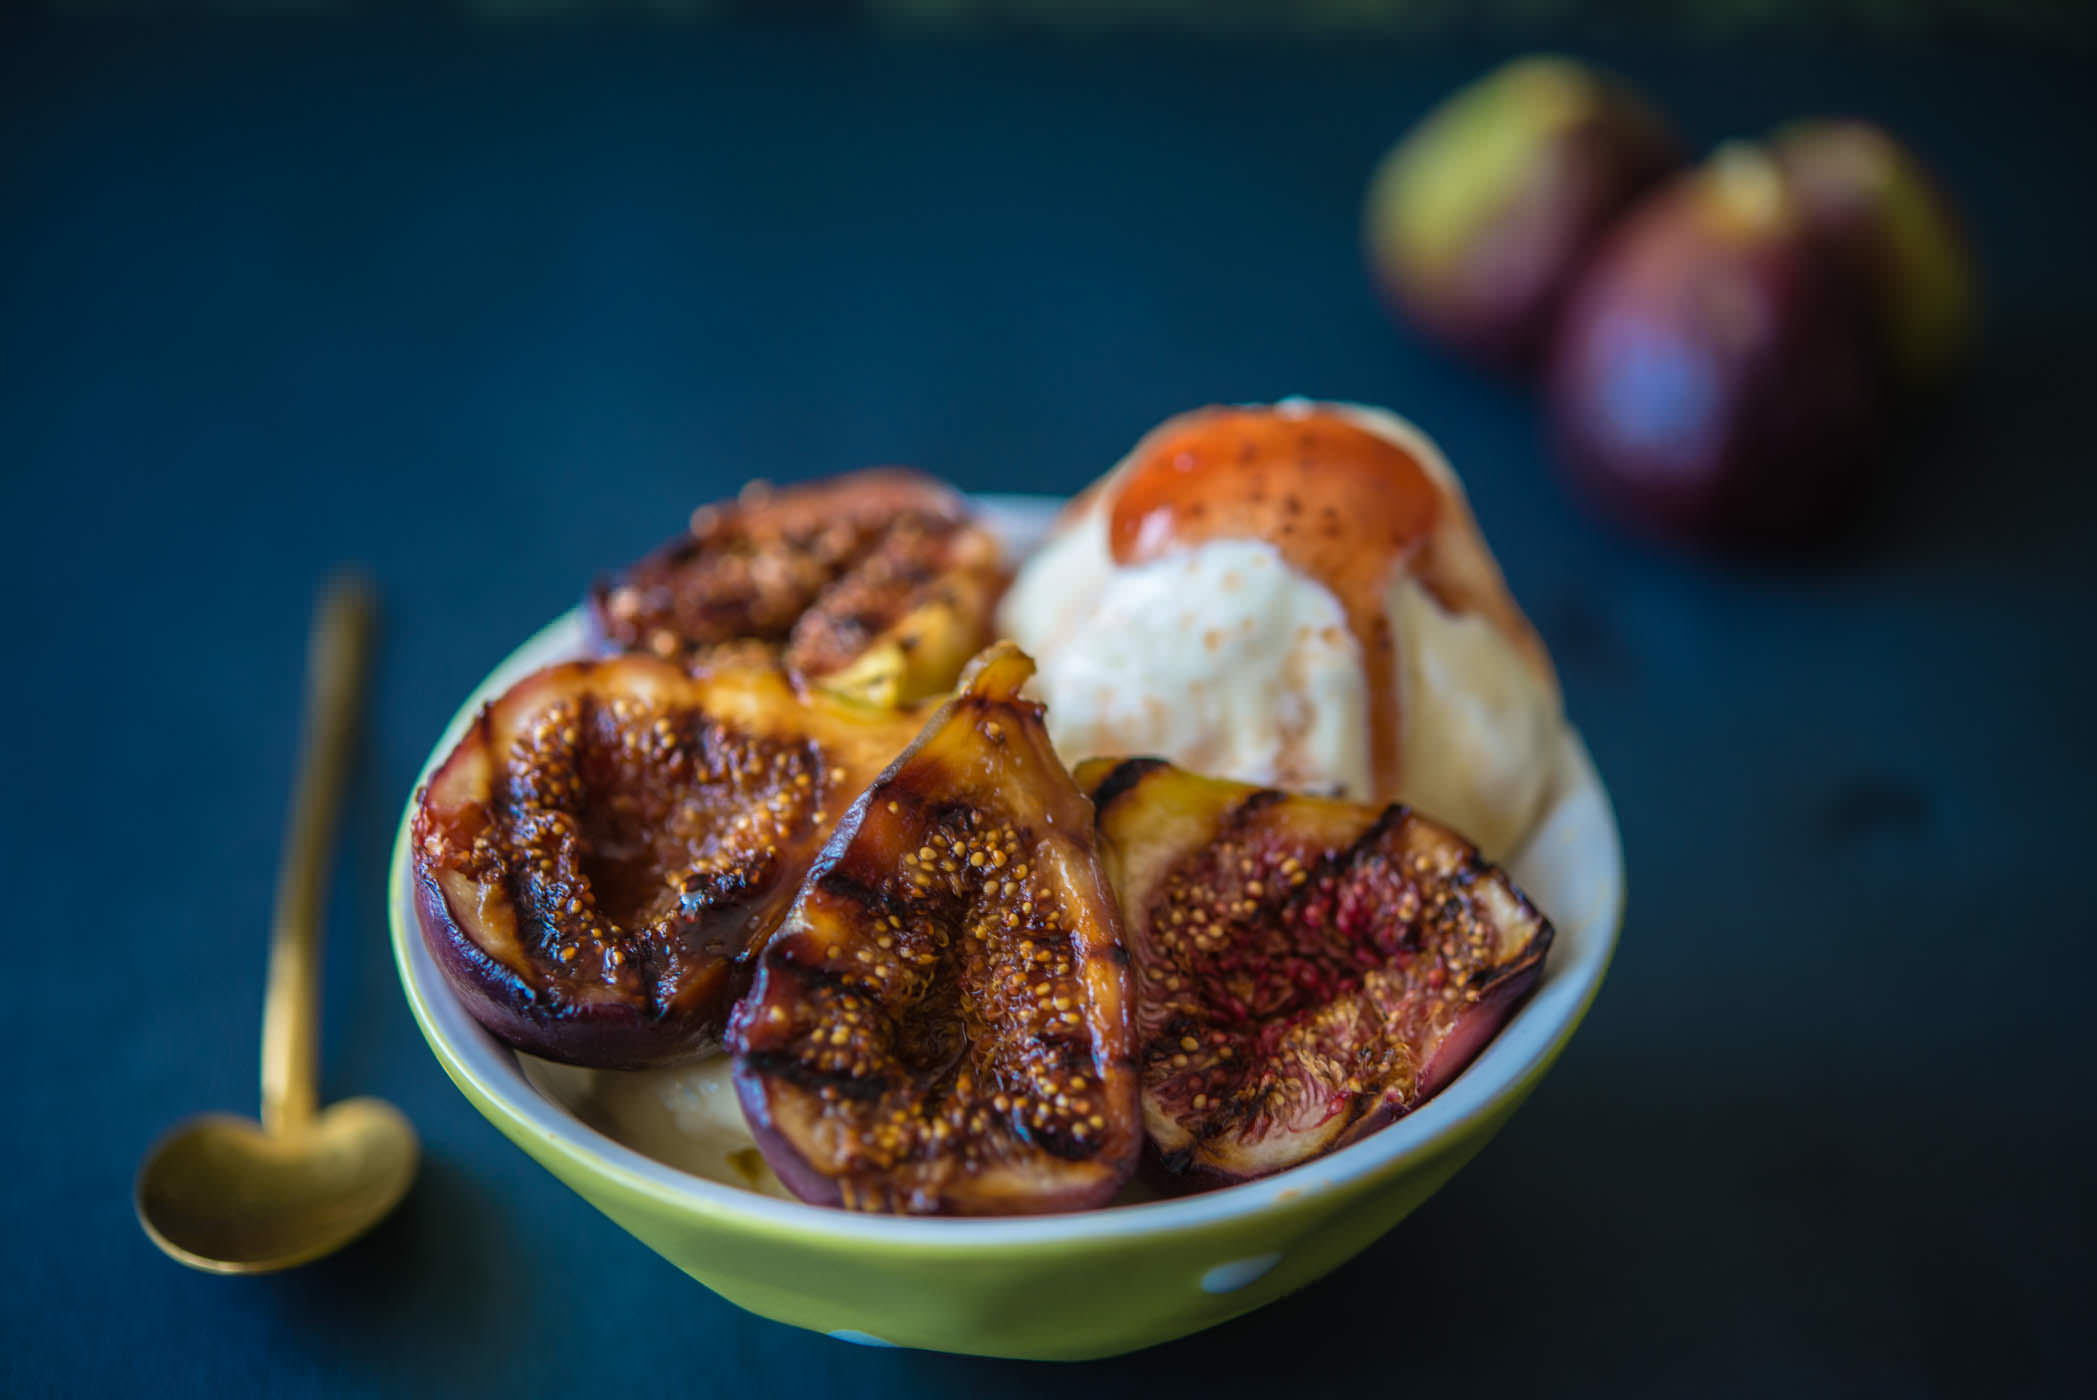
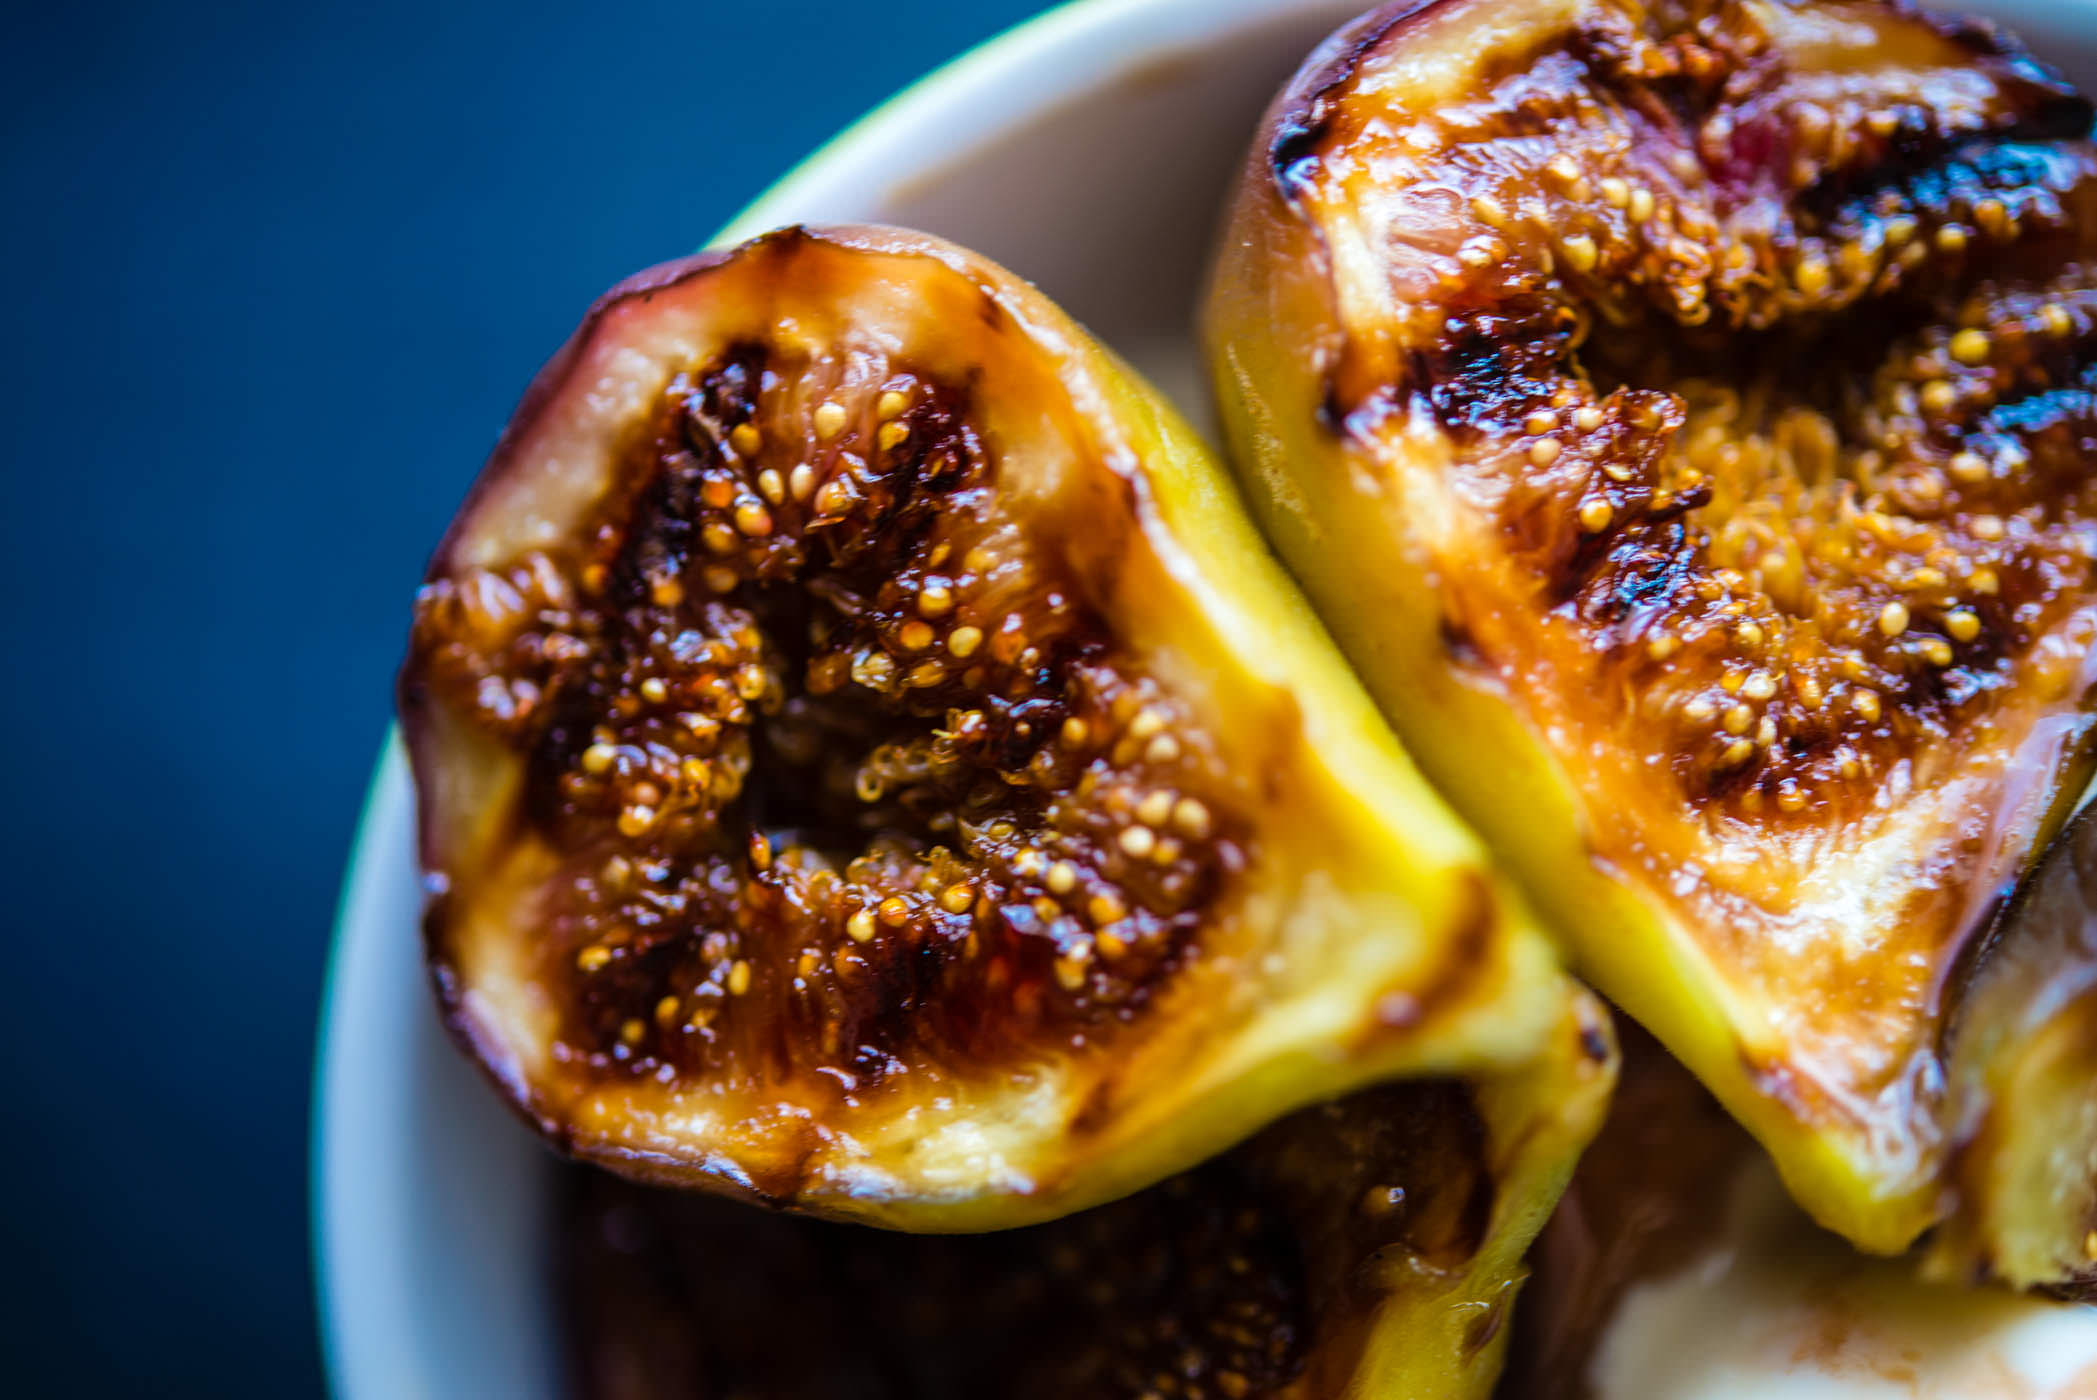
    Grilled Figs

    Now regular readers will know that I went fig picking at a friend’s house last week, with happy results. Having a whole box of figs to play with was a wonderful treat. Instead of rationing them out as I usually do — figs are $AUD30/kg right now — I flung them around the kitchen with abandon. In the end, simplicity ruled though; when the produce is this good, you really don’t want to do too much to it.

    Grilled figs

    This recipe will take you all of five minutes to make. Seriously. OK, I went with shop bought ice cream and top quality strawberry sauce (by local company Beerenberg) but that doesn’t make this dessert any less spectacular. In fact, in keeping with Summer’s laid-back feel, there’s something highly appropriate about a dessert that you can casually make on the spot and serve to grateful sweet lovers with nary a hair out of place.

    There are three things you should remember, though:

    1. Only wash the figs just before cooking. Like strawberries, the minute you wash a fig it’ll start to deteriorate;
    2. Spray a cold non-stick grill pan with cooking oil to avoid sticking – I like ProChef’s Soya Bake Non-Stick spray (used more often when baking cakes);
    3. Heat up your grill pan until very hot before putting the figs on and cook on a high heat for 3-5 minutes – you want a short burst of intense heat to get those lovely grill marks without overcooking the figs.
    Grilled Figs

    If you can manage these three things, and of course you can you clever thing, you’ll be rewarded with a dessert that will make your tastebuds sing, your knees buckle and your heart skip a beat.

    Continue reading

  • Strawberry Granita

    The weather has been crazy hot in Adelaide for three days now.

    Now I love hot weather but when it’s hot I want to be eating hawker noodles in Asia, swimming at the beach or lazing by a hotel pool, cocktail in hand. When I’m trying to shoot ice cream, working on a client project or doing the school run, a very hot day is rather a bore because I focus on how hot and uncomfortable I am, rather than the job at hand.

    Enter this icy dessert, designed to blow all those heat-cobwebs away and leave me feeling refreshed and energised.

    DSC_3698

    This Strawberry Granita is so easy to make — my 6 year old could do it without any trouble — and it’s absolutely delicious. It’s healthy, too, as I’ve used rice malt syrup as a sweetener instead of sugar.

    DSC_3701

    So when I found out the theme for Sweet Adventures’ new hop was License to Chill I knew I had to make this.

    For those new readers, Sweet Adventures is a group of Aussie foodbloggers – 84th & 3rdThe Capers of the Kitchen CrusaderDining With a Stud, and I, The Hungry Australian, who host a monthly, dessert-themed blog hop.

    Previously, we have hosted: Tropical Paradise (January 2013), Sweets for Santa (December 2012), Cake and Three Veg (November 2012); High Tea (October 2012); Feeling Saucy (September 2012); Berry Nice to Meet You! (August 2012); Nuts About Sweets (July 2012); Sweet as Pie (June 2012); What’s Your Cup of Tea? (May 2012); Lemons (April 2012); Layer upon Layer (March 2012); Love at First Bite (February 2012); Death by Chocolate (January 2012); Festive Favourites (December 2011); and Great Australian Pavlova (November 2011).

    DSC_3700

    Continue reading

  • Fig, Raspberry & Ginger Ice Cream Cake (Sweets for Santa)

    Can you believe it’s only one week until Christmas?

    Nope, I can’t believe it, either. This year has flo-o-o-wn by.

    I love this time of year. It’s a time to remember what’s important and to spend time with those we care about. It’s a time to give thanks. It’s a time to reflect on the ups and downs of the year and to look to the future with hope and energy.

    And of course it’s also a time to eat and indulge one’s sweet tooth! :D

    So welcome to Sweet Adventures’ Sweets for Santa Blog Hop.

    For those new readers, Sweet Adventures is a group of Aussie foodbloggers – 84th & 3rdThe Capers of the Kitchen CrusaderDelicieuxDining With a Stud, and I, The Hungry Australian, who host a monthly, dessert-themed blog hop. You can visit the other blogs taking part in our hops via the thumbnails at the bottom of each post.

    Previously, we have hosted: Cake and Three Veg (November 2012); High Tea (October 2012); Feeling Saucy (September 2012); Berry Nice to Meet You! (August 2012); Nuts About Sweets (July 2012); Sweet as Pie (June 2012); What’s Your Cup of Tea? (May 2012); Lemons (April 2012); Layer upon Layer (March 2012); Love at First Bite (February 2012); Death by Chocolate (January 2012); Festive Favourites (December 2011); and Great Australian Pavlova (November 2011).

    This month, it was my turn to host again and of course I went with a festive theme.

    This Fig, Raspberry & Ginger Ice Cream Cake combines some of my favourite Summer flavours. Figs are at their most luscious now, while the raspberry and ginger help create the ‘wow’ factor.

    Merry Christmas everybody. May you all enjoy a day filled with love, laughter and deliciousness!

    Sweets for Santa Blog Hop
     
    Author: 
    Recipe type: Dessert
    Cuisine: Australian
    A simple but gorgeous cake filled with Summer flavours
    Ingredients
    • 1.5 litre vanilla ice cream
    • 1 packet Ginger nut or Ginger biscuits
    • 50 grams butter
    • 200 grams frozen raspberries
    • 6 ripe figs, or 1 jar figs, cut into eights
    • 8 pistachios
    Instructions
    1. Leave ice cream to soften on the kitchen counter for 10-15 minutes until it's easy to mix.
    2. Meanwhile, put biscuits into a strong plastic bag and crush with a mallet or rolling pin until fine rubble. The finer the better.
    3. Spray a Springform pan with cooking/baking spray.
    4. Melt butter in microwave and then combine with biscuit crumbs in a bowl and mix thoroughly.
    5. Press firmly into bottom of cake tin, using an offset spatula to get it nice and even.
    6. In a large bowl, mix ice cream, 150 grams frozen raspberries and figs until well combined.
    7. Pour onto biscuit base and then use an offset spatula to make the surface smooth and even.
    8. Use the last 50 grams of raspberries to decorate the top, rubbing the frozen berries between your fingers and scattering over randomly.
    9. Freeze for at least three hours or overnight.
    10. To serve, remove from freezer and stand in the sink that you have half-filled with water (making sure water will not go over cake pan top, naturally)
    11. Leave for a minute and then remove from cake pan.
    12. Place on cake stand and garnish with pistachios.

    Sweet Adventures Blog Hop: Sweets for Santa

    If you blog about food we’d love you to join this hop. We encourage you to be as creative as you like – the only rule is that your recipe must be something in keeping with the festive theme.

    Simply follow the steps below and join the fun!

    1. Publish your Sweets for Santa post on your blog sometime between Monday 17 December 2012 – Australian Eastern Standard Time [AEST: Sydney] and will 1:59pm Monday 24 December 2012 AEST. Entries are linked in order of submission and only new festive recipe posts are eligible.
    2. Click here for the Link Code. Copy the code and add it to the bottom of your Sweets for Santa post (you will need to do this in HTML view). Adding the code will create the thumbnail gallery of all the other entries and let visitors hop from other blogs to your blog and vice versa. If you are on wordpress.com (i.e. not self hosted) the list will not show on your blog so please create a text link back to this post instead.
    3. Grab the Sweets for Santa badge from here and add it to your post. Just right click on the image, ‘save as’, upload to your site and add it to your post. Link the badge or a line of text to this page so that others can view the instructions on how to join.
    4. Click here to Enter the HopThis is really important! The badge and thumbnail list are on your post so make sure to enter the hop so that you appear in the list. For question 1: add the URL of your Sweets for Santa post, not your homepage. For question 2: for caption/title add the name of your dessert. For question 3: for ‘your name’ please enter your blog name. For question 4: your entry is automatically submitted when you click ‘crop’.
    5. Your linked post WILL NOT appear straight away in the blog hop thumbnail list as this is a moderated hop. Your post will be visible in the list after approval.
    6. Hop around to all the other entries in the blog hop, sharing the comment love.
    7. If you are on Twitter use the #SABH to tell the world about your Sweets for Santa post. Follow us @SweetAdvBlogHop or like us on Facebook for new hop announcements and general deliciousness.

    If you aren’t sure how to do something please leave a comment or get in touch.