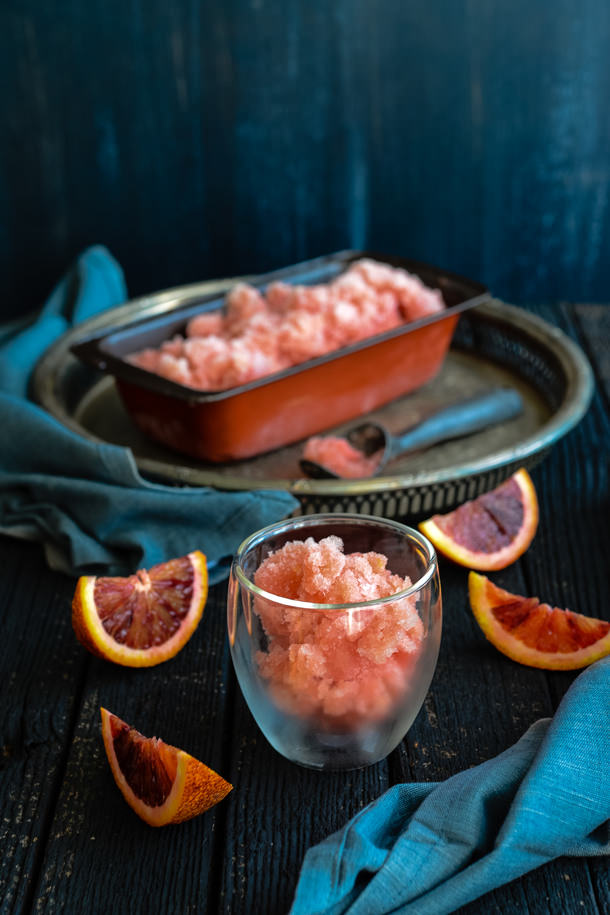
Don’t you love that scene in The Incredibles where Mr Incredible is eating shrimp on the plane and the autopilot says, “would you care for more mimosa?” It kills me every time.
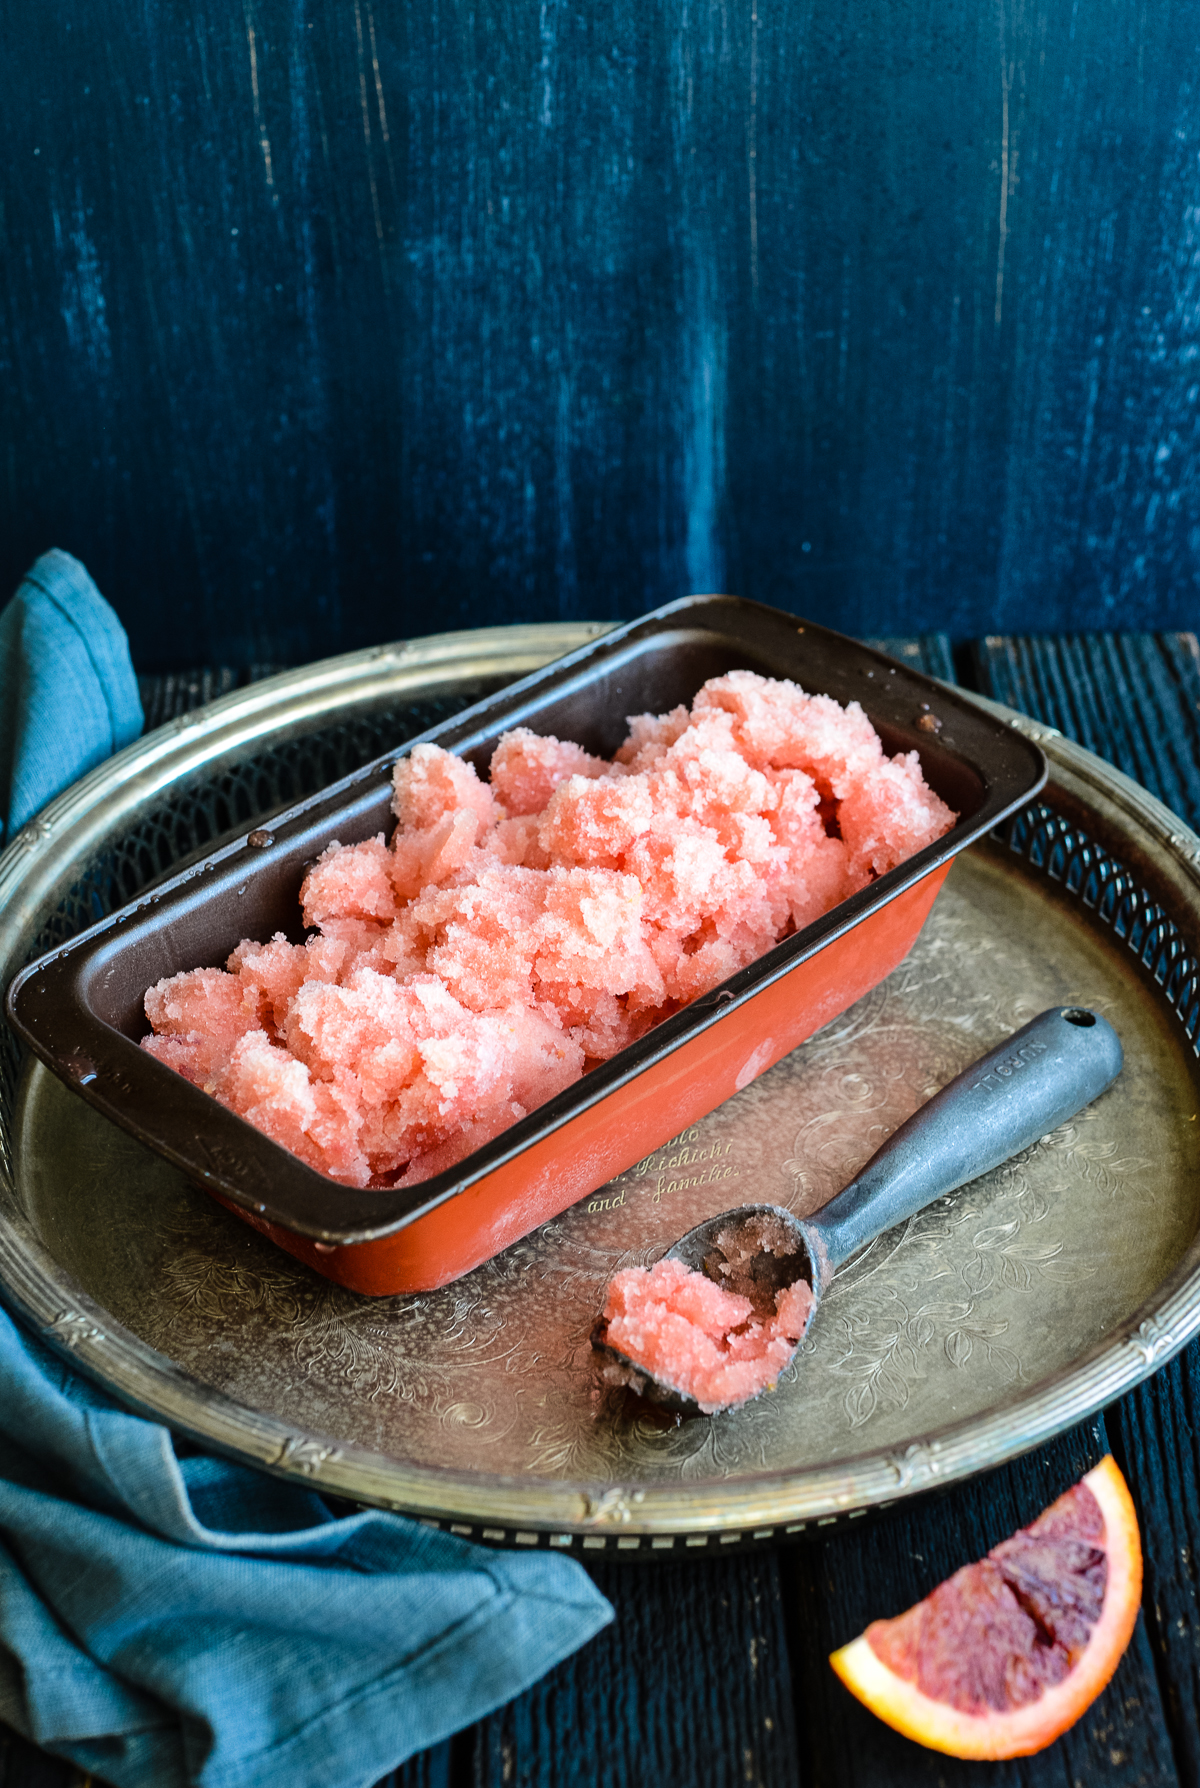
After the success of my Bellini Sorbet made from Prosecco and yellow peaches I knew I had to keep going down this upmarket alcoholic slushy path. So inspired by The Incredibles here is my Mimosa Sorbet for your eating (drinking?) pleasure.
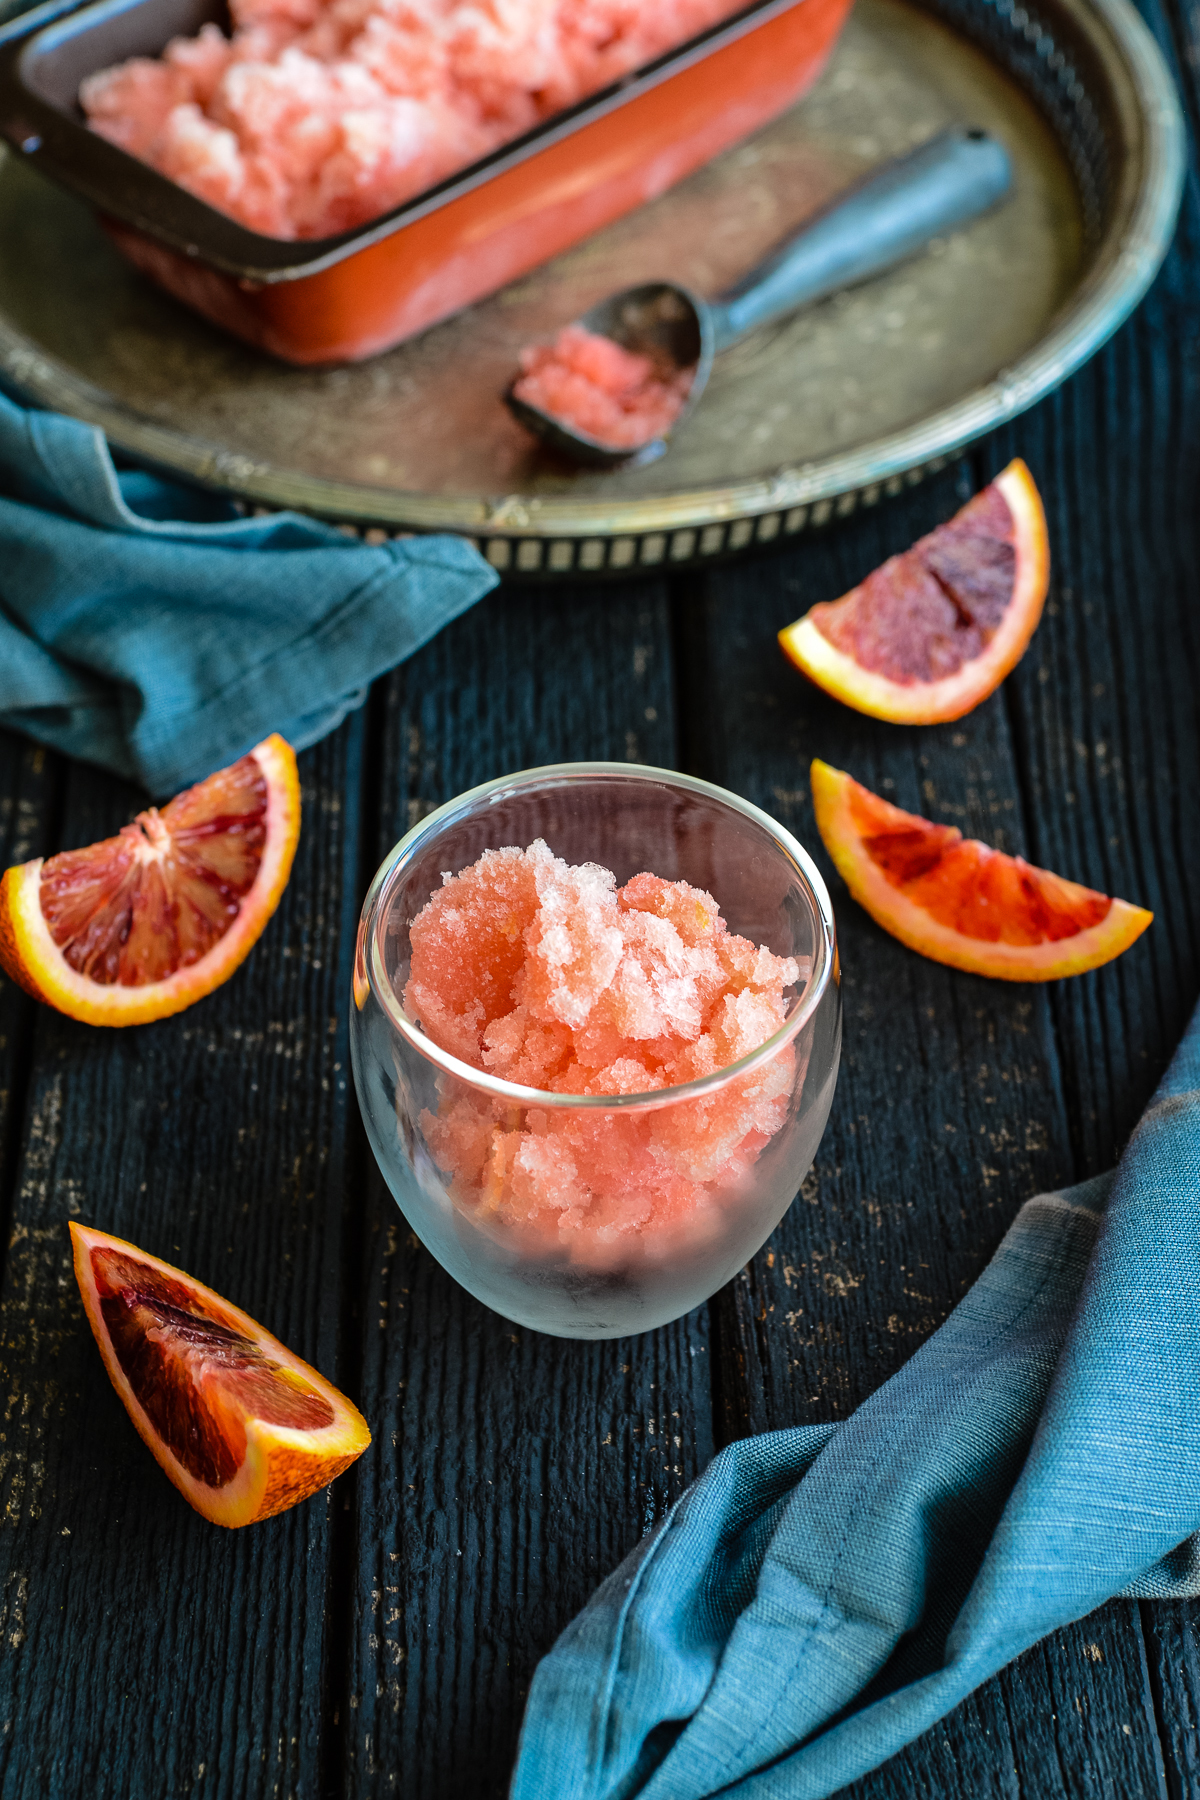
Regular readers will know I’m an amateur drinker (Asian gene fail) so these alcoholic sorbets are perfect for me – I can keep this Mimosa Sorbet in the freezer and spoon some into a glass as I like, without feeling bad that I’ve opened (and must finish) a whole bottle of bubbles. Which I couldn’t do without things getting very, very messy.
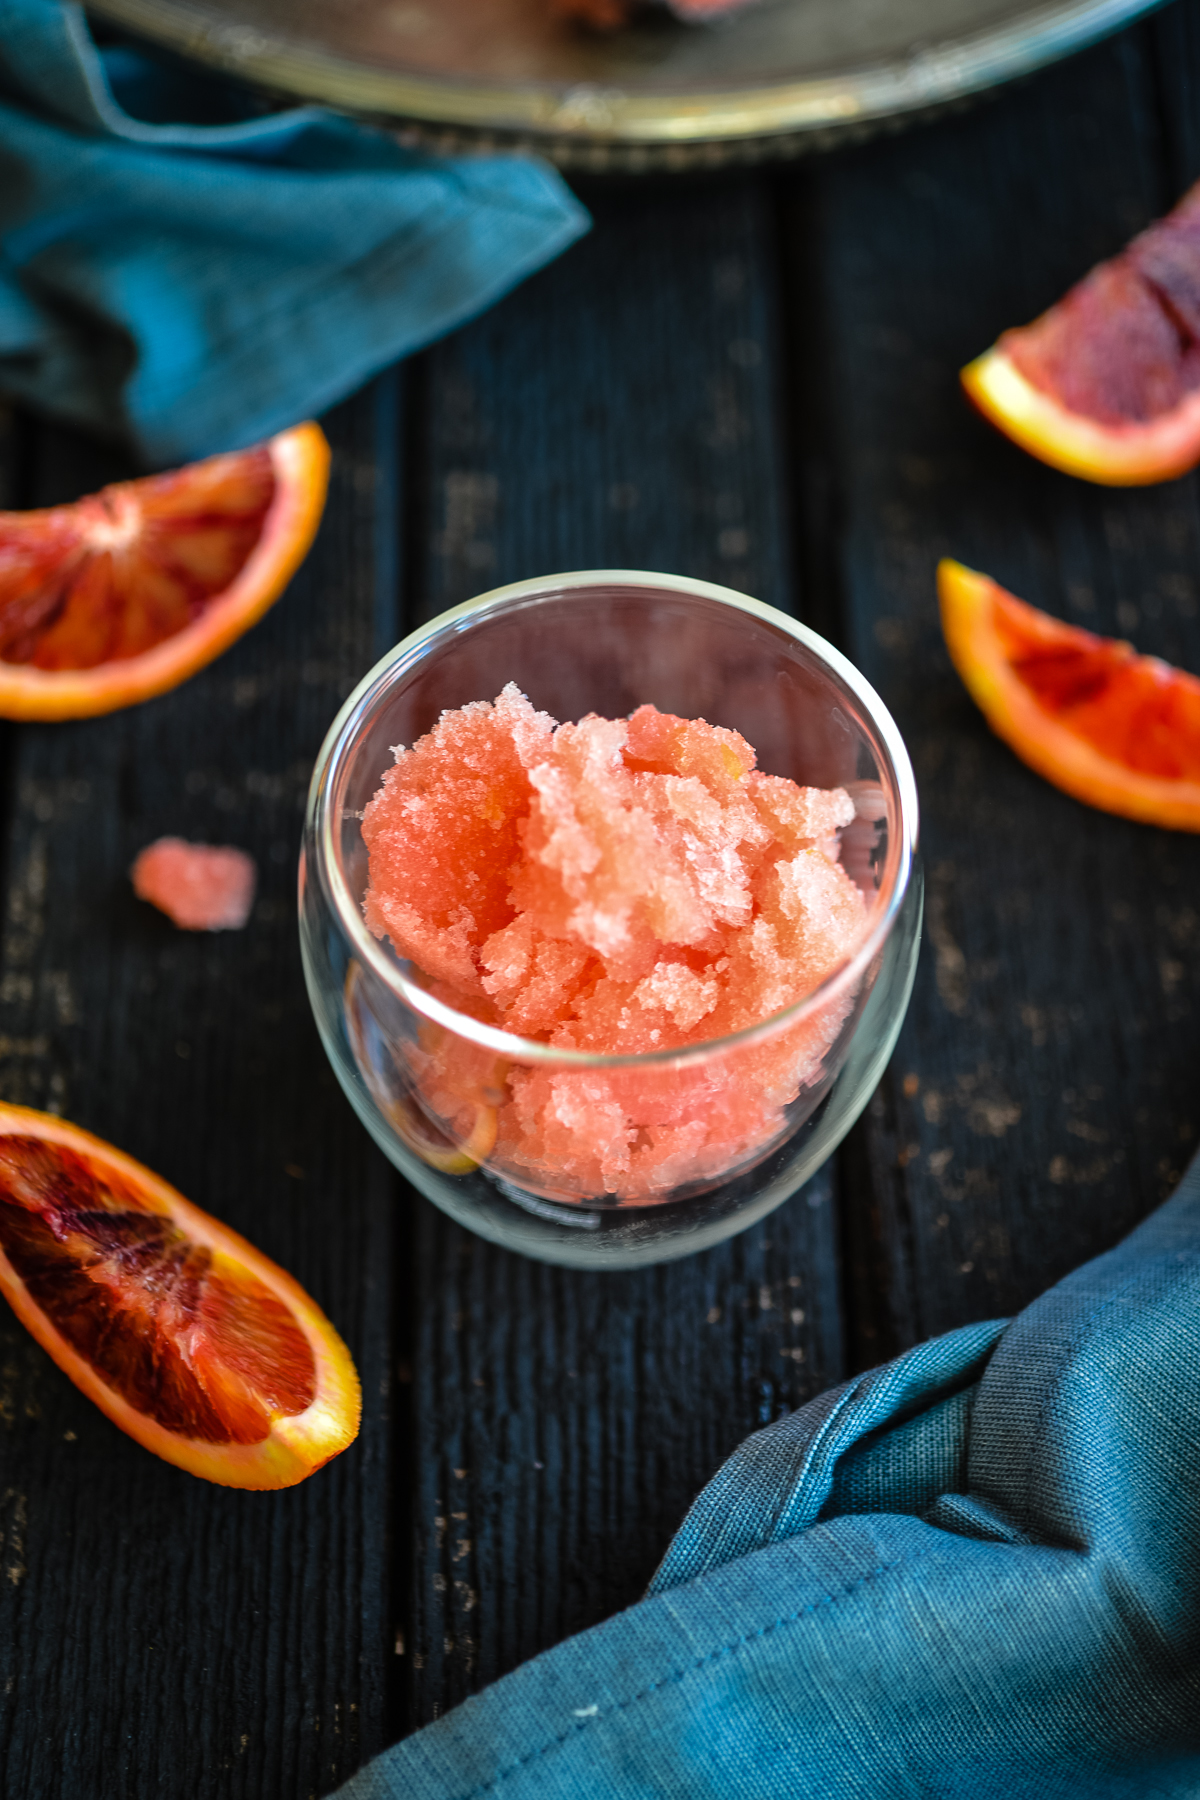
This Mimosa Sorbet would also be perfect to take to a dinner party or house party. You can make it up the day before, chuck it in the freezer and then dish it up on the spot at the party the next day. To serve it you can use either small cups or bowls or those great cardboard cupcake wrappers.
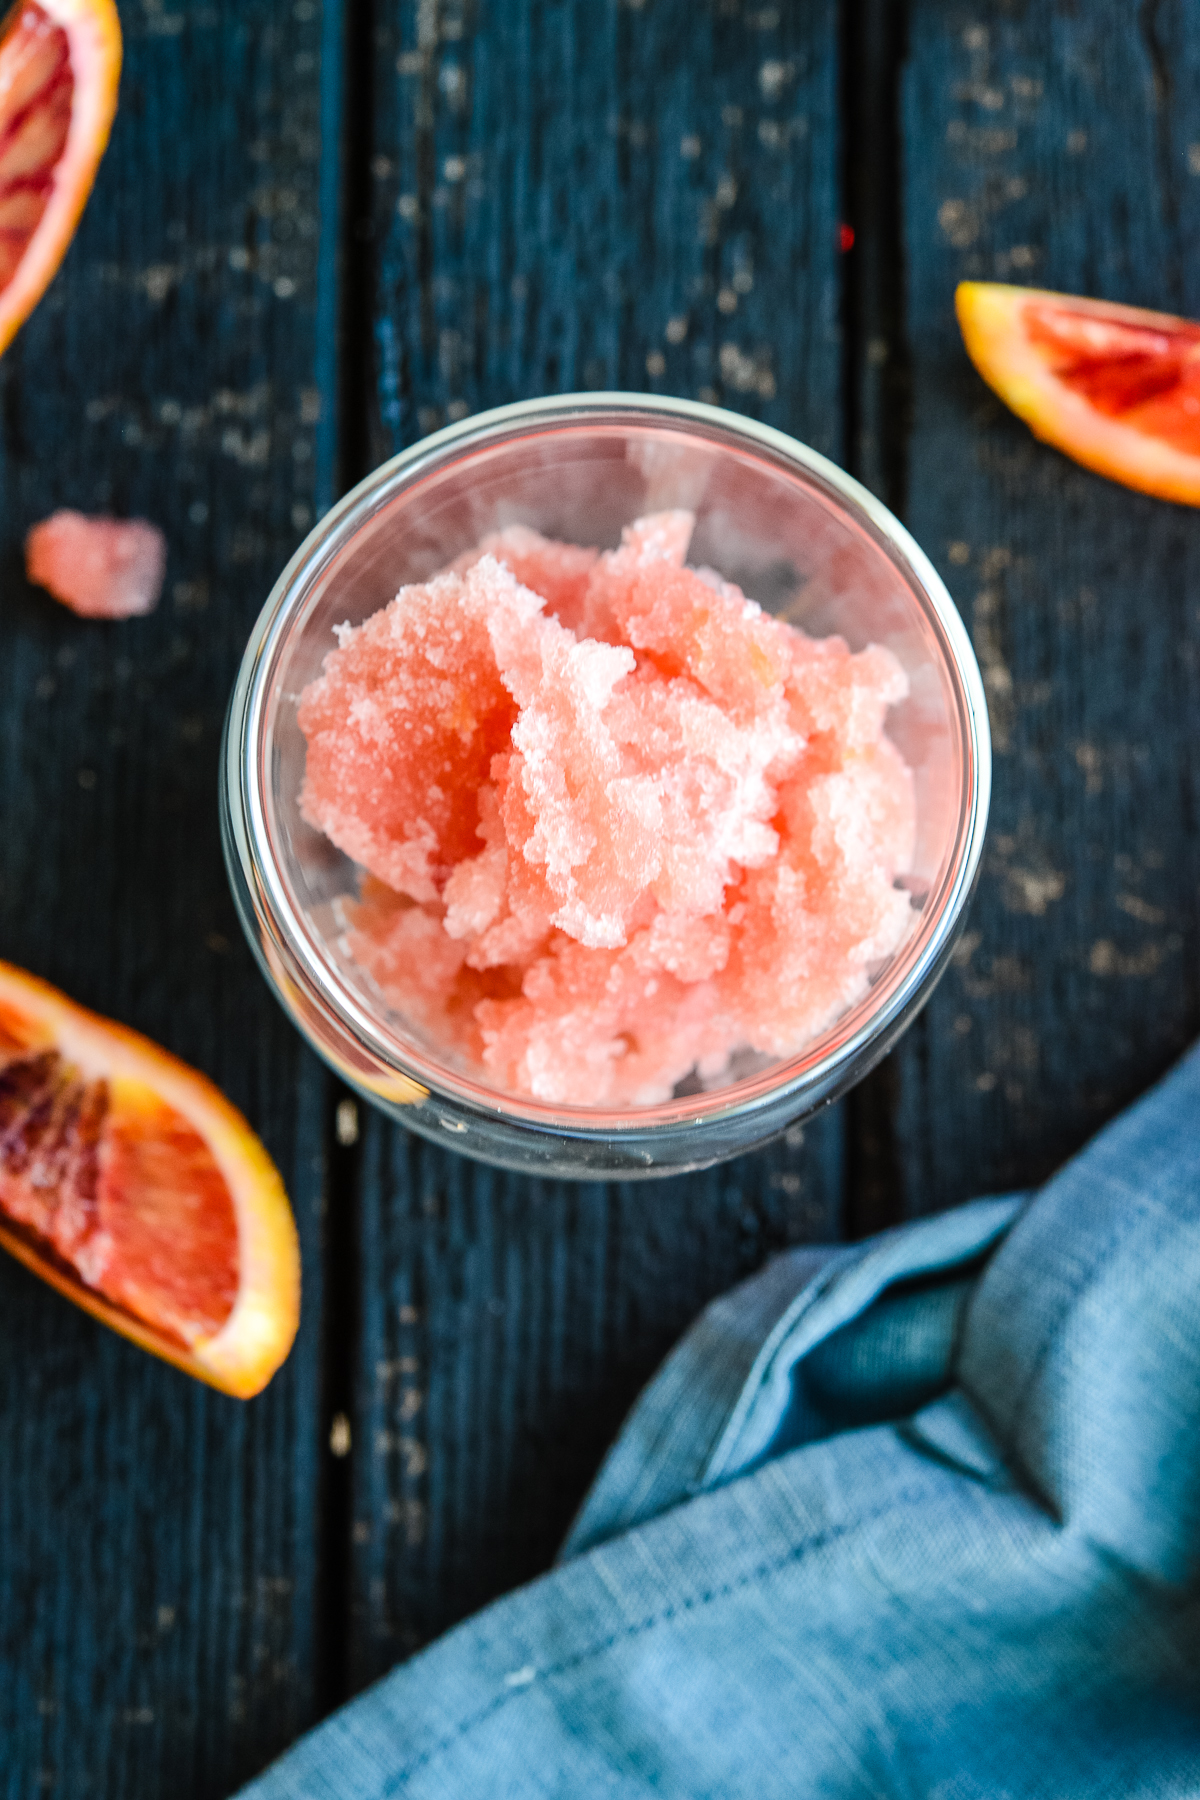
I adore blood oranges and here they give the sorbet the most gorgeous taste and watermelon hue. If you’re juicing them by hand as I did, do make sure they are at room temperature before you juice them – you’ll get so much more juice out of them than if they were chilled.
PS If you love blood oranges but aren’t into sorbet (or alcohol) why not try my Blood Orange and Pomegranate Salad or my Blood Oranges with Dark Chocolate and Sea Salt instead?
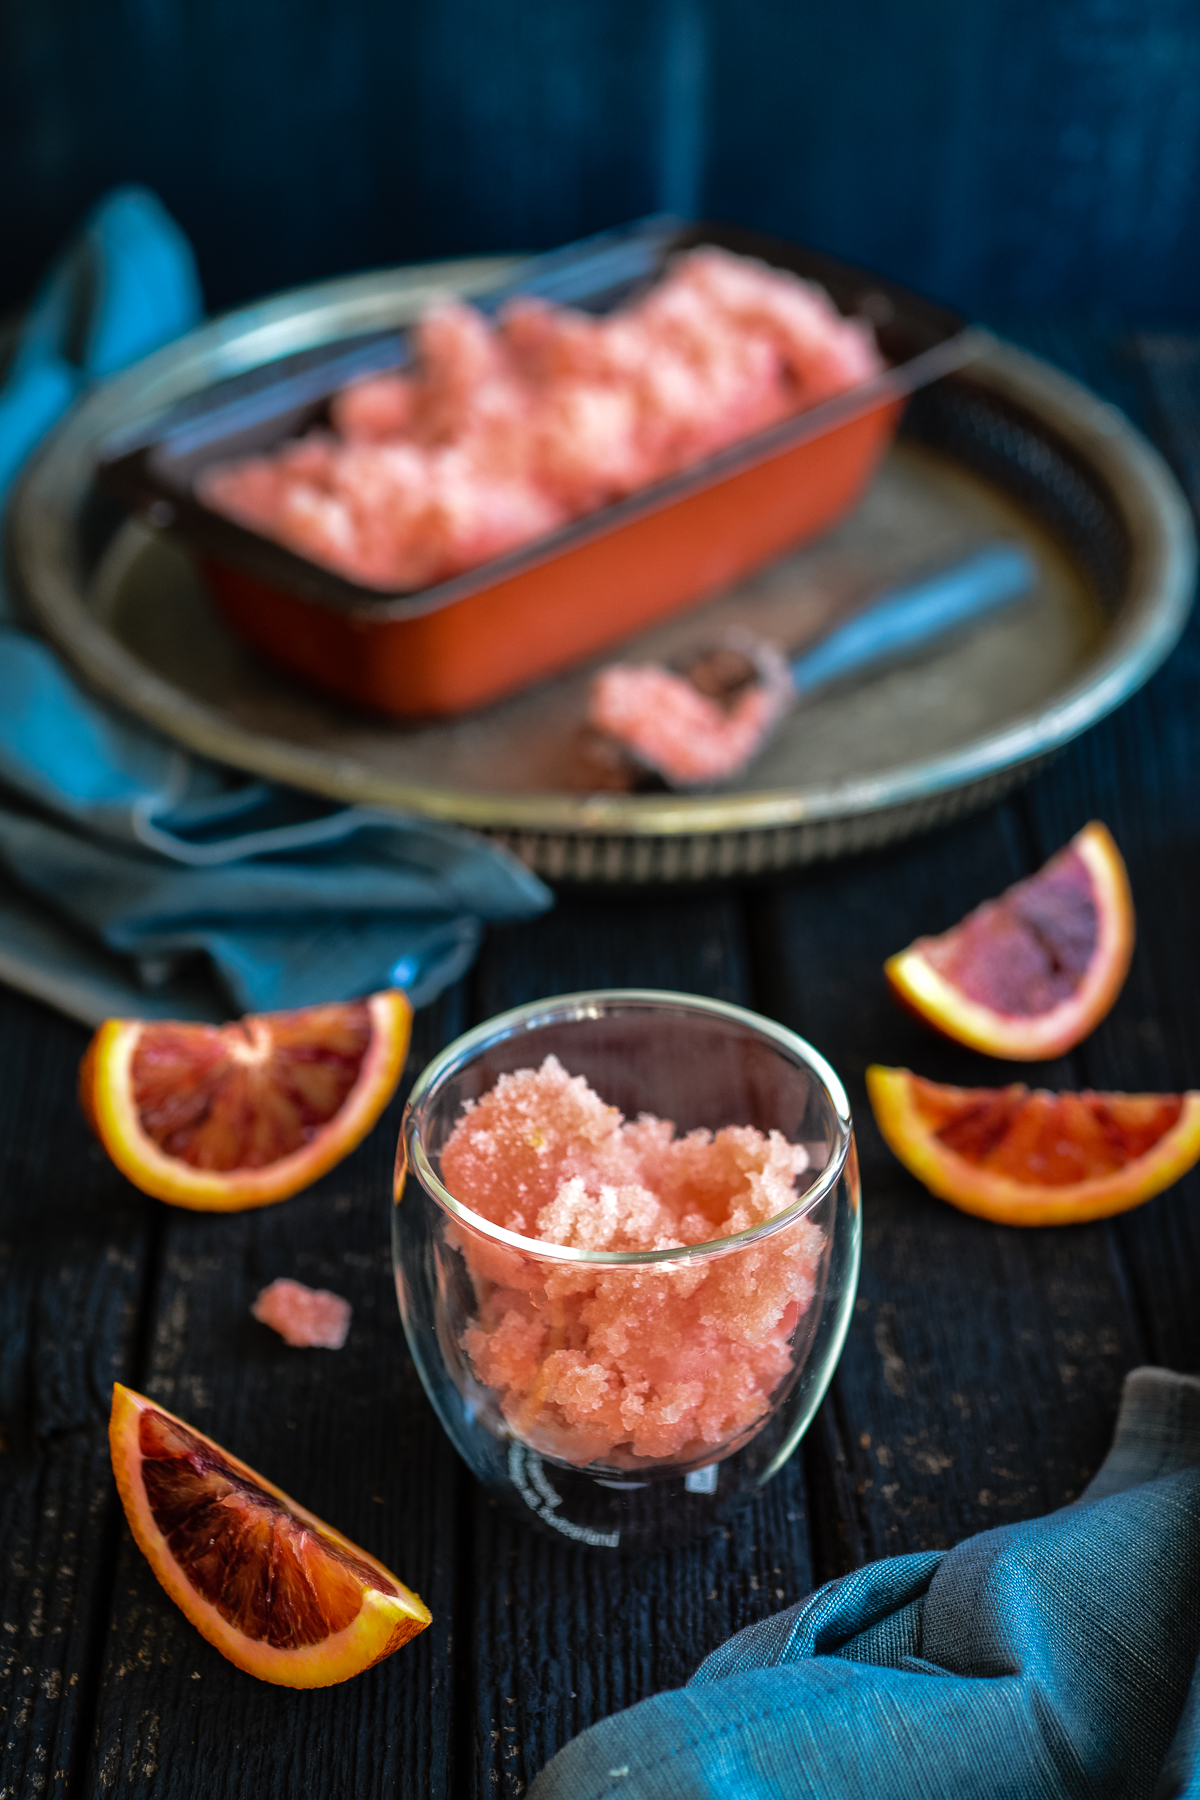
Blood Orange Mimosa Sorbet
INGREDIENTS
- 9 blood oranges to give approximately 575 mls juice
- 1 bottle Champagne or sparkling wine (I went with Jacobs Creek Reserve Chardonnay Pinot Noir)
- 1/2 cup rice malt syrup or honey
METHOD
- Juice oranges into a large bowl, removing any pips.
- Add Champagne or sparkling wine and rice malt syrup or honey to juice and then stir until rice malt syrup dissolves.
- Put into an ice cream machine and follow instructions. Alternatively, place it into a freezer-proof container and freeze for about an hour. Scrape the frozen edges into the middle and freeze for another hour. Repeat scraping one more time and then leave for a few hours or overnight to freeze solid.
Hungry for More?
Don’t want to miss a post? Sign up to receive delicious The Hungry Australian posts twice a week – it’s FREE!!


