Tag Archives: meringue

  • Messy Pavlova or Eton Mess Down Under Style

    The other day I was at the beautician for a once-in-a-blue-moon appointment. A blonde lady in her 40s was examining my skin when she said, “of course people from your country always have an issue with pigmentation.”

    She then went on about my skin but I didn’t hear what she said because I was too busy processing her words.

    My country? But I thought Australia was my country.

    DSC_9787

    I mentioned my experience on Twitter and it sparked an interesting discussion about nationality, identity and racism.

    I was born in Adelaide. I wanted to eat tuna mornay and be Oliva Newton John in Grease when I was growing up. As a high school student studying in Adelaide my Hong-Kong born mother was taught to cook by her kind Australian/German landlady. One of my happiest childhood memories is digging for cockles (pippies) at the beach with my family and friends.

    But you don’t have to be born in a country to identify with it.

    DSC_9802

    The beautician didn’t see any of this. She saw my olive skin, my black hair and my almond eyes and she saw someone from a different country.

    The lady wasn’t being malicious or unkind. She would probably be surprised to hear that her words had such an effect on me. But when you grow up in a country when you don’t look like anyone in the mainstream media you can be painfully conscious of your differences. During high school I remember a popular girl asking me “so what do you eat at home?” in the same tone she would have used if I were a martian who had crash-landed on the school oval.

    DSC_9806

    It’s funny how times have changed. Well,  the times have changed, and I’ve changed, too.

    After university I worked in London, Leeds, London, Melbourne, Hong Kong and Shanghai. I’ve never identified so strongly as an Australian, or been more proud to be Australian, than when I was working overseas. Because when you live amongst foreigners and have to try to decode foreign words, meanings and symbols every day maintaining your individual identity becomes tremendously important.

    It was when I was working in Asia in my mid twenties that I  heard someone (jokingly) describe me as a banana – that is, yellow on the outside but white in the middle. It was then that I realised it’s not up to other people to tell me who I am; it’s up to me to define myself.

    I will always feel both Australian and Chinese. As an Australian Born Chinese (ABC) I don’t fit neatly into either culture and I’m OK with that. 

    DSC_9805

    It was also in Asia that I finally became comfortable in my own skin. Living and working amongst people that looked like me meant that I finally started to like how I looked. Perhaps not surprisingly, it was also when my looks improved; confidence will always trump the most expensive beauty product on the market. 

    The times have changed as well. Nowadays when people ask me what I eat at home I know they’re asking because they’re genuinely interested. Their question is about creating a bond with me, not a divide.

    Similarly, nowadays I’m bemused rather than offended when someone I have just met tells me how much he or she likes to cook stir fries or noodles (without knowing that I work as a recipe developer). On one hand, it’s an indication that they probably don’t know many Asian people, but on the other, it’s a signal of their willingness to be friendly. And so I respond in a similarly positive spirt.

    Change always starts from within.

    DSC_9801

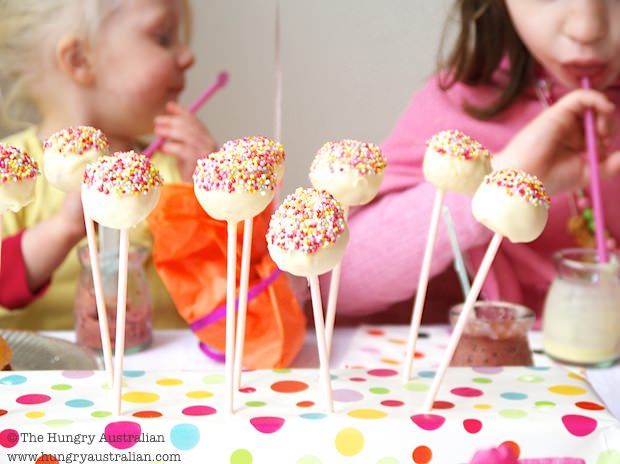
    Food can be such a powerful symbol. We can use it as a way to make a friendly overture. We break bread with our families and friends as a way of reinforcing the relationships between us. We cook for those we love and the bonds between us grow stronger with each bite.

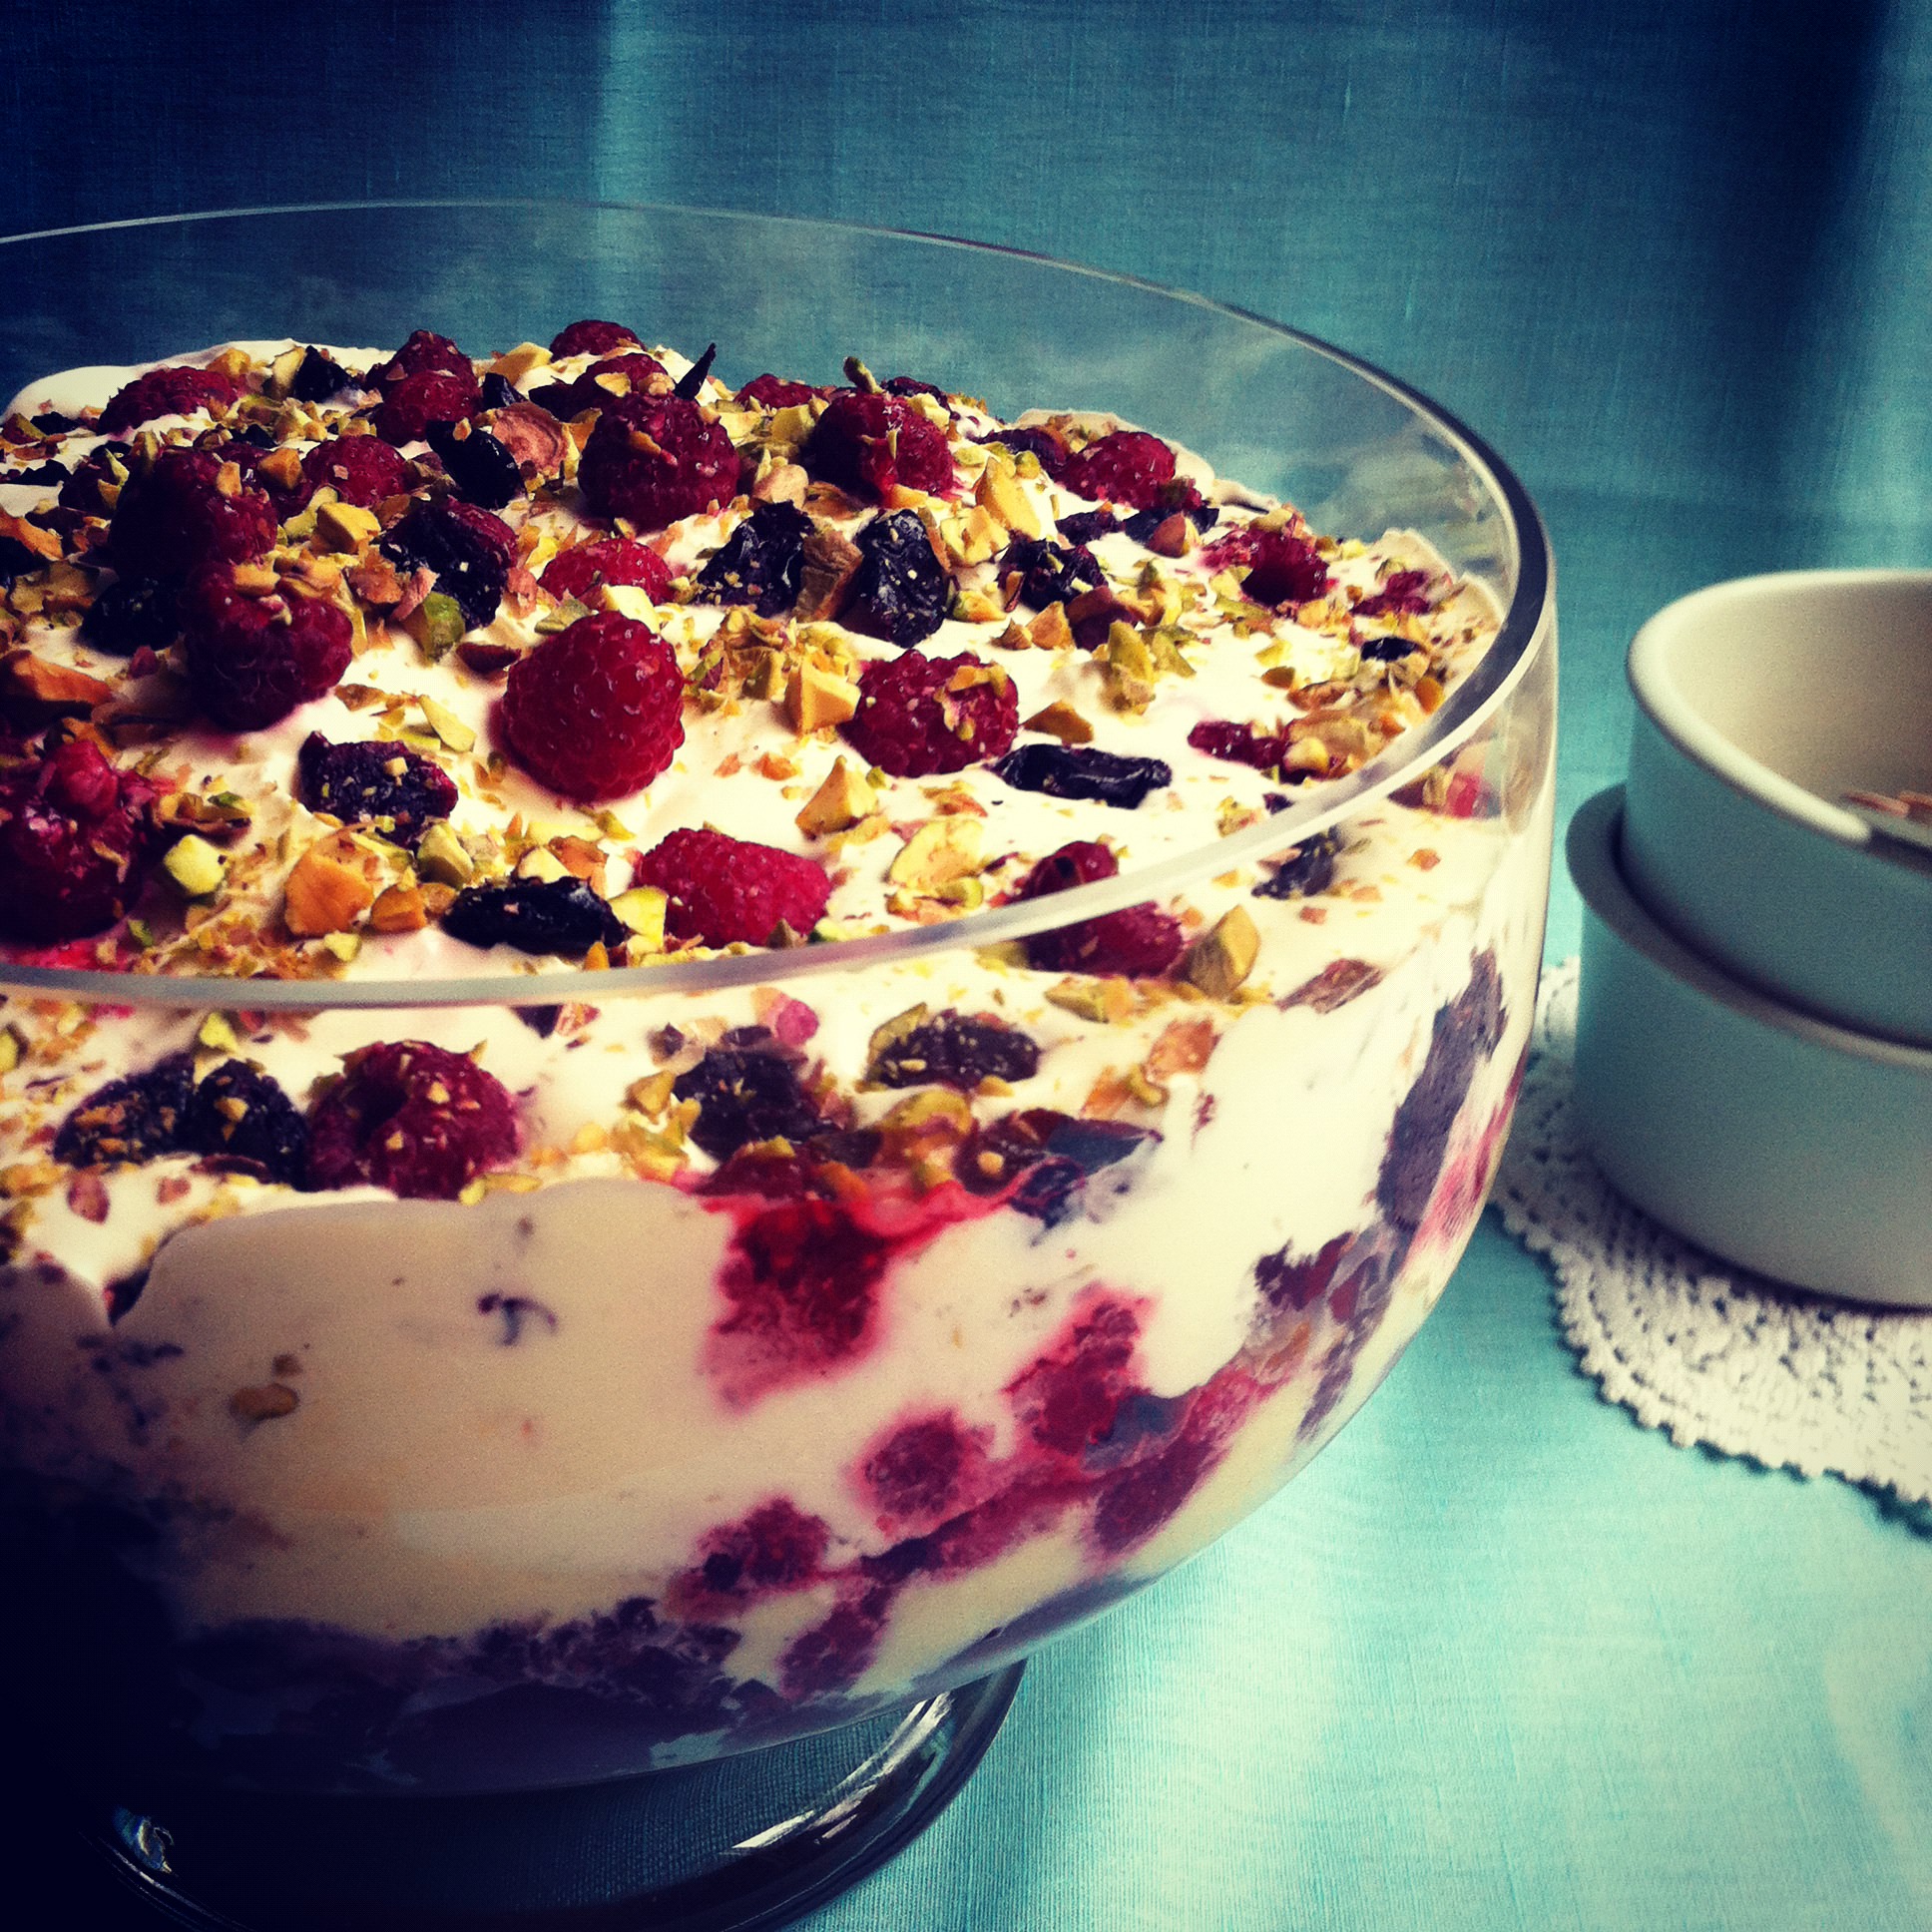
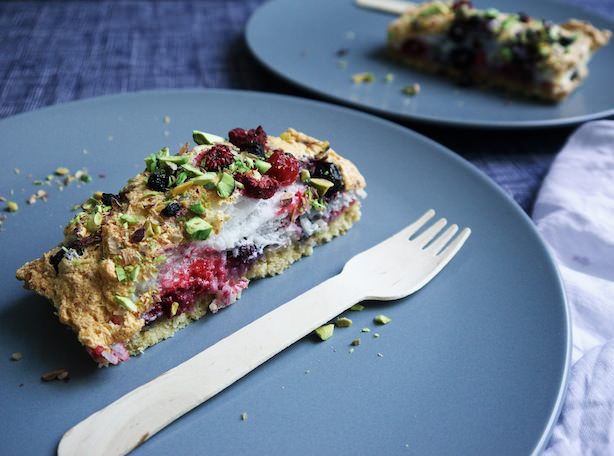
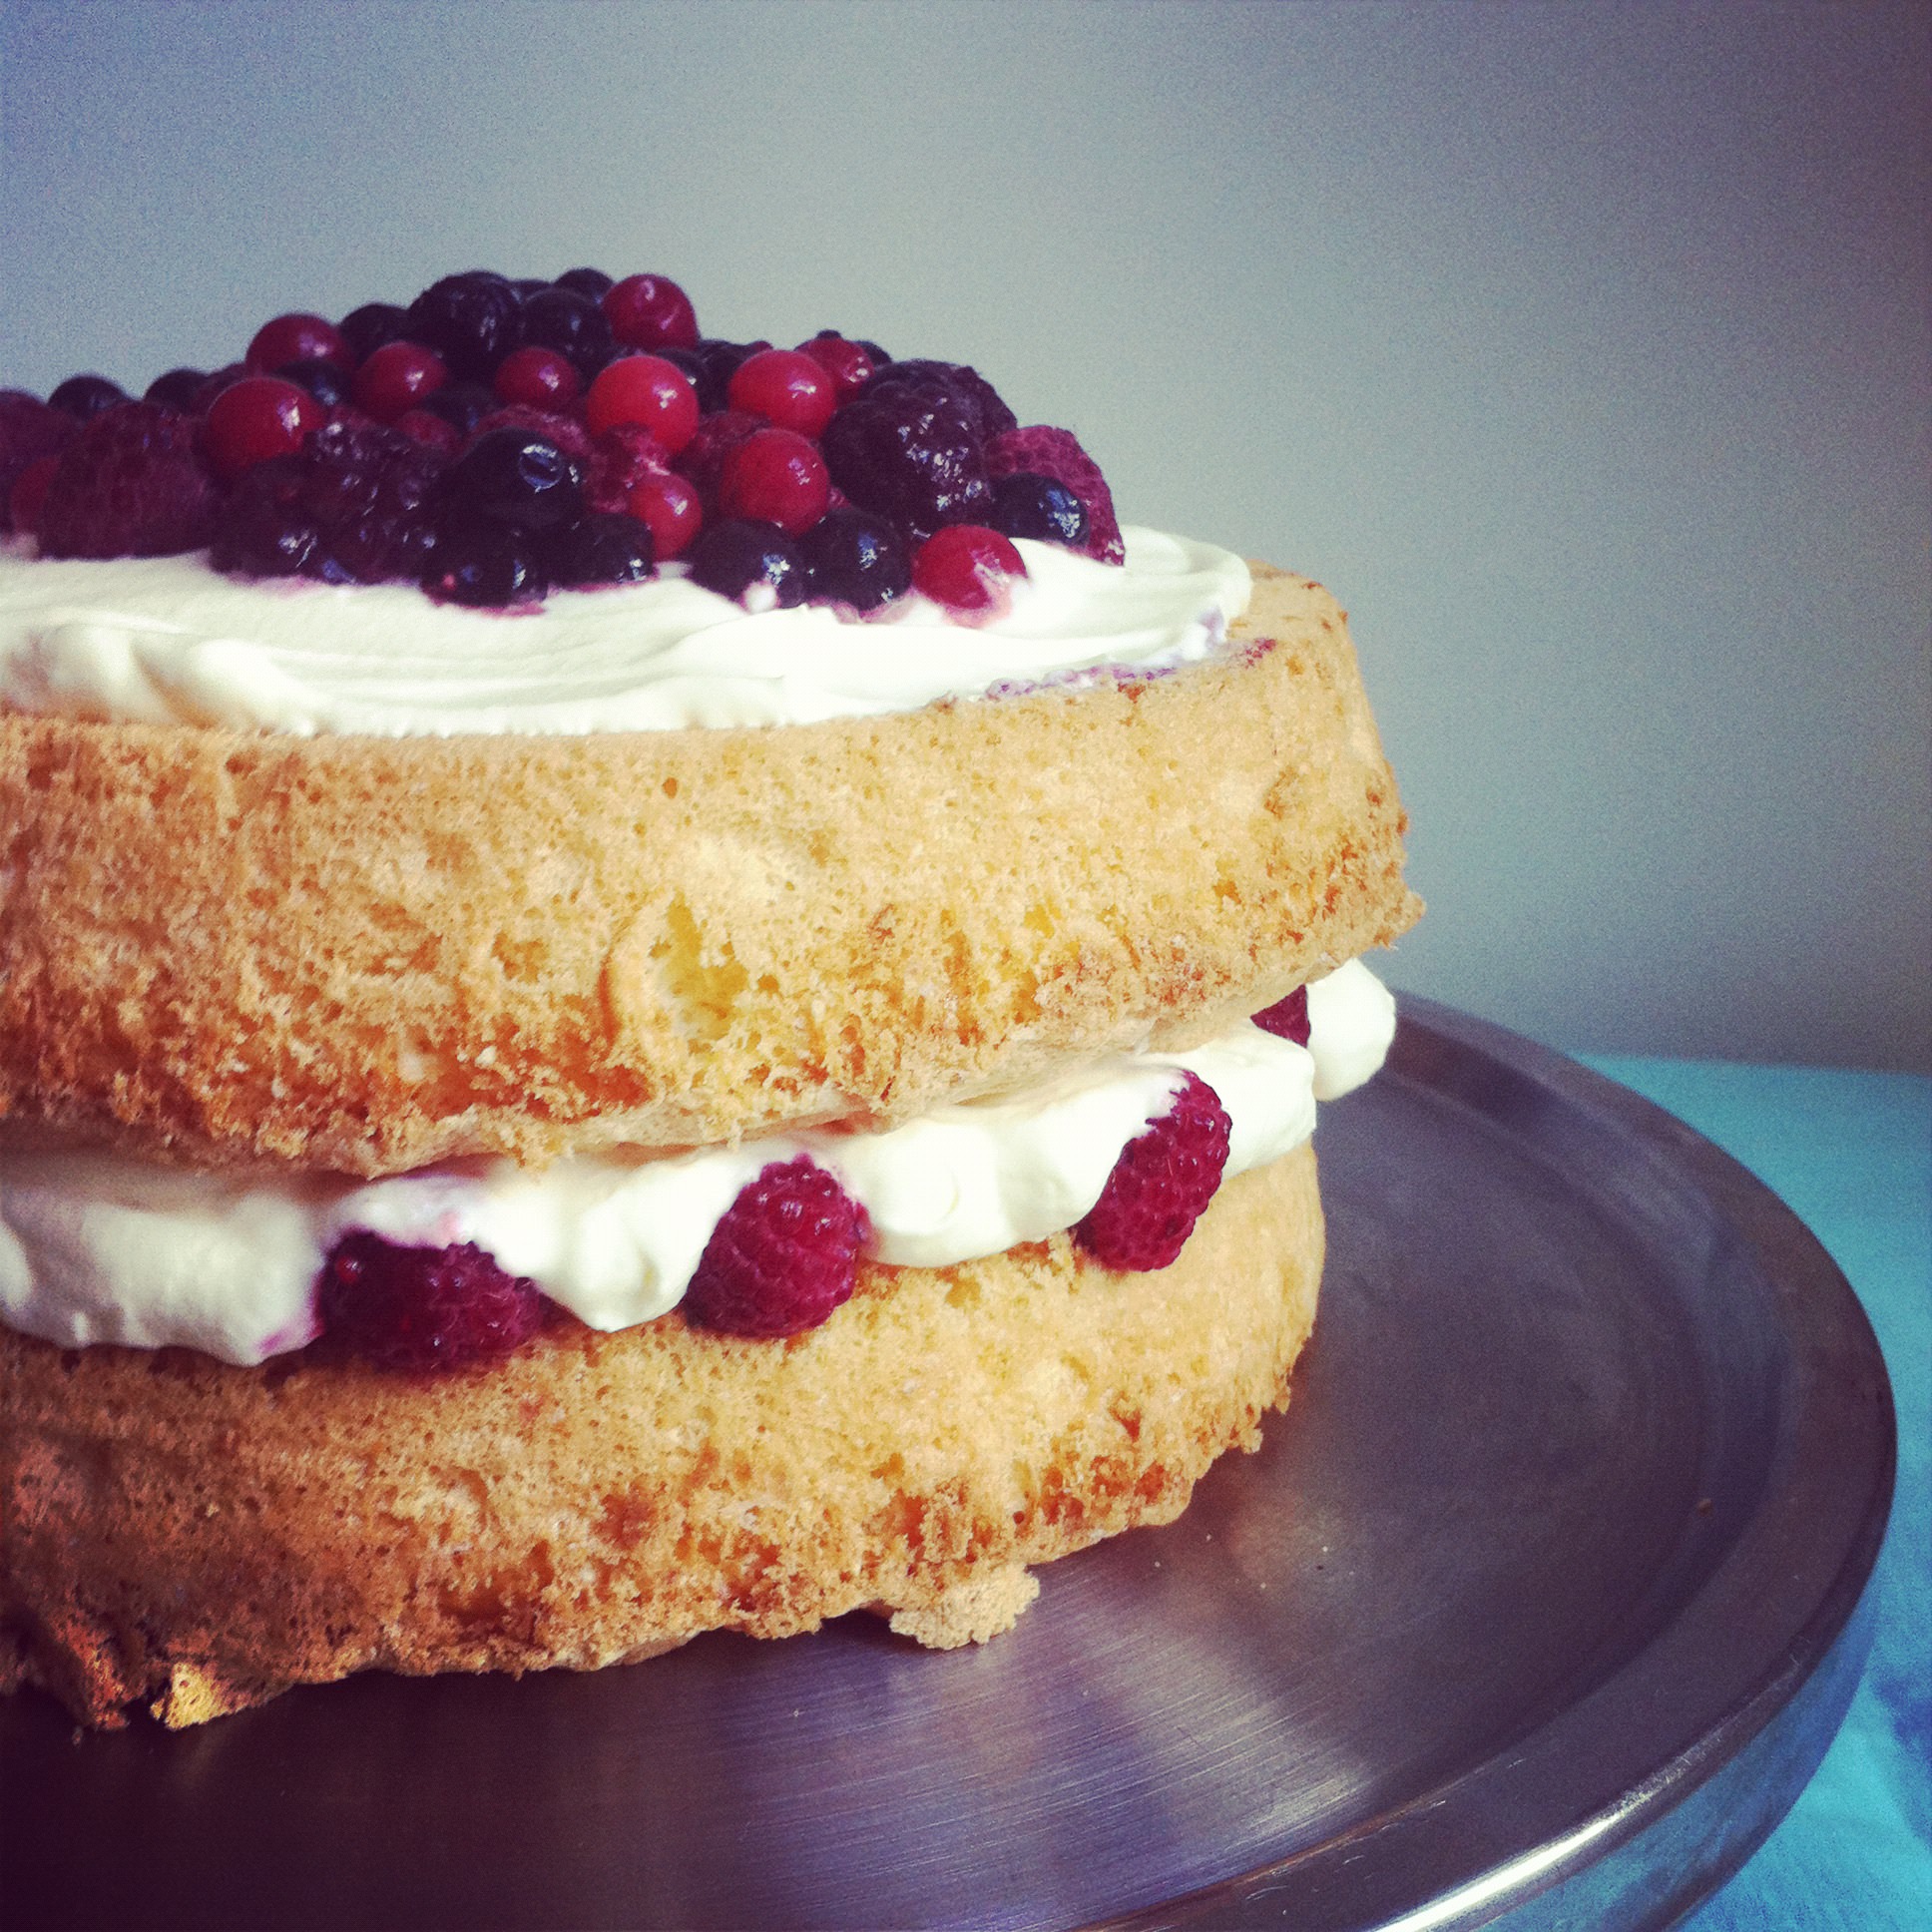
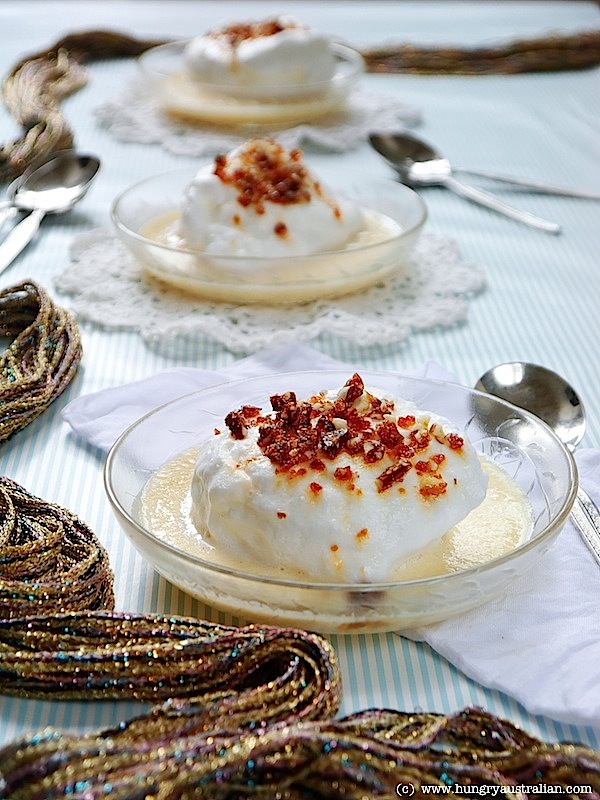
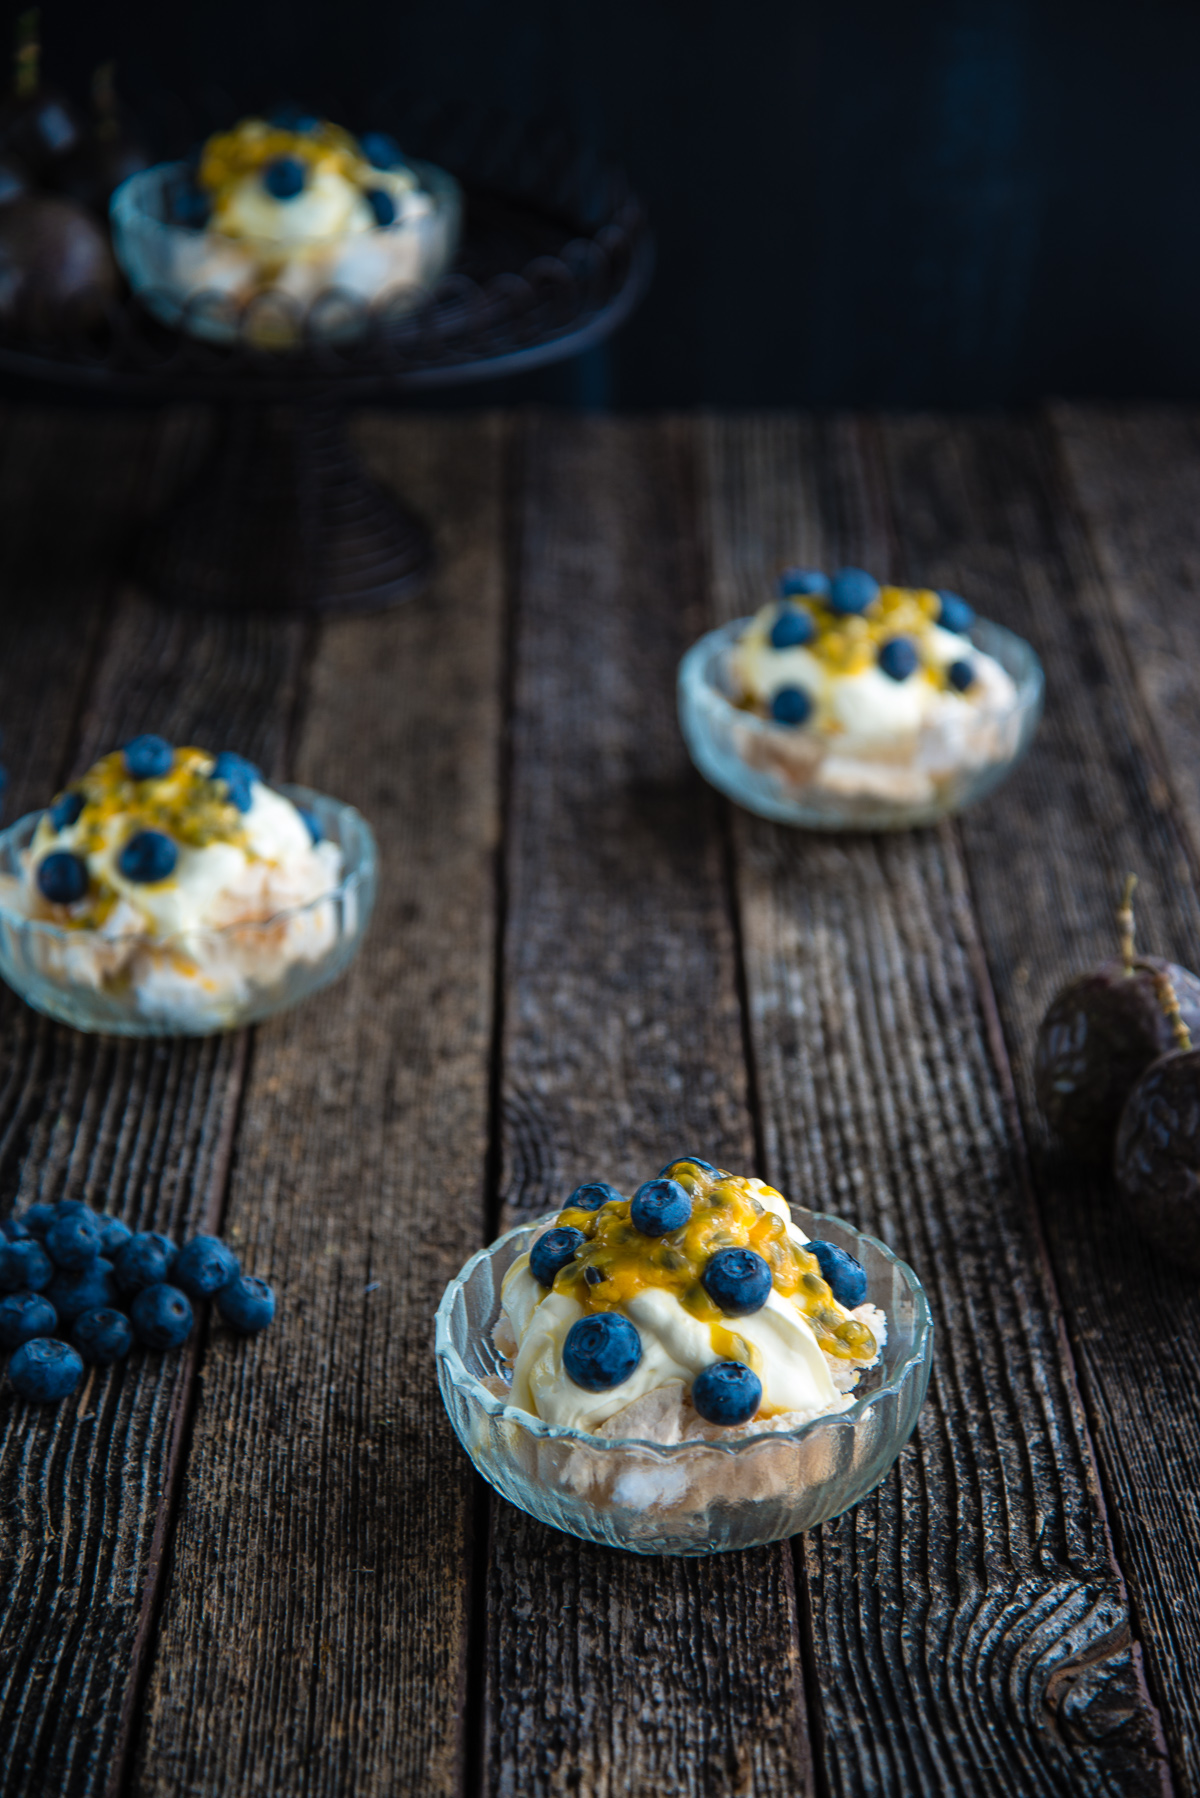
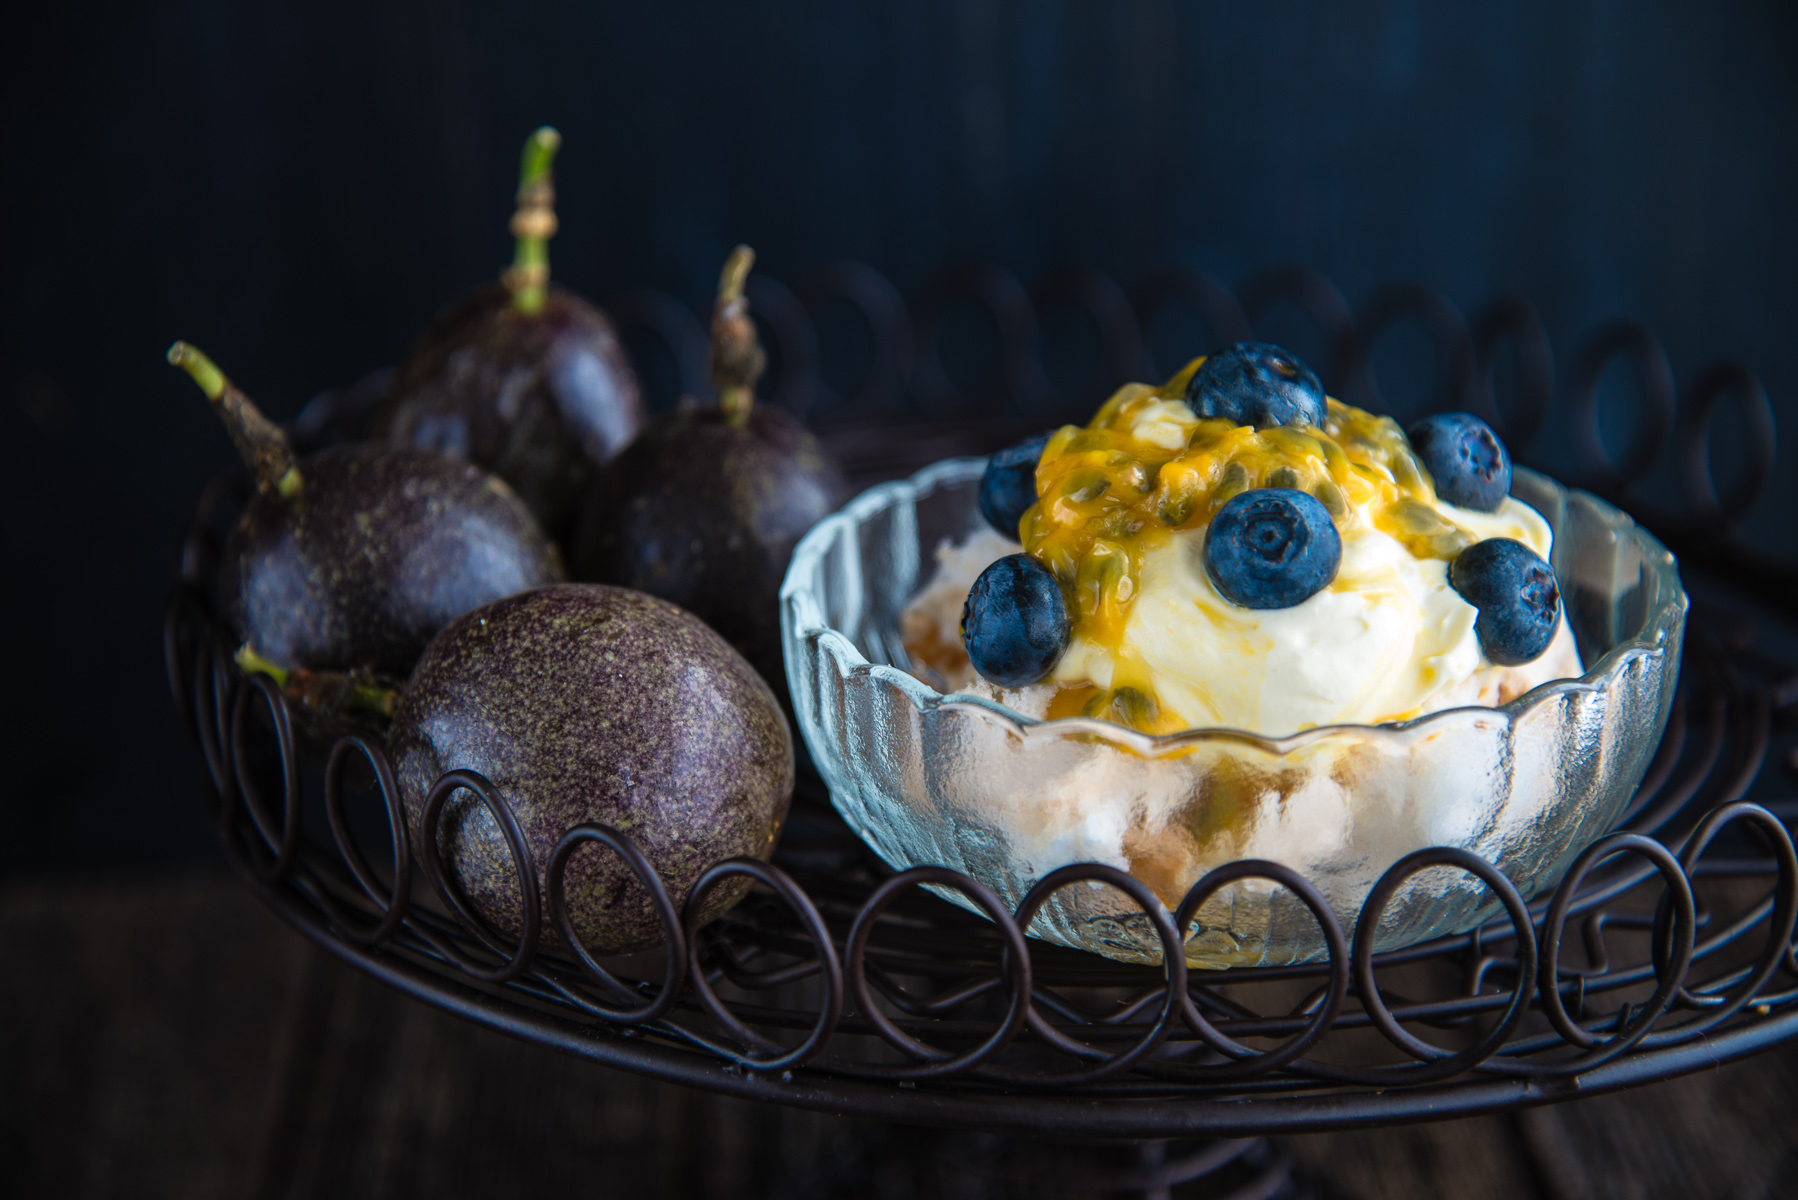
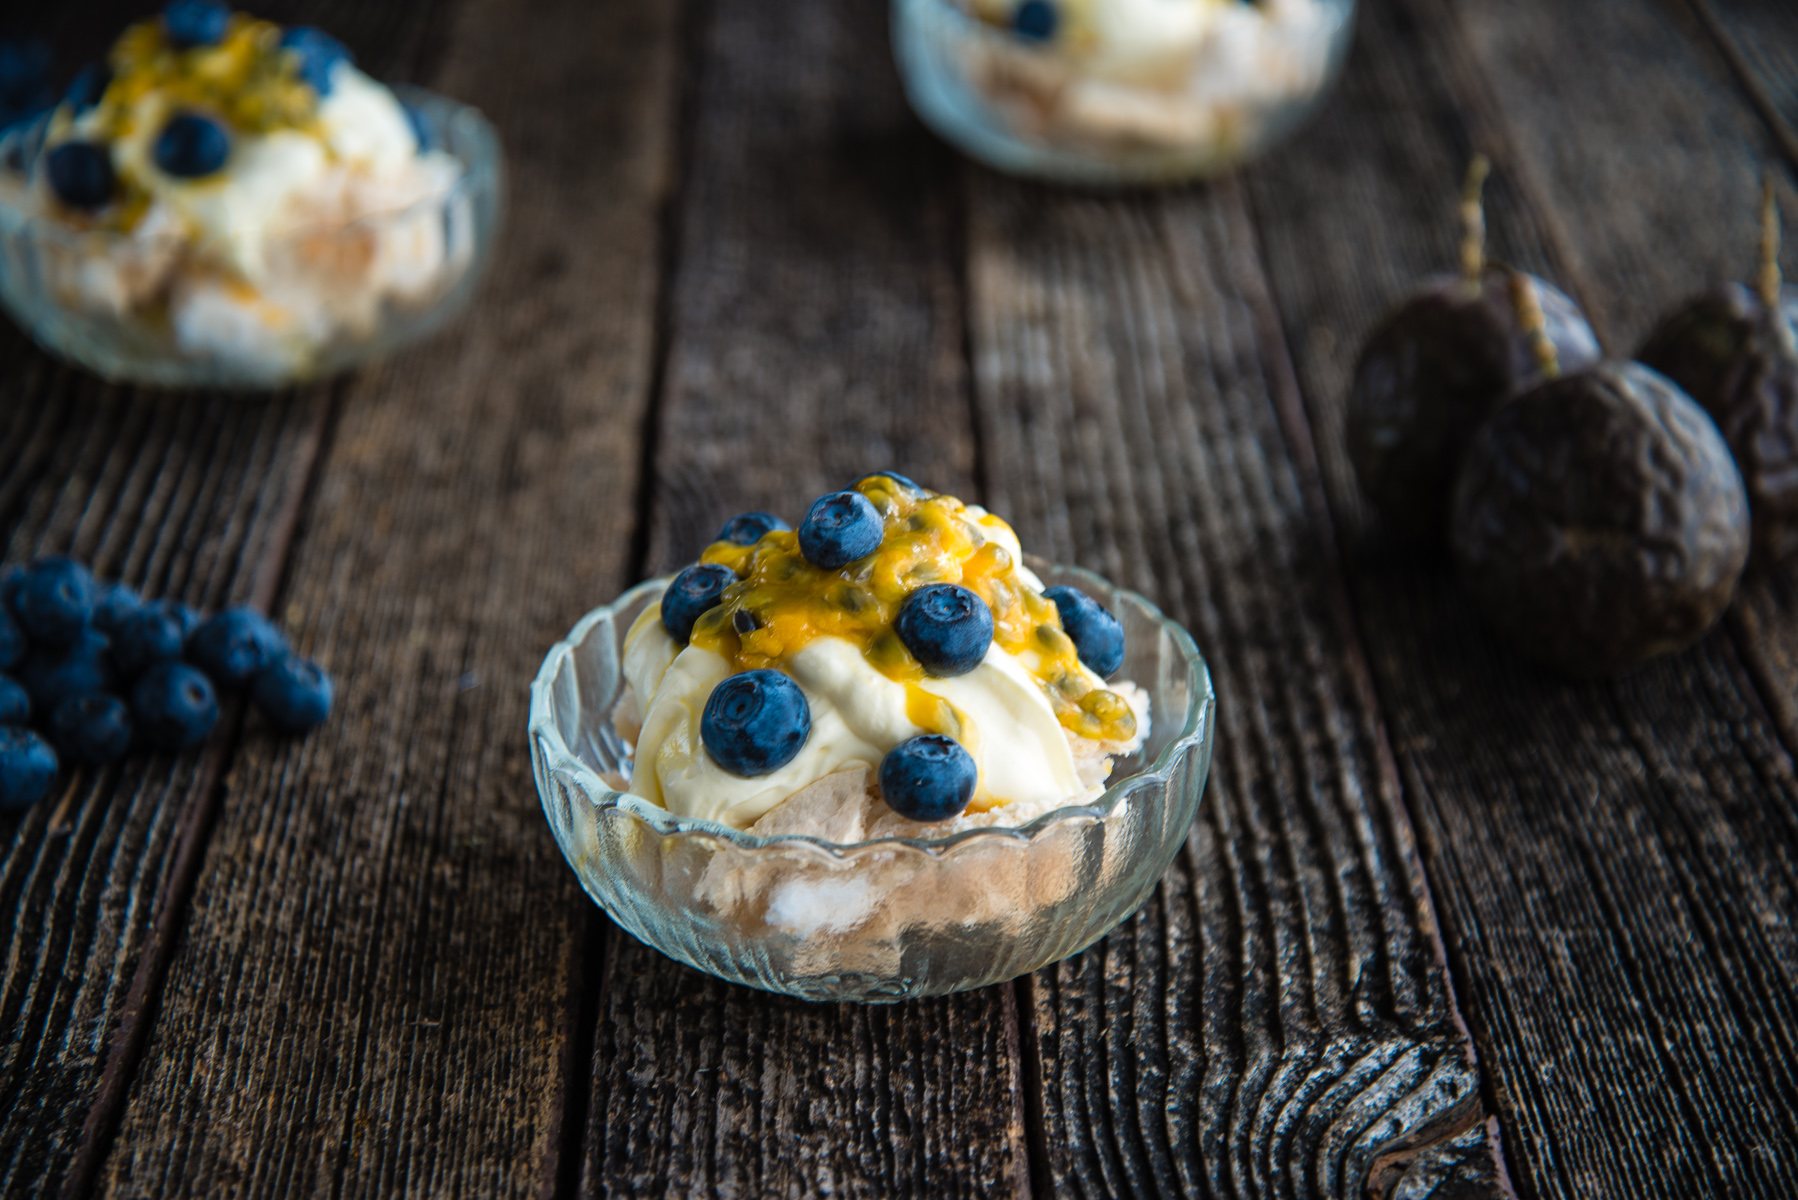
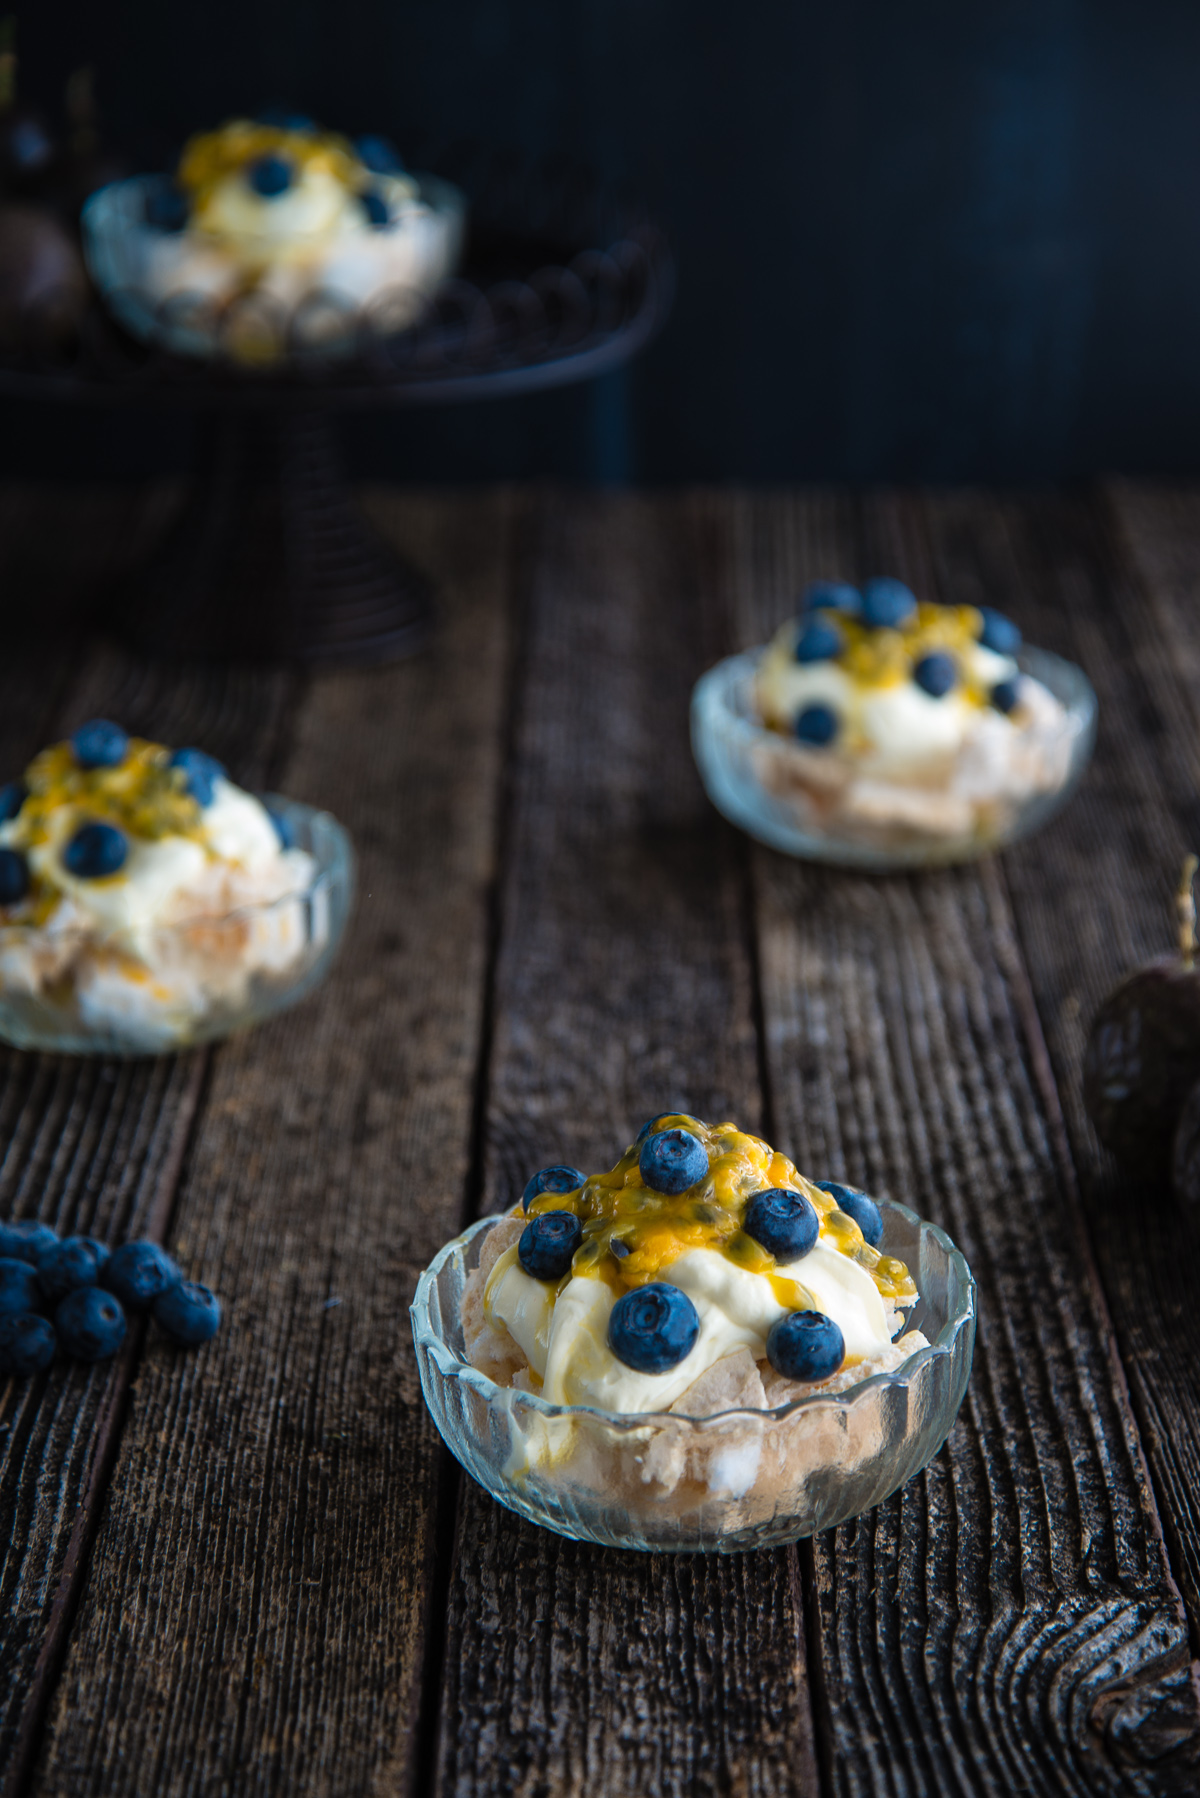
    I’ve always liked Eton Mess, that traditional English dessert made from cream, meringue and berries, but I’ve always thought it would be so much better made with the marshmallow meringue miracle that is pavlova. So I created this hybrid: Messy Pavlova. You’re welcome.

    If you want to make a single regular pavlova then simply leave the pavlova whole and decorate as usual. But Messy Pavlovas are a great dessert for less-than-amazing bakers – you don’t have to worry about the pav cracking because you’re going to bash it to bits anyway.

    Either way you serve it, it’ll taste just fine. Or, as we Aussies like to say, she’ll be right, mate. 

    DSC_9789

    Messy Pavlova or Eton Mess Down Under Style

    Messy Pavlova is a Pavlova and Eton Mess hybrid adapted from a pavlova recipe in Stephanie’s Alexander’s wonderful book, The Cook’s Companion.

    INGREDIENTS

    • 4 large eggs at room temperature
    • Pinch salt
    • 250 grams (1 cup) caster sugar
    • 2 teaspoons corn flour
    • 1 teaspoon red or white wine vinegar
    • 1/2 teaspoon vanilla bean extract or essence
    • 450 mls cream
    • 1 punnet blueberries
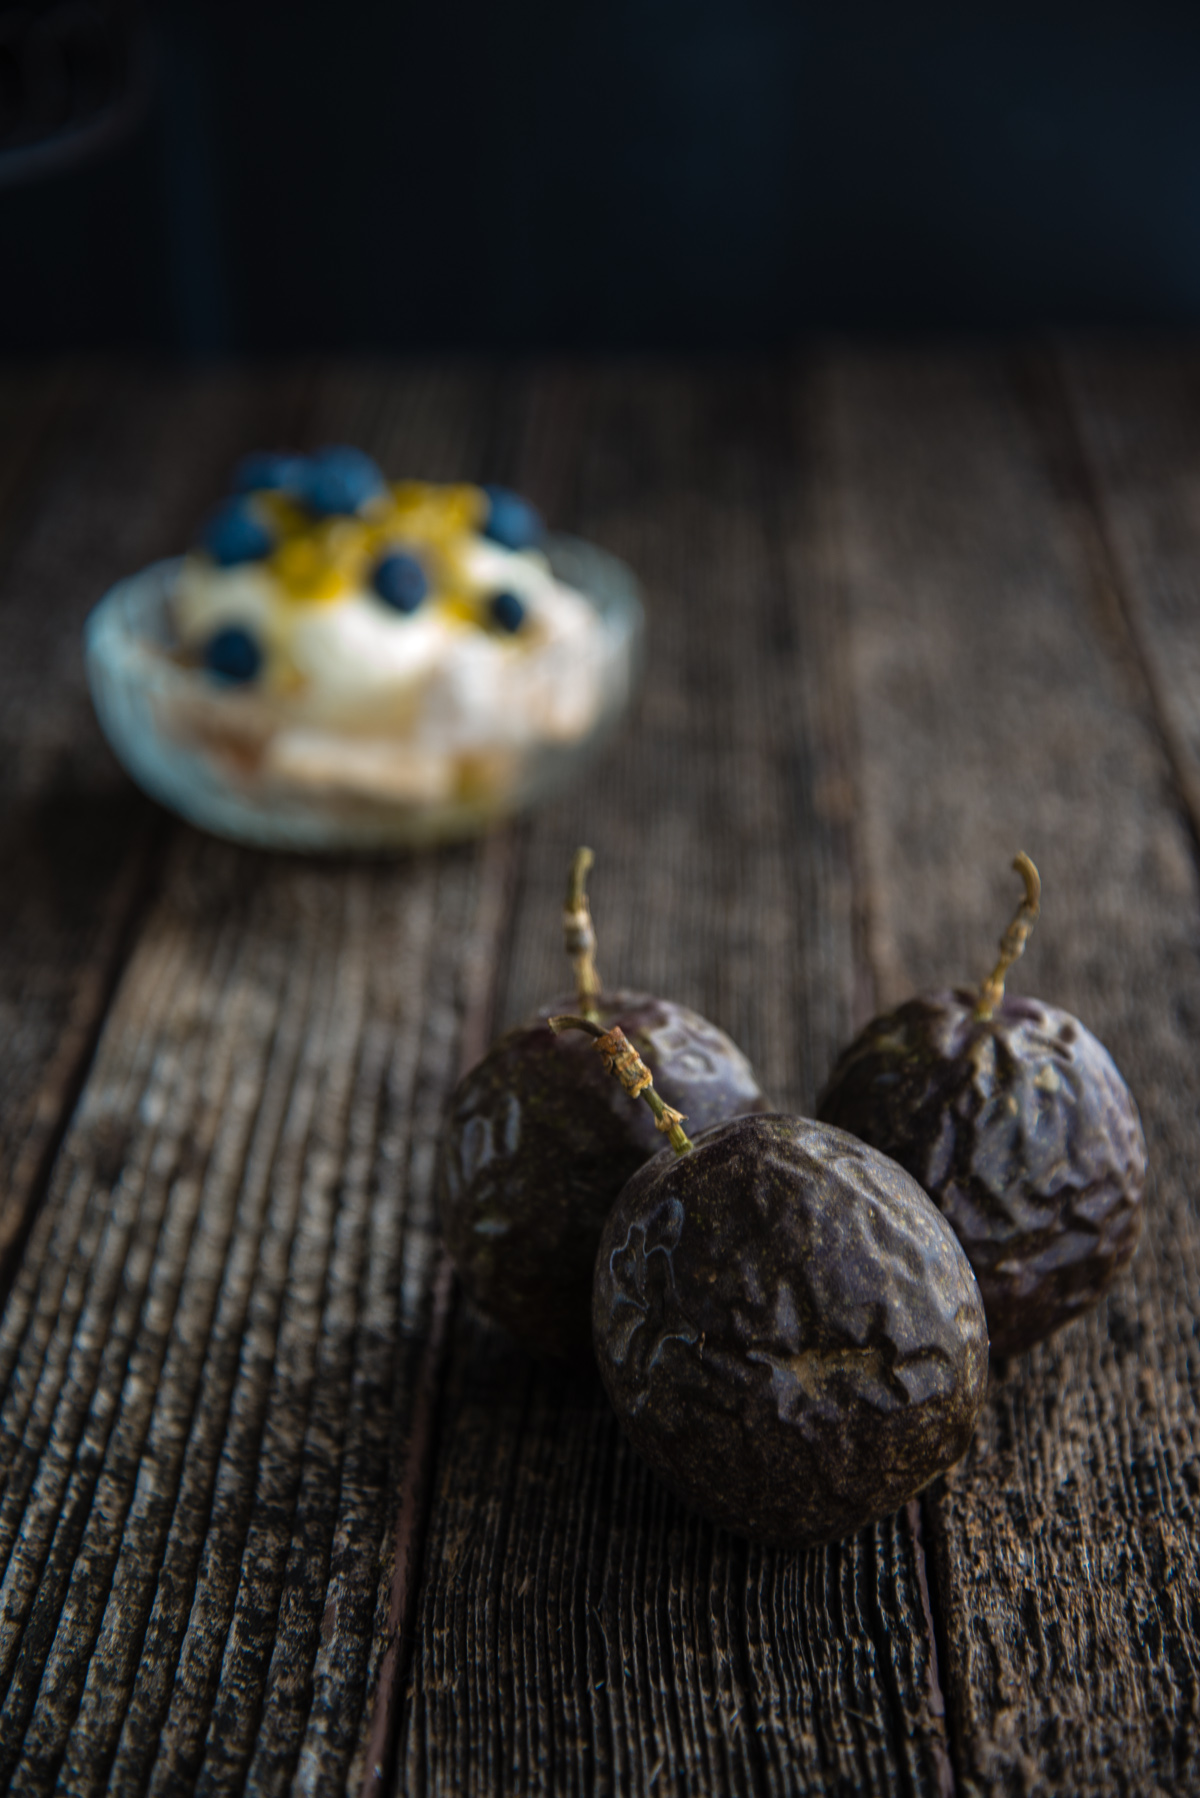
    • 8 passion fruit

    METHOD

    1. Pre-heat oven to 180 degrees Celsius.
    2. Draw a 20cm circle on some baking paper (use a plate) and line a baking tray.
    3. Seperate eggs and reserve yolks for another dish (custard, creme caramel, creme brulee)
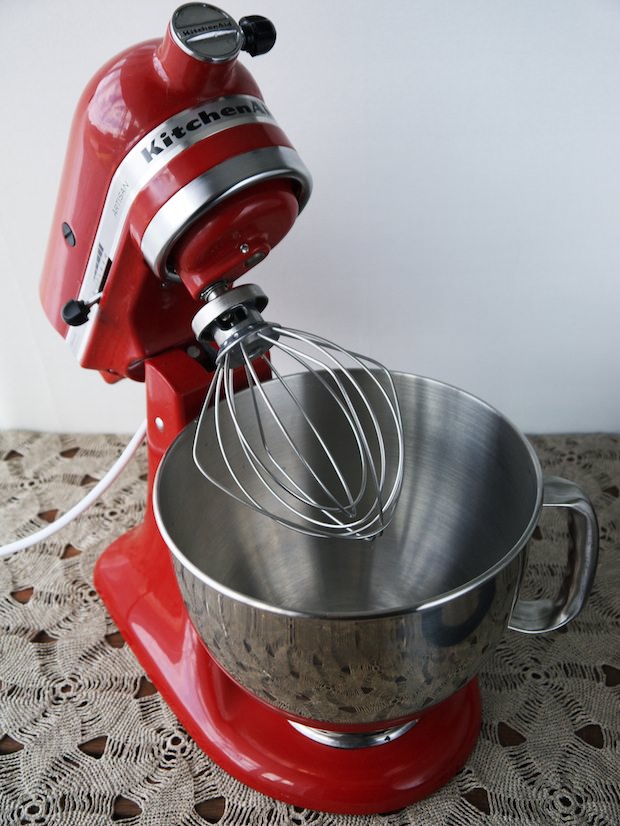
    4. Beat egg whites and salt with a stand mixer or hand mixer until mixture holds in soft peaks.
    5. Add sugar in four batches, scraping down the sides and beating well after each addition, until meringue is thick, firm and shiny.
    6. Sprinkle over corn flour, vinegar and vanilla and then gently fold in, trying to retain as much volume in the meringue as possible.
    7. Place in oven and reduce temperature to 150 degrees Celsius. Bake for 30 minutes and then reduce temperature to 120 degrees Celsius and bake for another 45 minutes.
    8. Turn off oven and leave pavlova to cool completely inside oven.
    9. To serve, break up the pavlova into small pieces and place pieces into 8 small bowls. Whip cream until soft peaks form and then spoon over the pavlova pieces, and top with fruit. Best eaten immediately.

    Serves 8. Gluten and Nut Free.

    More Gluten and Nut Free Recipes

    Subscribe to The Hungry Australian

    Don’t want to miss a post? Sign up to receive new posts 2-3 times a week – it’s FREE.

  • Discovering my Inner Baker (crushing on KitchenAid)

    Bakers are made, not born.

    Don’t believe me?

    A few years ago, my cakes (and my photography) looked like this:

    Emily Birthday Cake

    Notice how this cake is leaning precariously to one side and the very runny icing is pooling in the middle?

    *Cringe*

    At least my daughter looks darling in her cute fairy-outfit-over-pyjamas look. (Wait, did that comment just turn me into a Mommy Blogger? lol)

    The photograph says it all: I used to SUCK as a baker.

    But over the last couple of years my baking has improved a lot. Over the last year it’s improved dramatically.

    Why?

    Mostly, I’ve made more of an effort. I studied cookbooks and food blogs, bought some great kitchen gadgets (a revolving cake stand, an offset spatula, assorted cake pans and cooling racks), and kept the pantry stocked with baking essentials (flour, sugar, butter, eggs, milk, vanilla, coconut, and icing sugar) so I could bake whenever the urge arose.

    But credit must also go to my latest kitchen accessory and my serious new crush, the KitchenAid Artistan Stand Mixer.

    A few months ago, I received an email from the good folk at Filtered Media about KitchenAid. I responded and not long after a red KitchenAid Artistan Stand Mixer arrived at my home for a test drive.

    Now I’d never had a stand mixer before and had always been curious about Kitchenaid’s stand mixers. Yes, the looked gorgeous, and came in variety of fantastic colours but what was the fascination with them all about? Were they really that good? Or was it a case of style over substance?

    Over the next few months I used the KitchenAid Artistan Stand Mixer regularly, up to four times a week. I made cakes, meringues,  pavlovas,  custards, ice creams, biscuits, Swiss meringue buttercream and slices.

    It was a revelation.

    I’m an impatient person so holding a hand mixer for 10 minutes to cream some eggs and sugar together is not my idea of fun. I usually manage around three minutes before getting bored and chucking the mixture in the pan. This might be OK for some cakes but for others it was a disaster.

    So I love being able to pop the ingredients into the mixing bowl and then potter around the kitchen while the KitchenAid Artistan Stand Mixer worked its magic.

    Moreover, the cakes it produces are impressive.

    Check out the height of this meringue on this Quince Meringue Pie.

    I made the exact same cake two days earlier with my hand mixer and it didn’t look anything like that.

    Now have a look at the Dark Chocolate & Strawberry Swiss Meringue Buttercream Cake  I made for my daughter’s sixth birthday party.

    Yes, I know the Strawberry Swiss Meringue Buttercream has separated a little – I was up late prepping and couldn’t be bothered waiting for the butter to chill. Still, it’s not a bad looking cake and it tasted magnificent.

    Perhaps you’re more into trifles?

    This was a berry trifle I made for a commissioned e-book. It was a real hit at a family dinner.

    Speaking of hits, do you like cake pops?

    These were some delightful and not-too-sweet cake pops that I made for my daughter’s party.

    Perhaps you’d prefer something a little healthier?

    That was my Berry Pistachio Tart with a wholemeal base I made for Sweet Adventures’ Nuts about Nuts bloghop.

    Now it’s true that most of these cakes could have been made equally well with a hand mixer, especially for more patient types. But would you have actually baked them or just thought about it and decided it was too hard most of the time?

    But even if you are are a motivated and patient baker, it’s when you’re baking cakes like sponges that the KitchenAid Artistan Stand Mixer really earns its keep.

    Check out this Instagram of a Victoria Sponge with Berries I made for About.com.

    The cake mixture needs to be beaten for a  full 10 minutes: it’s the only way to get that fabulous height.

    I’d never made a Sponge Cake before because I didn’t feel like I had 10 minutes of my life to spare to hold a hand mixer. But now I just chuck all the ingredients into the KitchenAid Artistan Stand Mixer and it does the heavy lifting for me.

    *Sniffs. Wipes tear.*

    I love it and I can’t imagine my life without it now.

    What about you, dear reader? Do you  use a hand mixer or stand mixer? And how does it affect your baking?

    *** Upcoming Giveaway ***

    Do you love KitchenAid, too? Next week I’ll be giving away two packs containing a KitchenAid Artisan 2-slice Toaster plus a KitchenAid Artisan Coffee Maker for Father’s Day! Don’t miss your chance to win this fantastic prize.

    With thanks to Lisa McLean and Sarah Broome at Filtered Media.

  • Love at First Bite: Floating Islands

    Sometimes one bite is all it takes for you to fall in love.

    I should know. I fell head over heels the first time I tasted Floating Islands or île flottante.

    I first experienced the delectable French dessert while holidaying in Paris with my dad in the early 2000s. I was working in London at the time and my dad had come to visit me. We spent 10 days travelling around the UK before taking the Eurostar to Paris.

    It was my second visit to the eternal city and my dad’s first so we did all the usual tourist activities: we visited the Musée du LouvreLa Tour Eiffel, Cathédrale Notre Dame de Paris, the Arc de Triomphe, the Place Vendôme and Fauchon. We shopped and we strolled happily around the streets, loving being in such a picturesque city.

    But mostly, we ate.

    We ate croissants, confit de canard (duck confit), soupe de fraises (strawberry soup), foie gras, plateau de fruits de mer (seafood platter), pommes frites (French fries), bouillabaisse (fish stew), macaronsmousse au chocolat, crème brûlée, coq au vin, boeuf bourguignon, cassoulet and Niçoise salad.

    One day we were sitting in a bistro, having finished yet another wonderful dish when I spotted île flottante on the dessert menu.

    Île flottante. Floating island?

    Continue reading

  • Beautiful Berry Pavlova

    Welcome to The Great Australian Pavlova Blog Hop!

    This post should really be called How Not To Make a Pavlova.

    Let me explain.

    A few weeks ago I was chatting with some Aussie food bloggers about food cravings and pavlovas on Twitter. So the five of us – myself, DelicieuxDining with a Stud, The Capers of the Kitchen Crusader and 84th & 3rd decided to organise a pavlova blog hop so that we could all cook our versions and share them with each other.

    So earlier this week I had visions of coming up with some kind of spectacular pavlova creation for The Great Australian Pavlova Blog Hop. I thought about using exotic ingredients and extravagant but tasteful decorations to create some kind of stunning and delicious masterpiece.

    Unfortunately, I had the busiest week ever, was out every night, and then came down with bronchitis. Too many late nights had finally caught up with me.

    So yesterday, when I grabbed a couple of free hours to bake, I decided to go with a fairly classic pavlova. However, I was feeling so unwell that when I tried to separate the eggs I broke egg yolk into the bowl of egg whites. It was a measure of my fragile mood that I contemplated sobbing into my tea towel for a moment. However, I decided to ask Mr Hungry Australian to separate the eggs for me instead, which he did with a bemused air.

    As I hadn’t had time to experiment I used Stephanie Alexander’s wonderful pavlova recipe from The Cook’s Companion as a starting point. I had intended to dribble some melted blackberry jam over the whipped cream, and use a mixture of fresh blueberries and cherries, and dried cranberries, pomegranates, cherries and blueberries for the topping.

    However, it was not to be. When I was lifting the pavlova out of the baking pan to place it on the cake stand, I asked my five year old daughter to help me by taking the baking tray away. She lifted the tray up to move it and smashed it straight into the bottom of the pavlova, cracking it into large sections.

    I thought about sobbing into my tea towel again but controlled myself with some deep breathing. I had already regretfully cancelled my afternoon and evening engagements but I just didn’t have the energy to begin all over again.

    Then I remembered a photo of a deconstructed pavlova I had seen on Twitter by the crew at Adelaide’s Grace the Establishment.

    So I grabbed the largest unsmashed piece of pavlova, spooned over the whipped cream, and arranged it on plate. I then surrounded it with all the fruit and herbs I was going to put on top of the pavlova – the dried berries, the fresh blueberries and cherries, the mini chocolate melts and the mint leaves. I then dripped the melted blackberry jam straight onto the plate – if I had possessed a squeeze bottle I would have used that instead for a much neater effect.

    As you can see, it all turned out OK. Better than OK, in fact.

    I tell you this story not to elicit your sympathy but to demonstrate how easy it is to cook pavlova. If I can cook a pavlova whilst feeling utterly crap, and then salvage something useable after my daughter has smashed it into large pieces, then you can do it, too.

    So I encourage you to check out all the amazing pavlovas baked by my fellow food bloggers by clicking on the link below. Be inspired, drool a little, and break out the egg whites to make your own magnificent pavlova creation.

    INGREDIENT
    4 egg whites, room temperature
    Pinch of salt
    250 grams caster sugar
    2 teaspoons corn flour
    1/2 teaspoon vanilla essence
    1 teaspoon white wine vinegar
    300 mls cream
    80 grams sugar
    Fresh cherries and blueberries
    1 packet of dried blueberries, cranberries, persimmon, and blackberries
    Handful mini chocolate melts
    A few tips fresh mint sprigs
    A few spoonfuls of blackberry jam

    METHOD

    Preheat oven to 180 degrees Celsius (160 degrees fan-forced).

    Cover a baking tray with baking paper and draw a circle on it approximately 20cm in diamater.

    Beat egg whites with salt until it forms stiff peaks. Then add sugar, a quarter at a time, until the meringue is glossy and stiff. Sprinkle over corn flour, vanilla and vinegar and fold in to the mixture. Spread mixture over the drawn circle, smoothing up the sides and evening out the top.

    Put the pavlova into the oven, immediately turning the oven down to 130 degrees Celsius (110 fan-forced). Bake the pavlova for 30 minutes and then turn the oven down again to 120 degrees Celsius (100 fan-forced) and cook the pavlova for another 45 minutes. Turn off the oven and leave the pavlova to cool completely in the oven.

    Whip the cream and sugar until firm.

    Break the pavlova into large pieces (ask a small child to help you if necessary).

    Arrange the pieces of pavlova artistically on a plate and spoon over cream. Decorate with dried cranberries and blueberries. Then arrange fresh blueberries and cherries, tiny chocolate melts, dried blueberries, cranberries and blackberries, and fresh mint tips around the pavlova, to your liking. Melt a few spoonfuls of jam in the microwave and dribble them artistically around (alternatively, using a squeeze bottle will give you greater control and make you feel like a rockstar chef).

    Stand back and gaze in awe at your pavlova still life. Eat it, celebrating your triumph over disaster.

    * * * * * * * * * * * * * * * * * * * * * * * * * * * * * * * * * * * * * * * * * * * * * * * * * * * * * * * * * * * * * * * * * * * * *

    Alternatively, visit Delicieux for detailed instructions on joining the Great Australian Pavlova Blog Hop.